Plugin Configurations
Find out how we use and configure any of our core plugins on WordPress. Our core plugins include Elementor, Gravity Forms, All-in-One Migration, CleanTalk, Yoast, Post SMTP, Redirection and Advanced Custom Fields.
Installing and Configuring WPML
Installing WPML on a WordPress website is a pretty quick process. But from an outside perspective, it can seem a bit confusing due to WPML's unlimited configurations. This guide is a quick step by step installation process to help you get started in no time.
| Requirements |
| Valid WPML License |
|
Access to WordPress website backend |
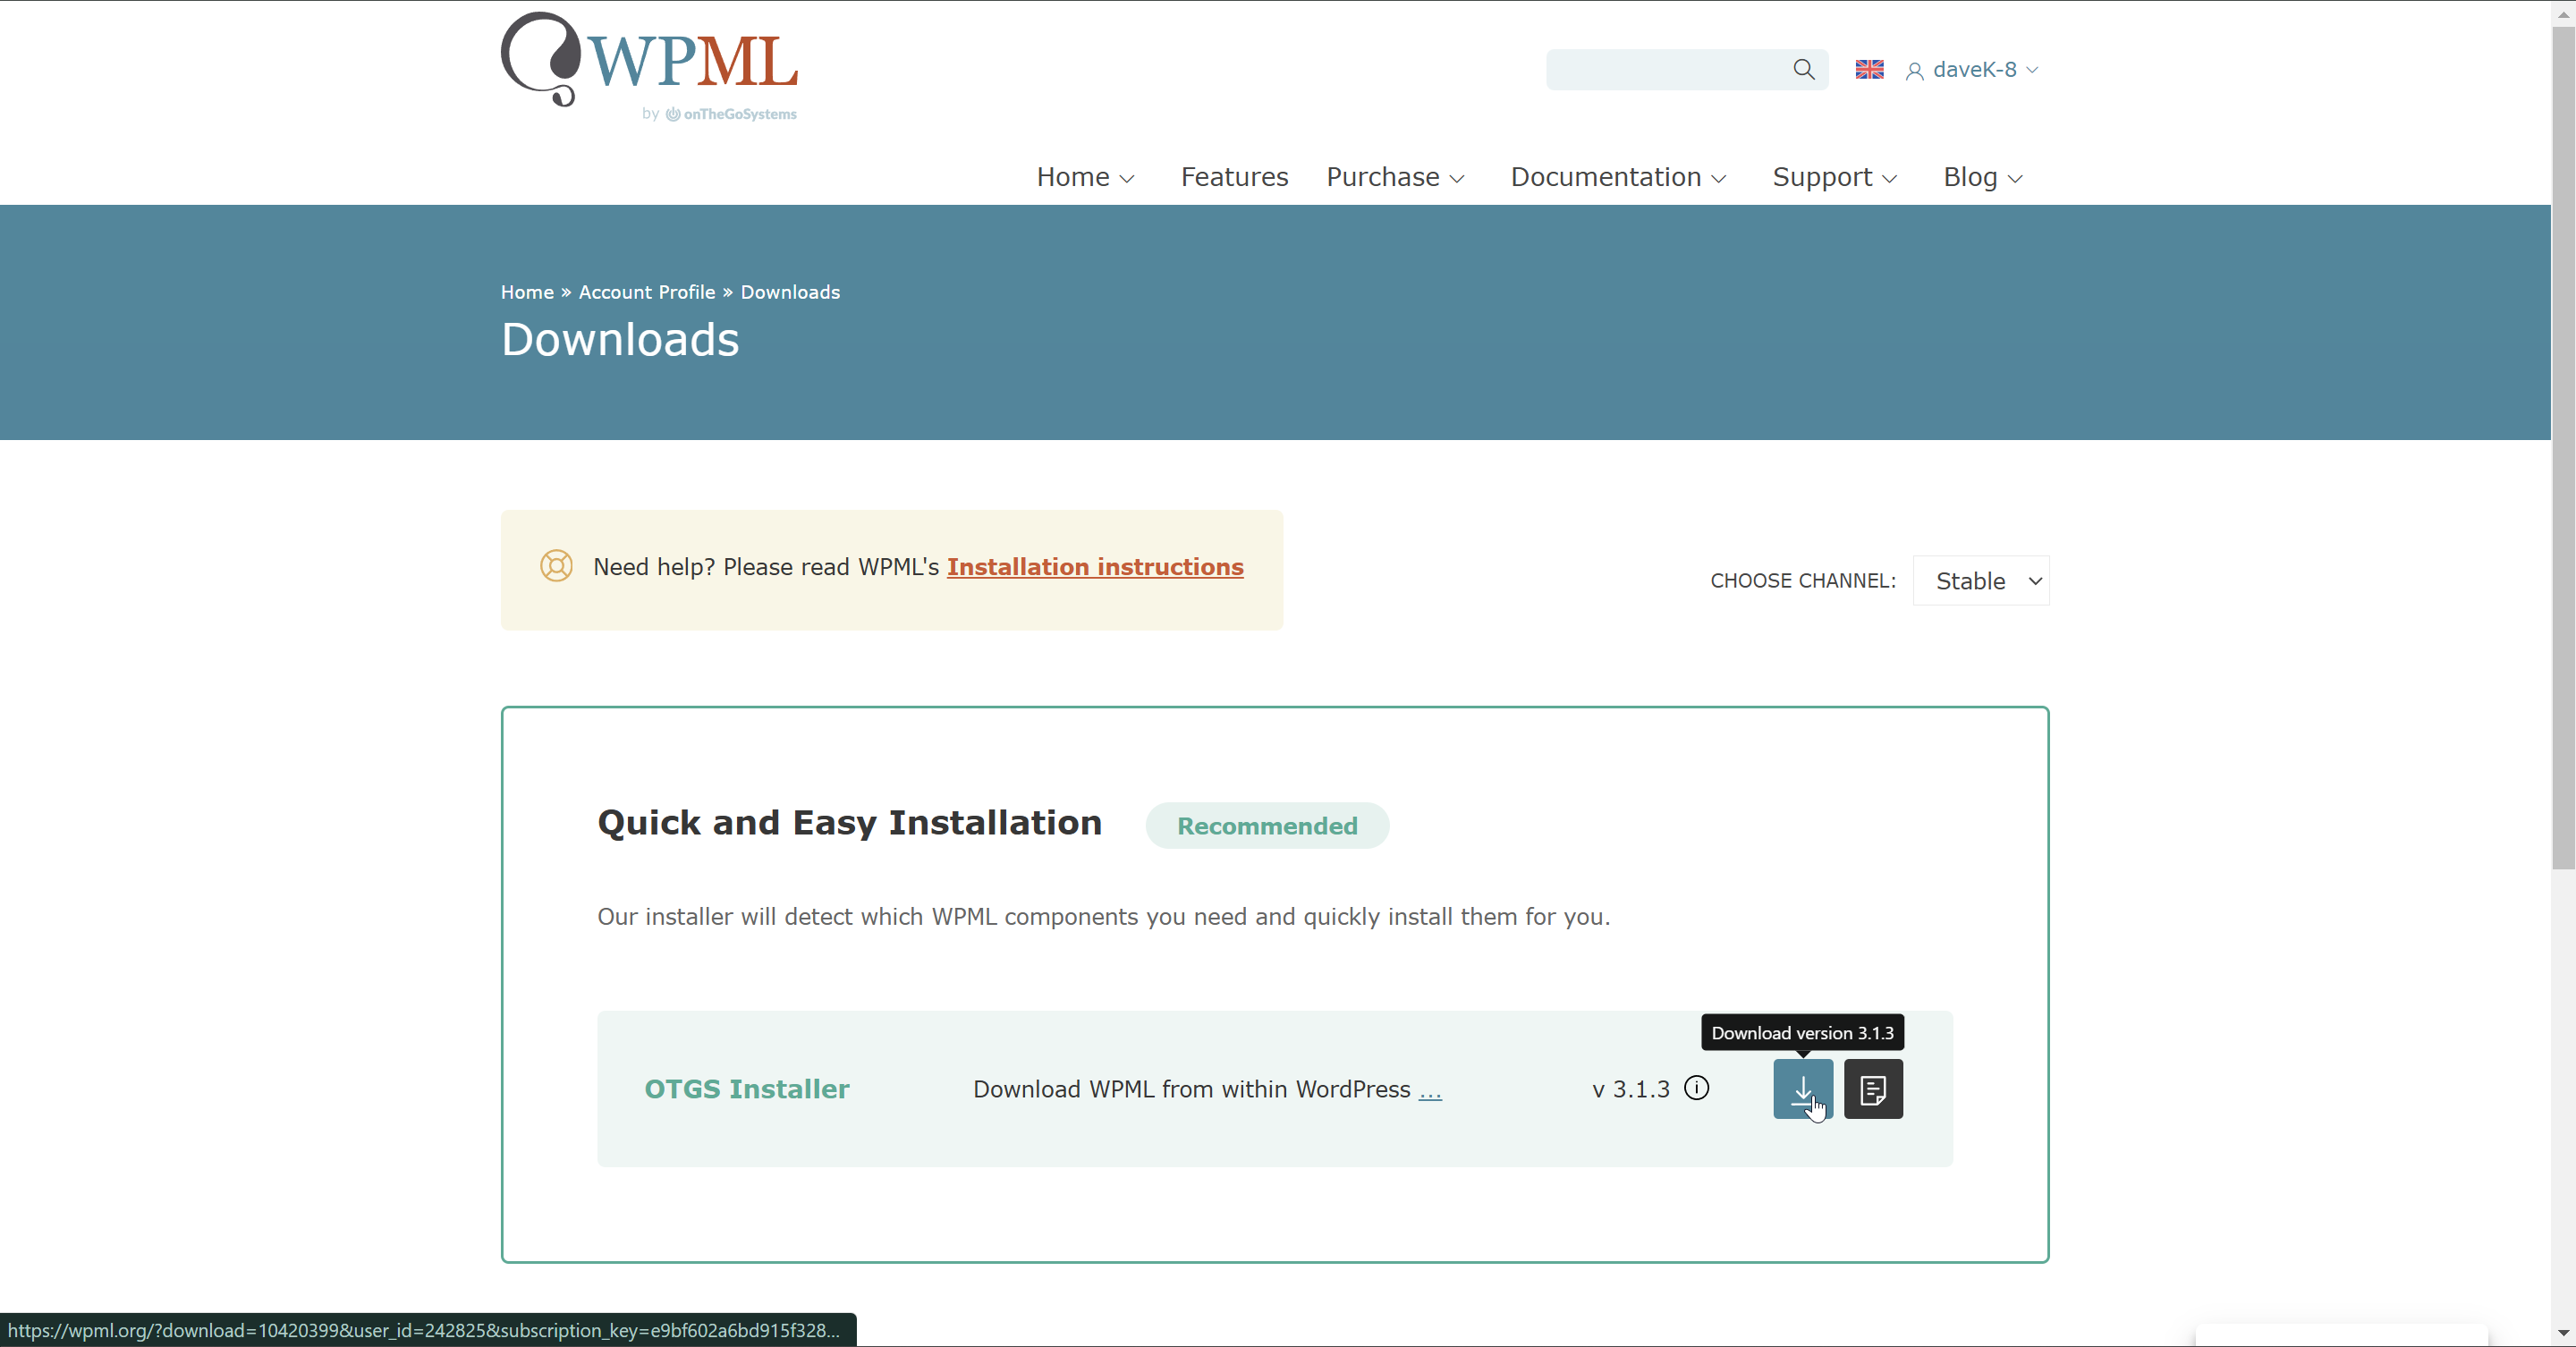
Step 1: Login to WPML and download the OTGS Installer https://wpml.org/account/downloads/
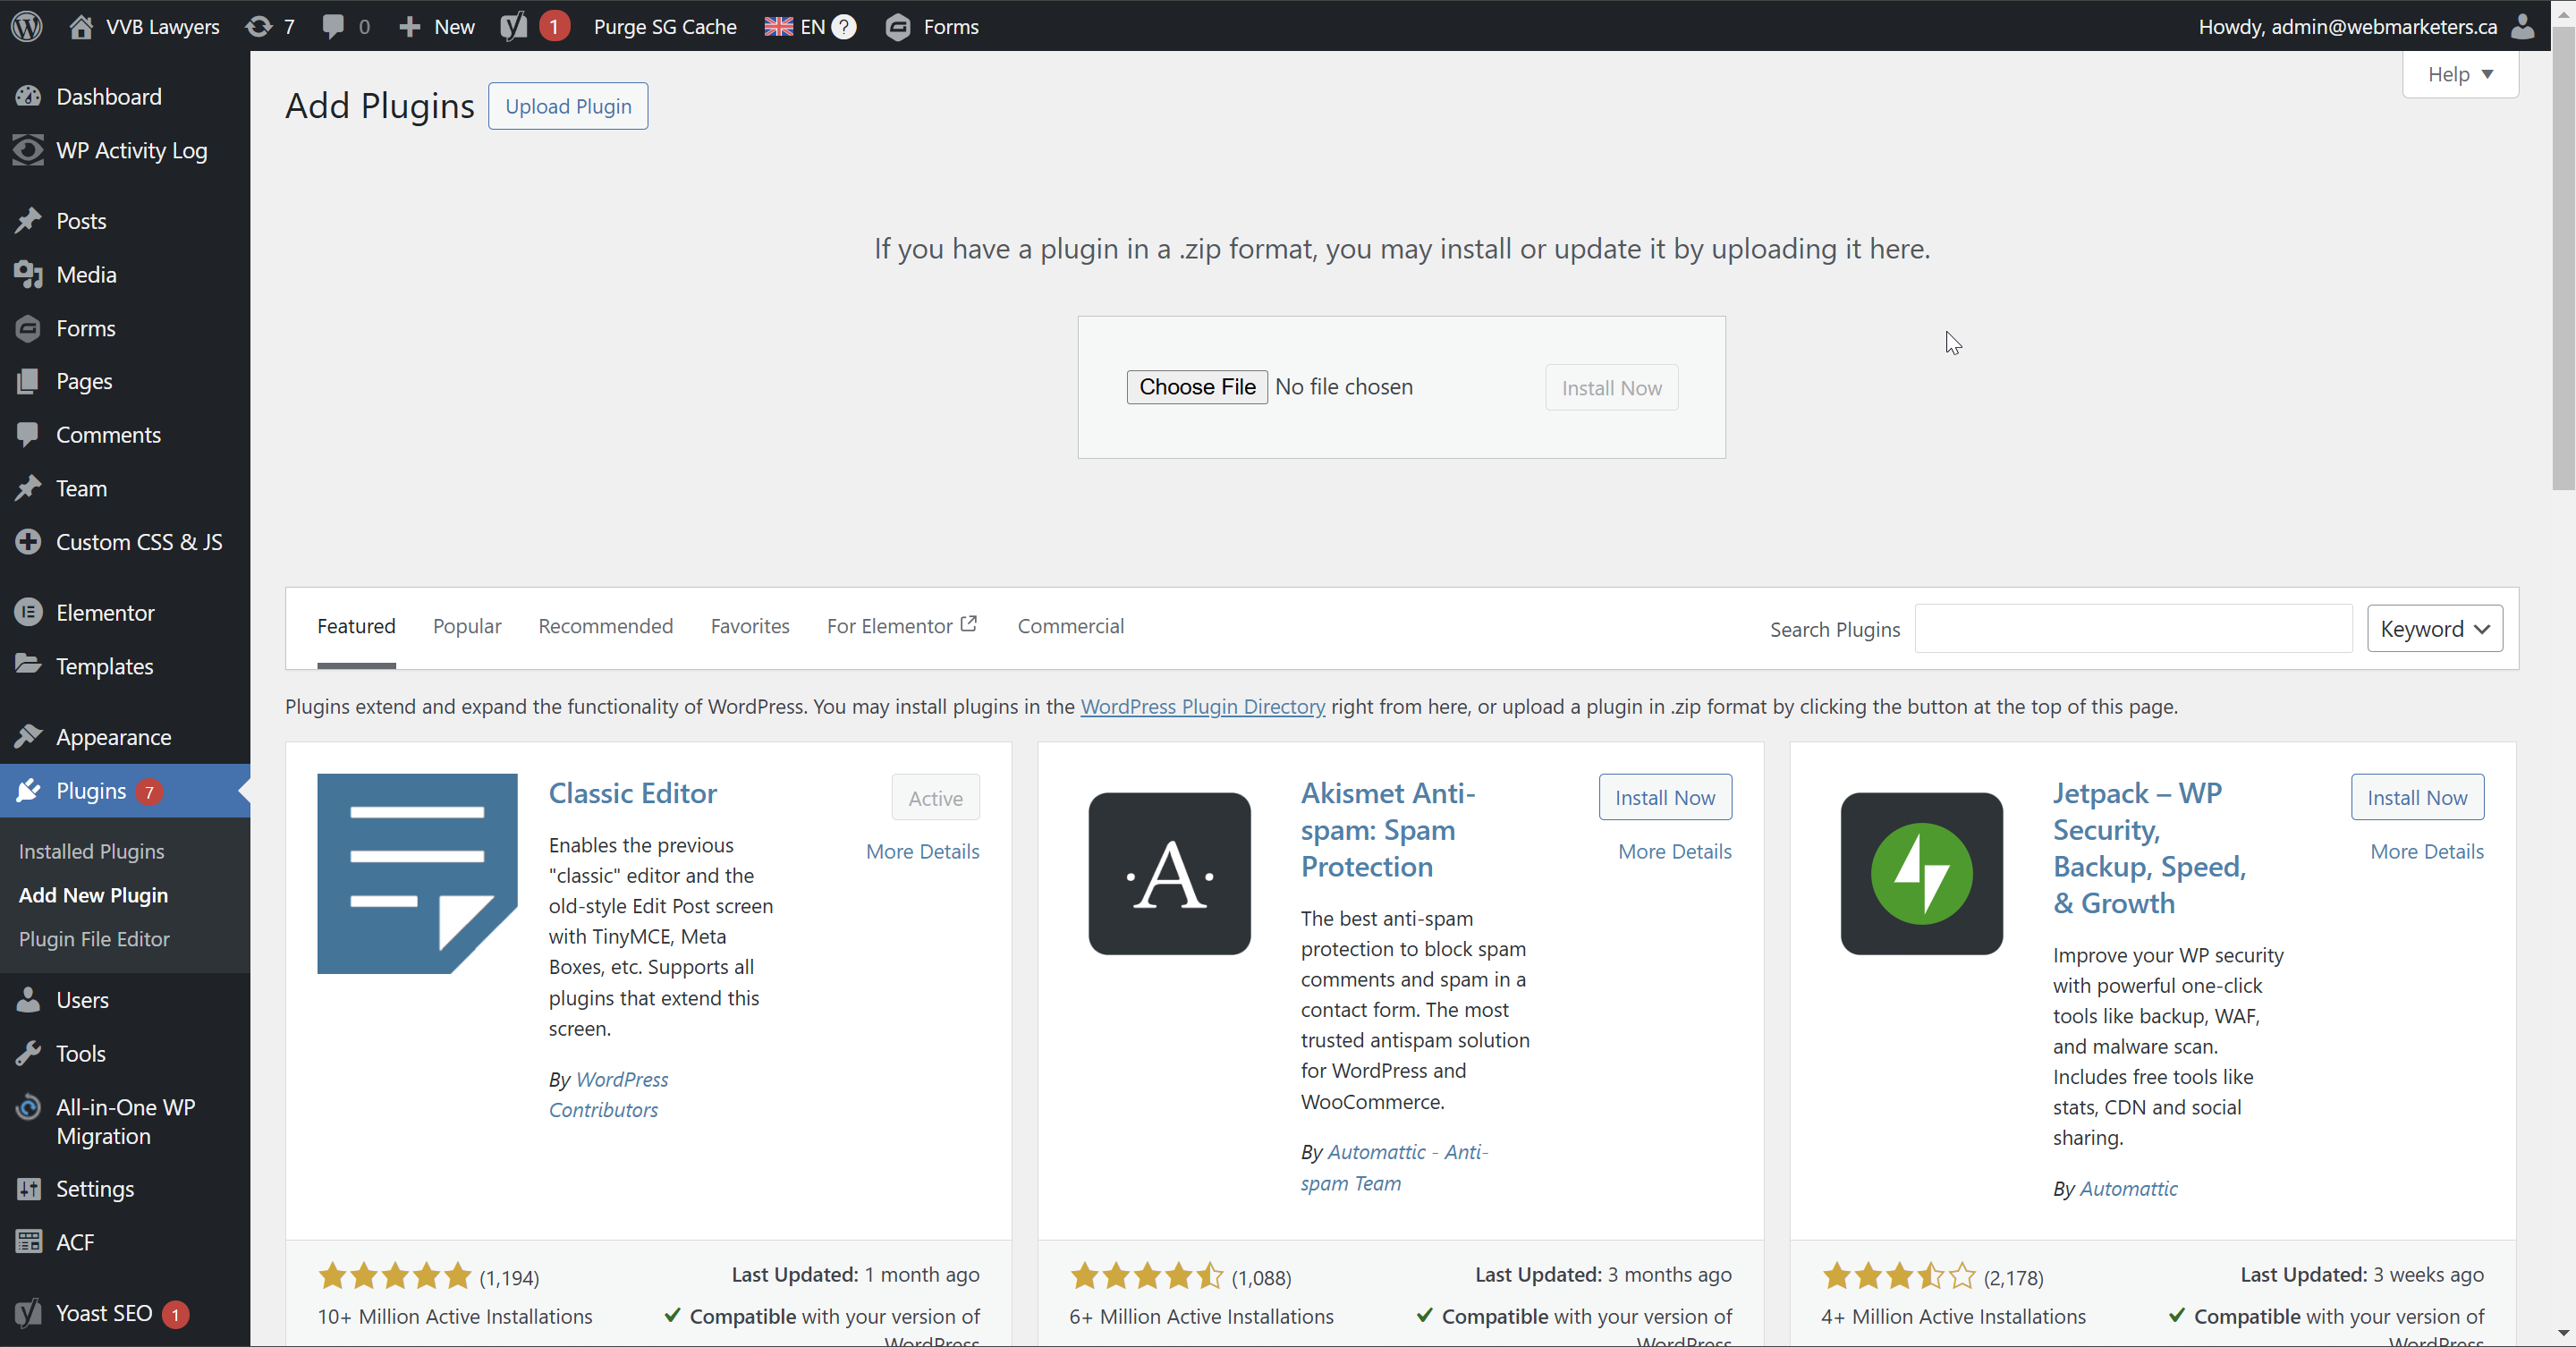
Step 2: Navigate to the plugin installation page, then upload, install & activate the OTGS Installer
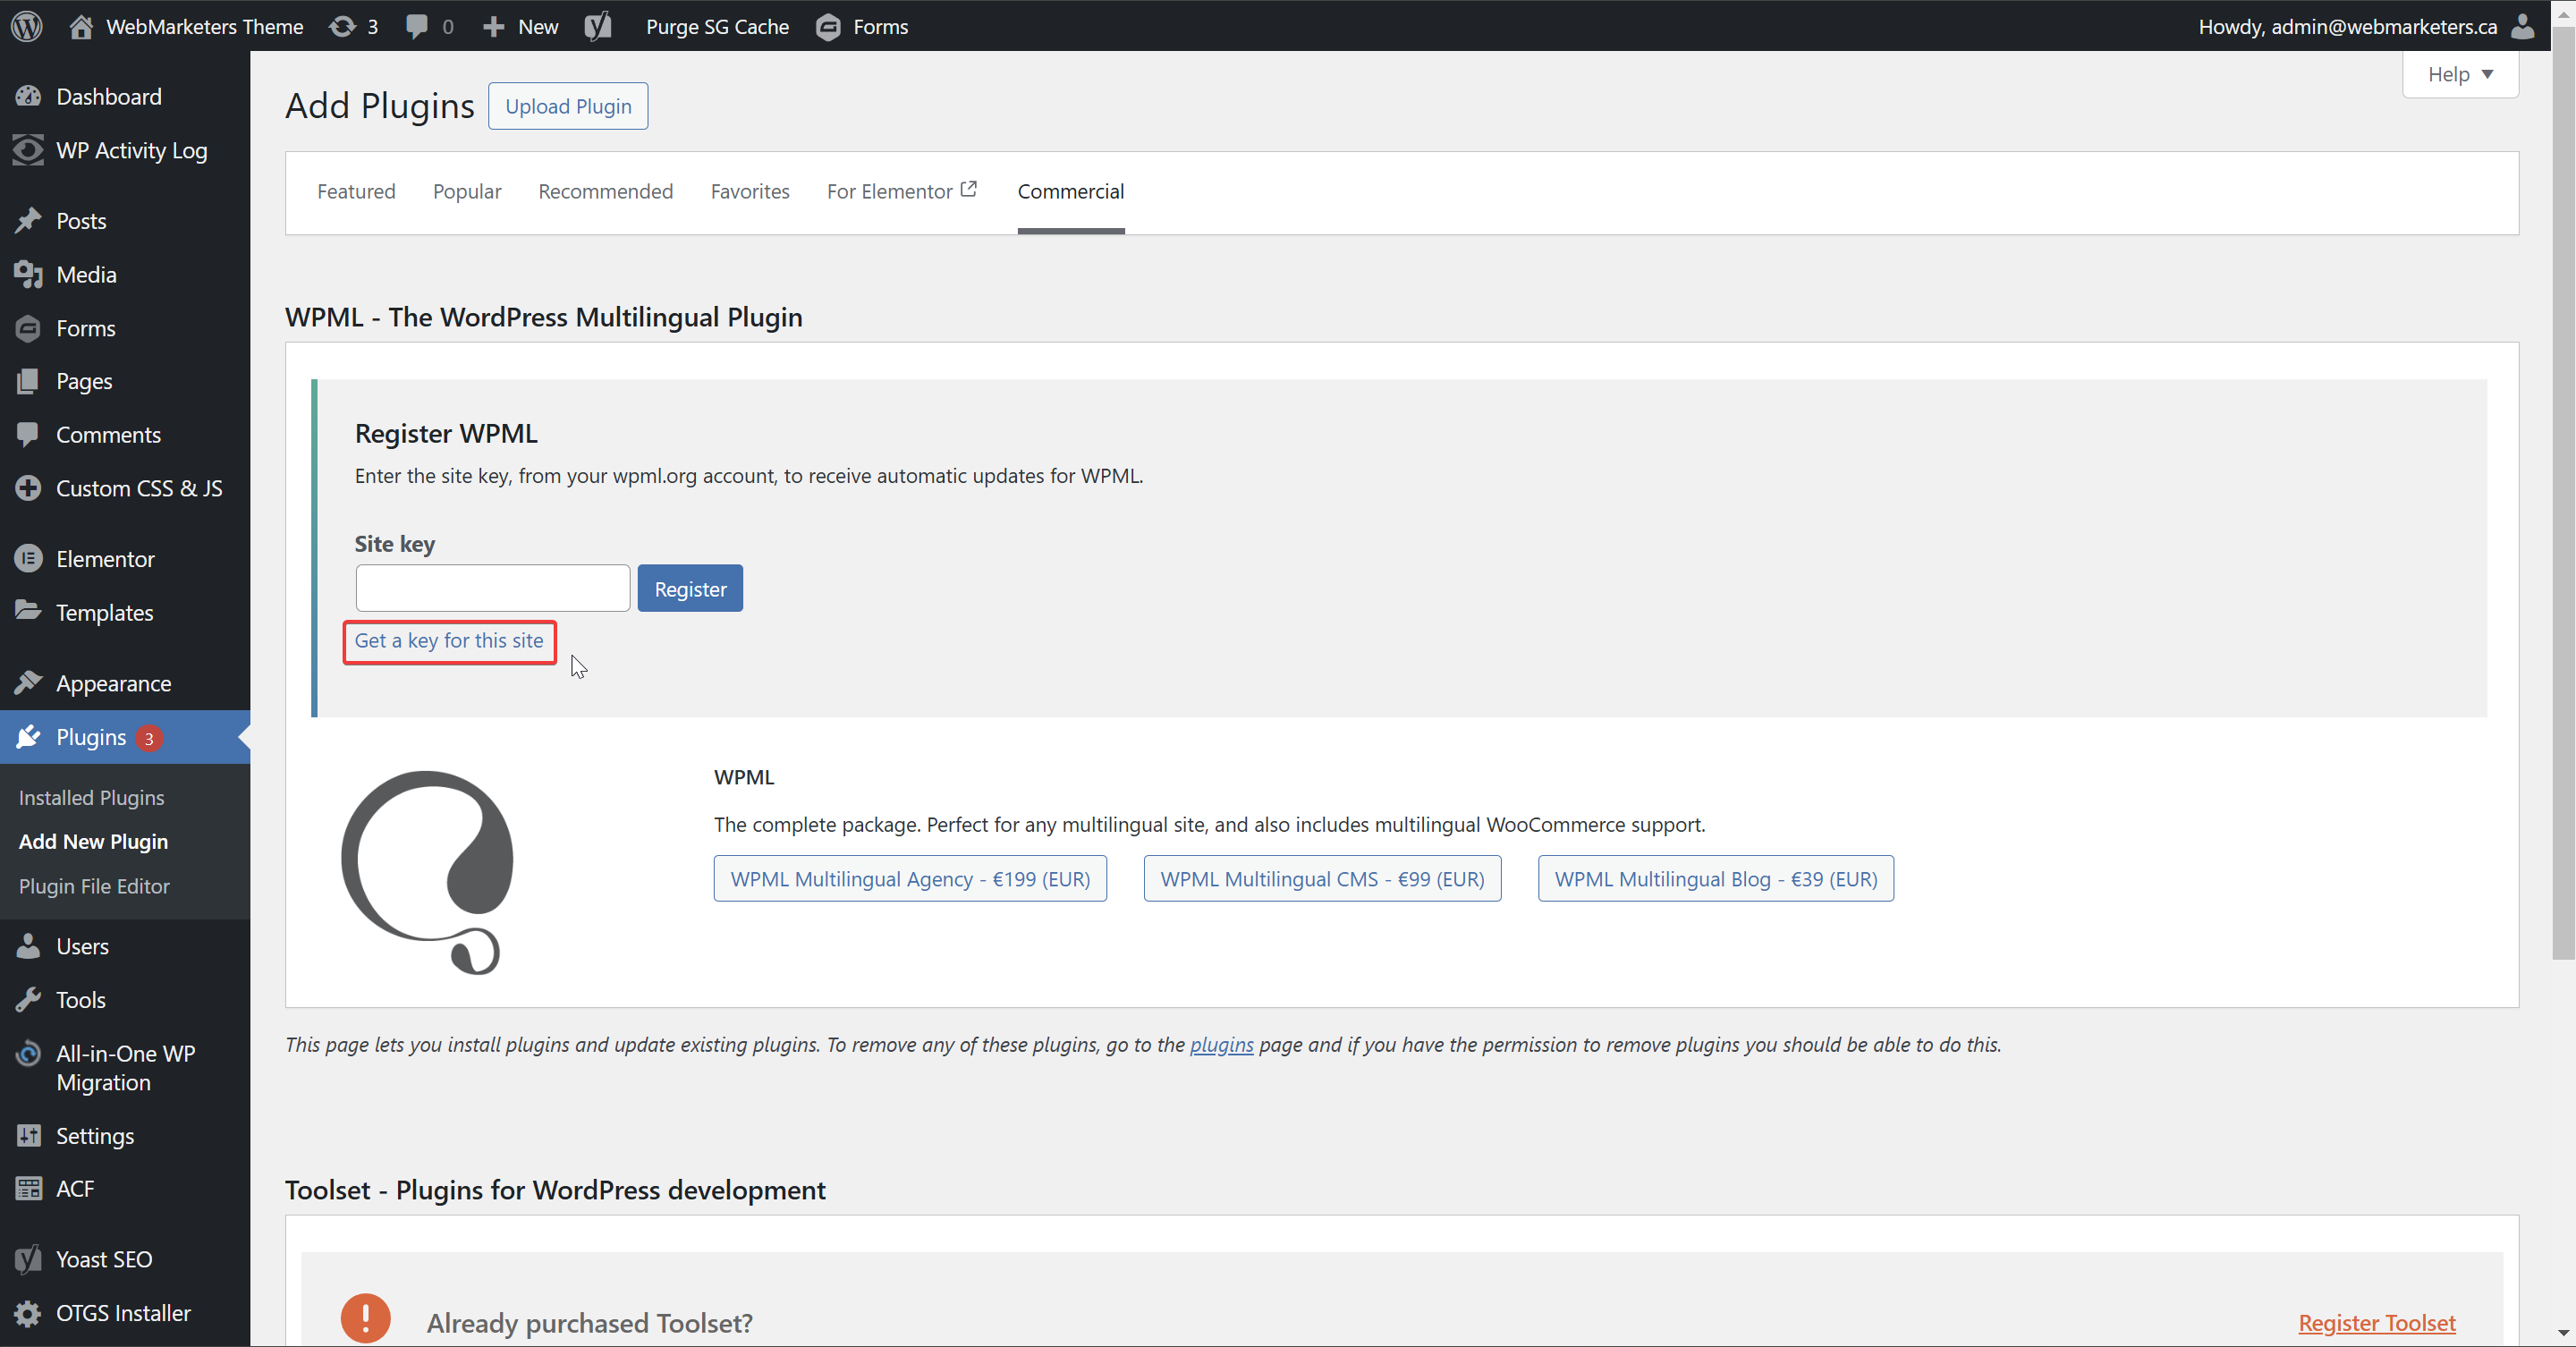
Step 3: Click "Get a key for this site" and register your website as a Development site, then paste the key in and register the site.
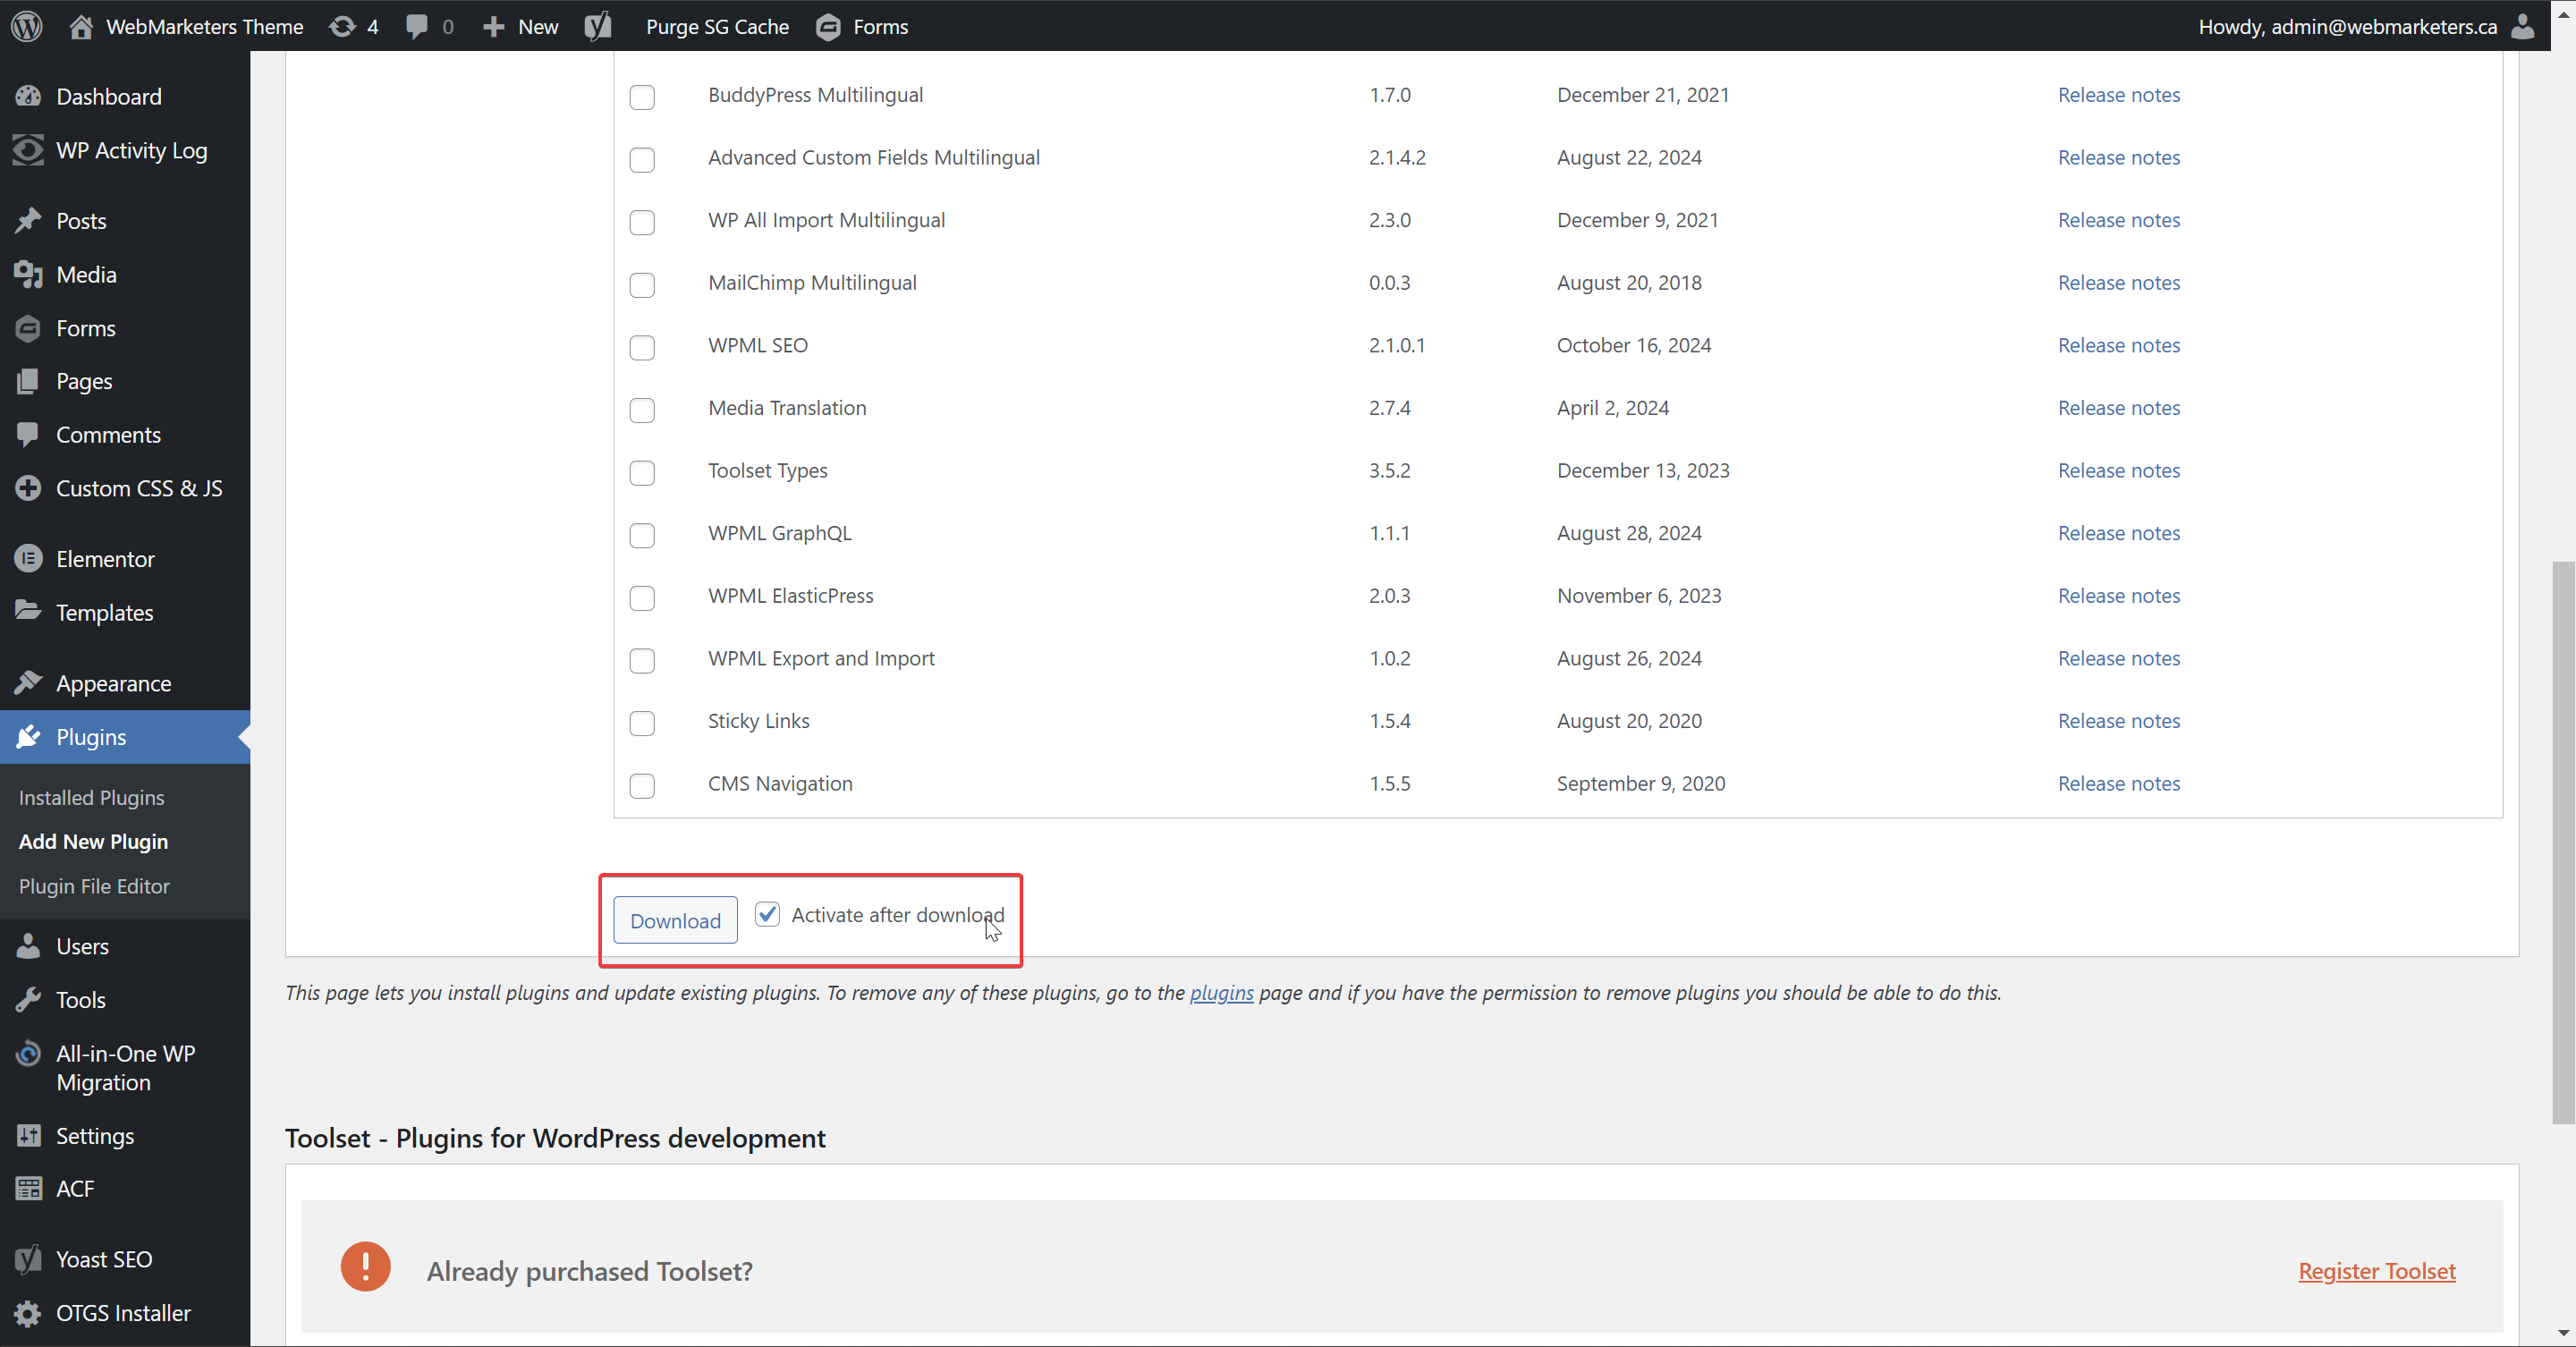
Step 4: Choose the necessary WPML add-ons and click download.
As the leading multi-language plugin, WPML blends well with various plugins, including most form builders, SEO plugins and more. The only absolute requirement here for any project is the WPML Multilingual CMS plugin. Everything else will vary on project requirements and plugin stack.
Other common add-ons used by WebMarketers include:
-String Translation
-WooCommerce Multilingual & Multicurrency
-Gravity Forms Multilingual
-Advanced Custom Fields Multilingual
-WPML SEO
-Media Translation
Once you pick your add-ons, select "Activate after download" and click "Download". If this works correctly, you should see that the "OTGS Installer" plugin will now be deactivated, and the plugins you selected will be active.
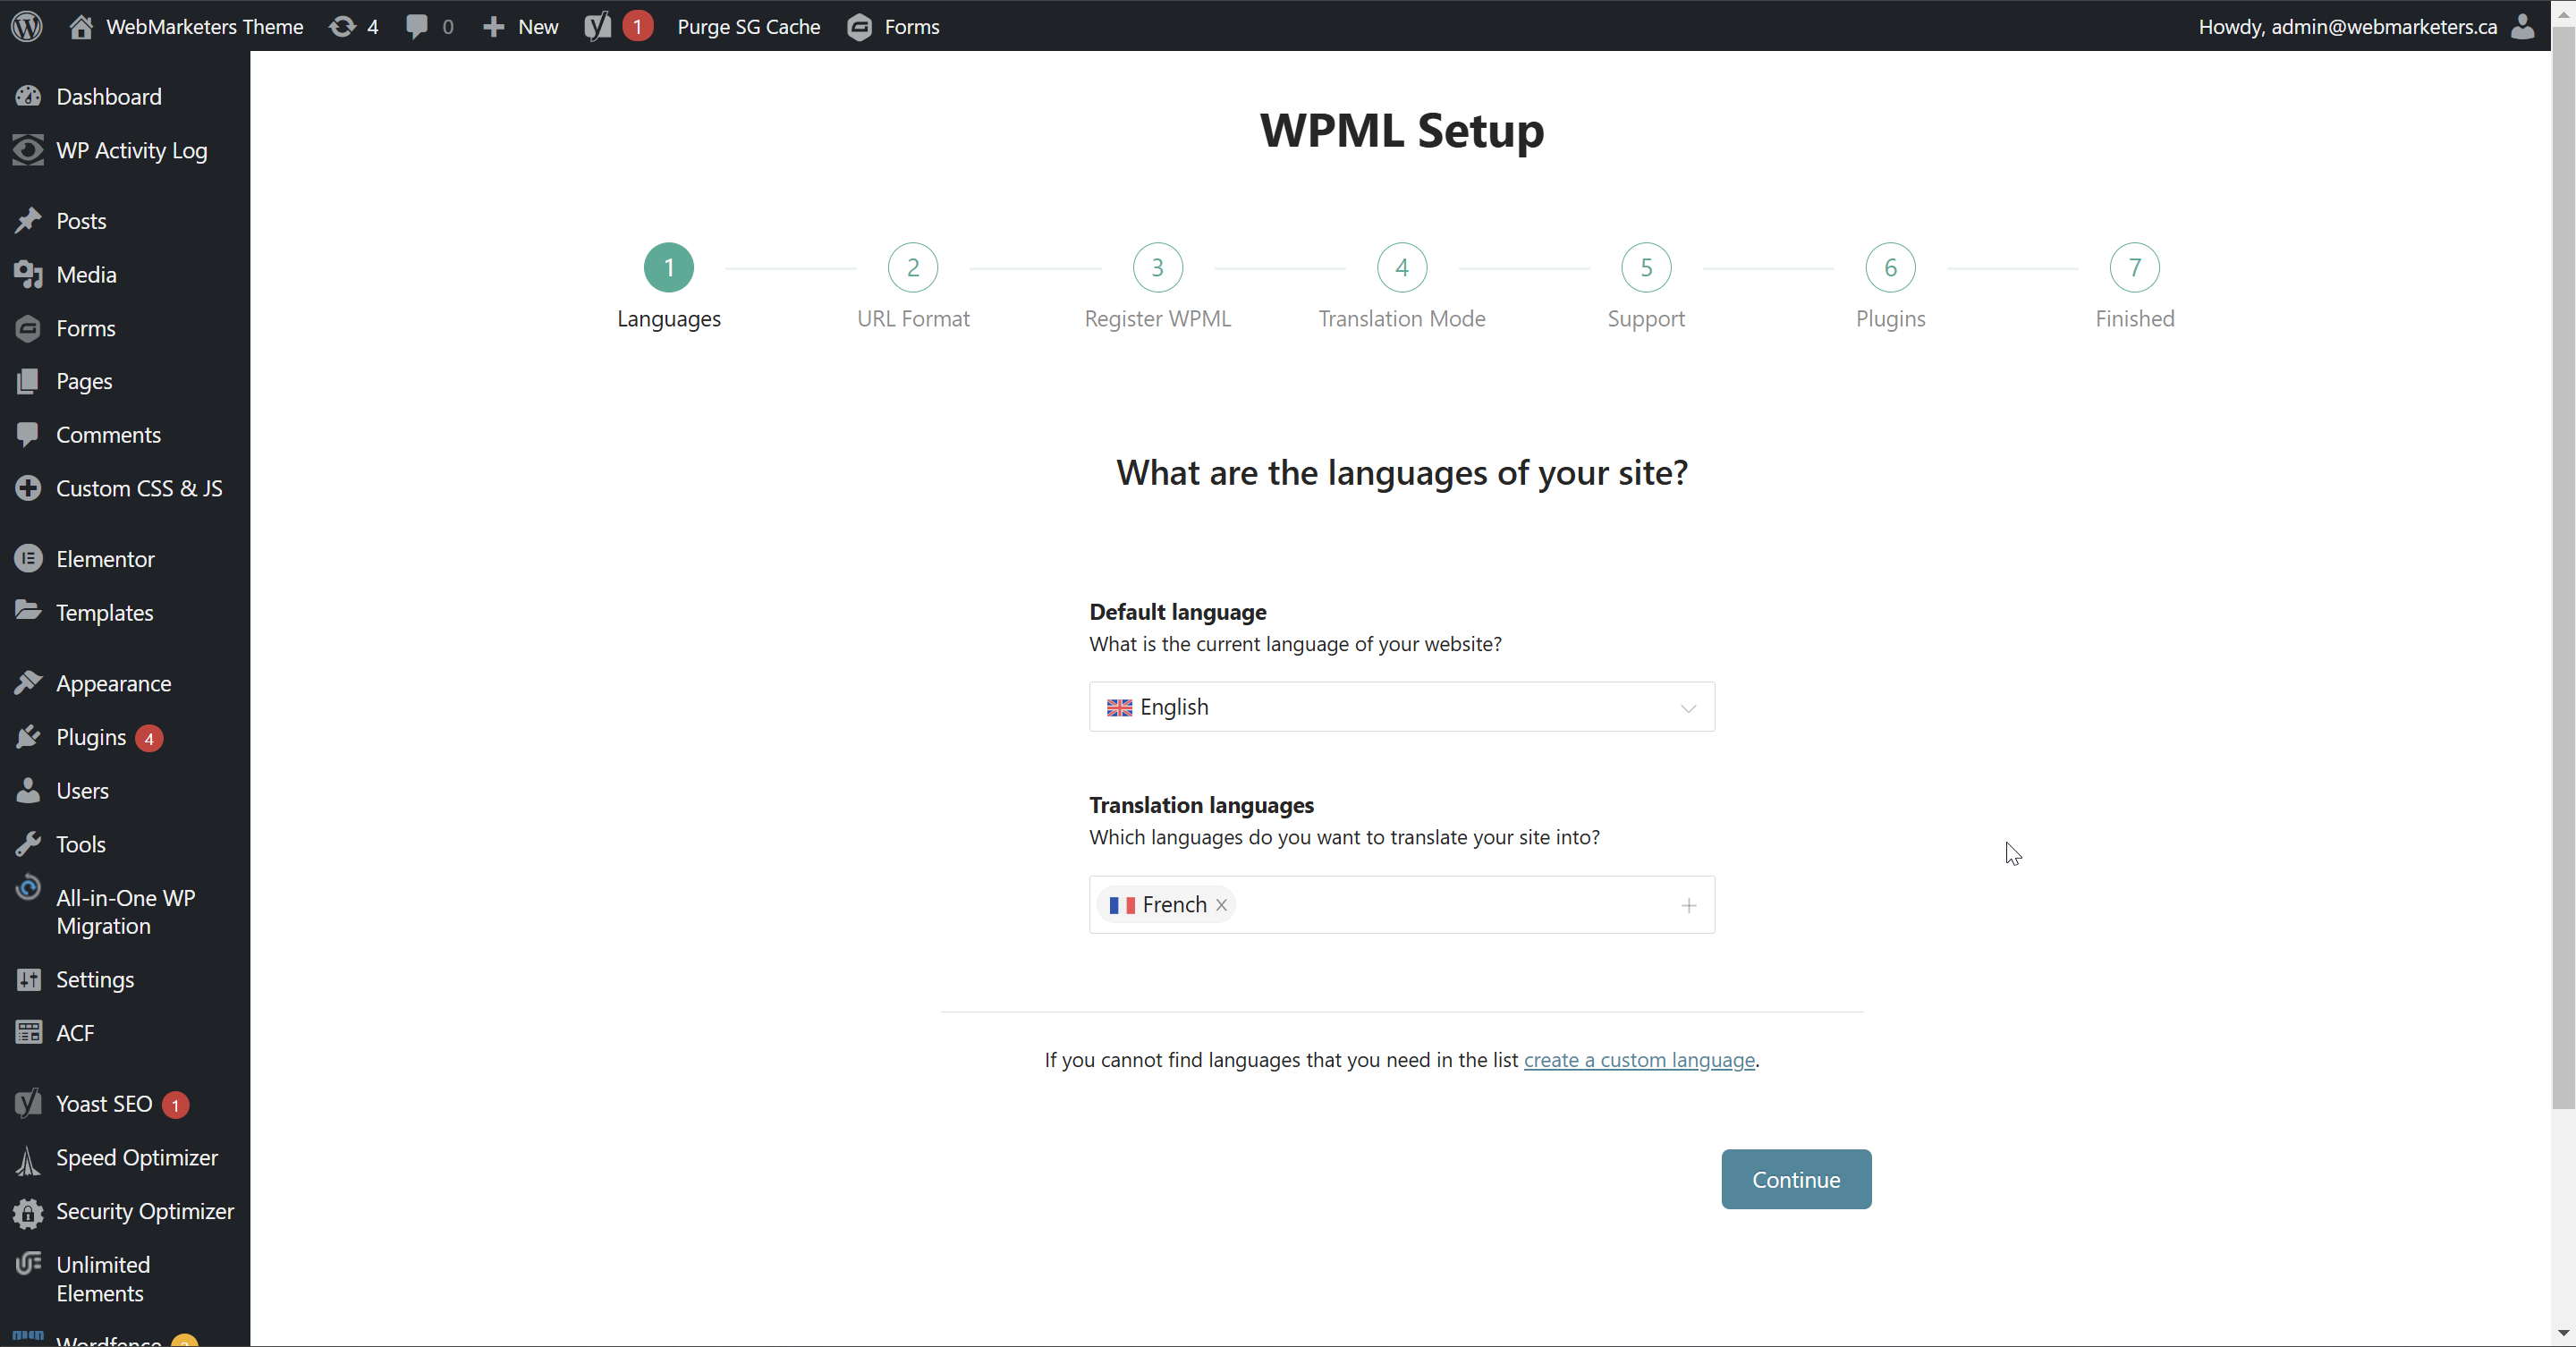
Step 5: Navigate to WPML Setup and choose the default & secondary language
During the installation process, WPML will ask that you provide a default & secondary language. This is necessary for setting up your language switcher functionality and permalink structure.
First, pick your language pair:
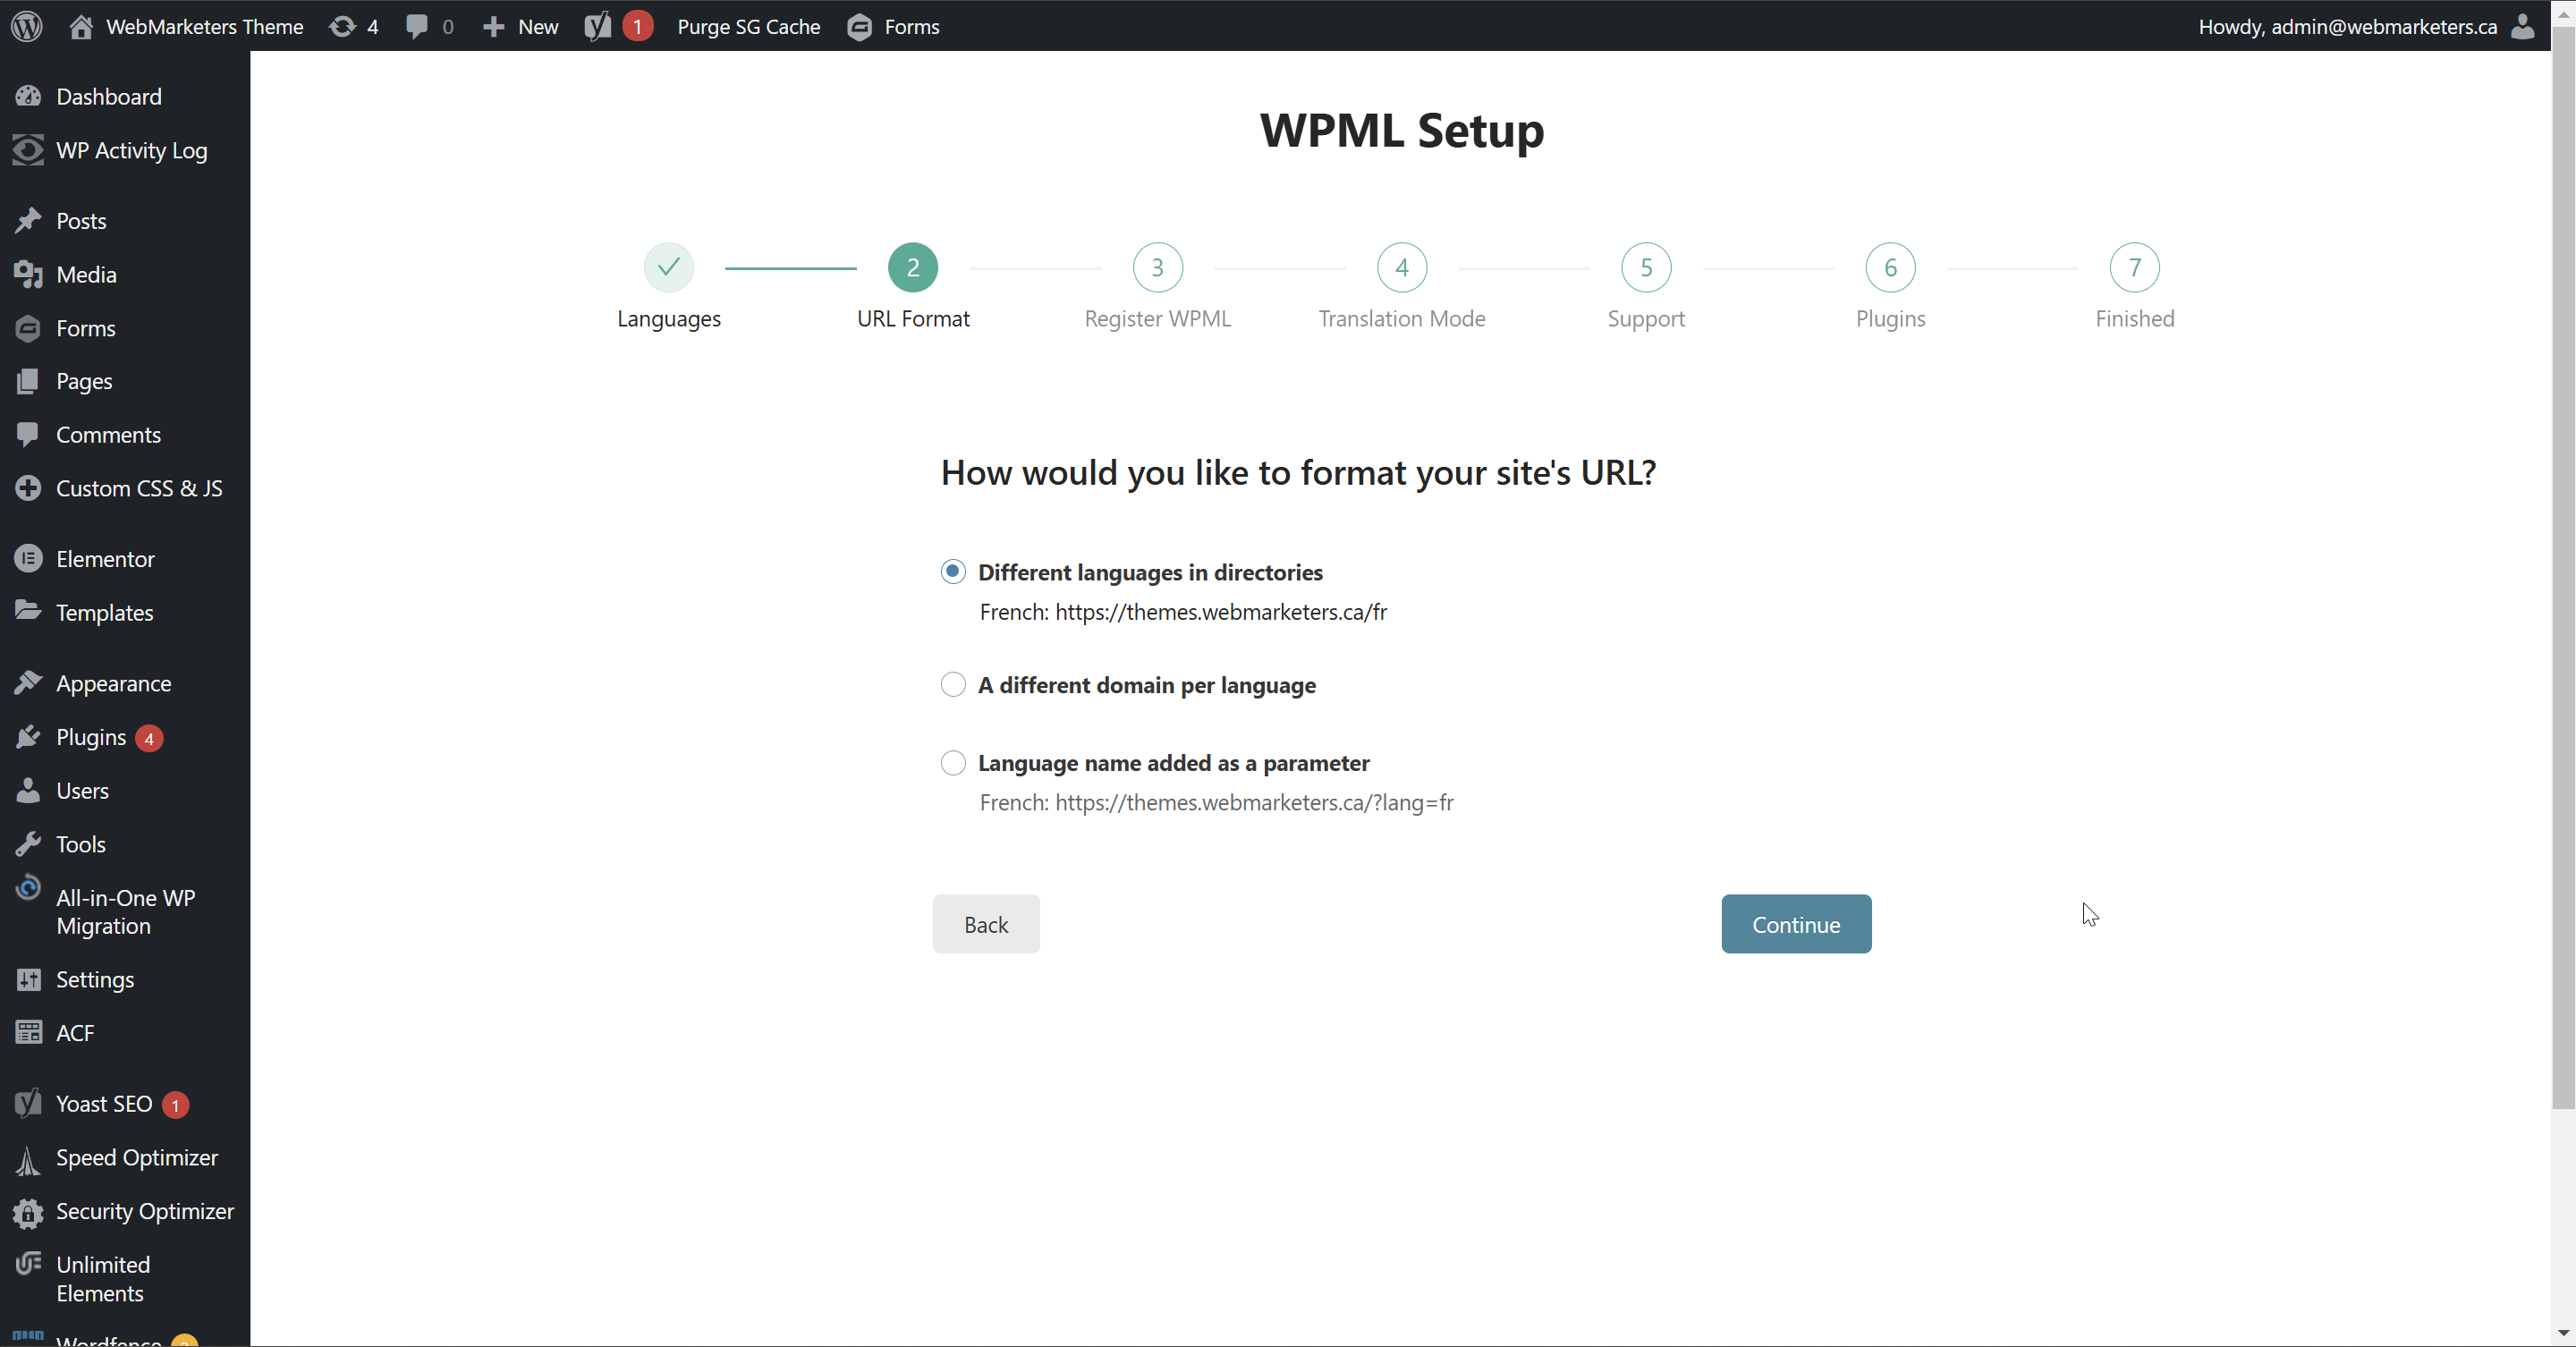
Then, pick your secondary language's URL Format. We use "Different languages in directories".
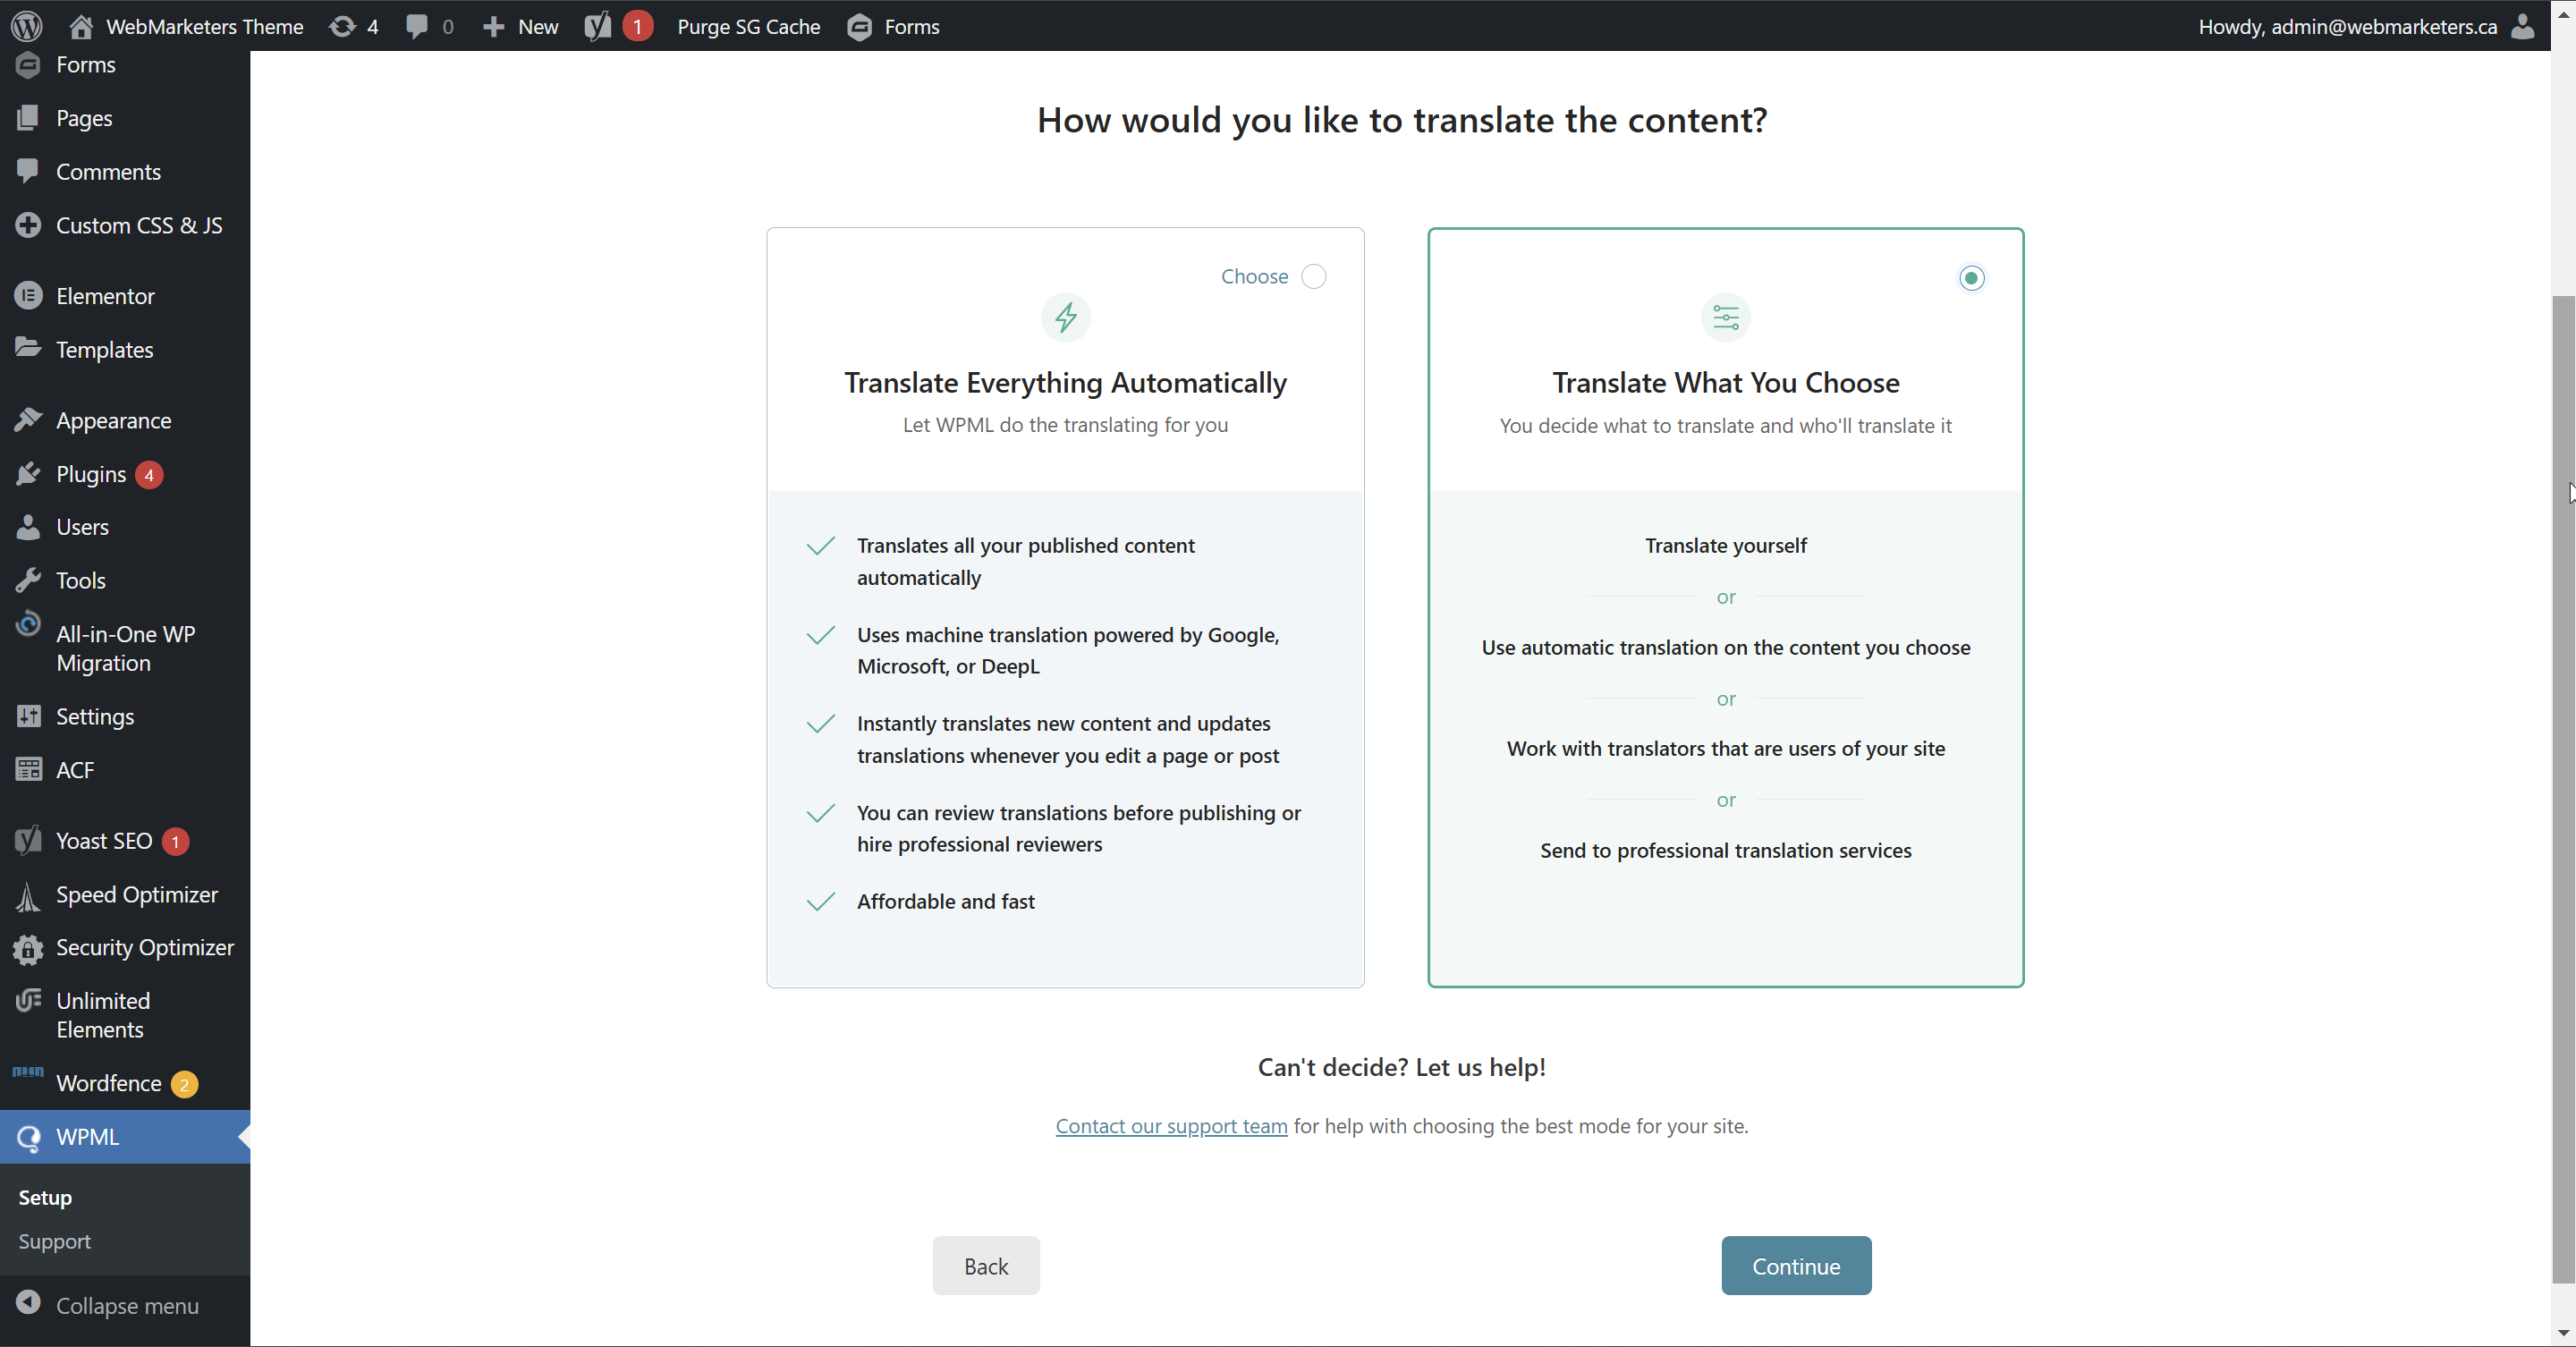
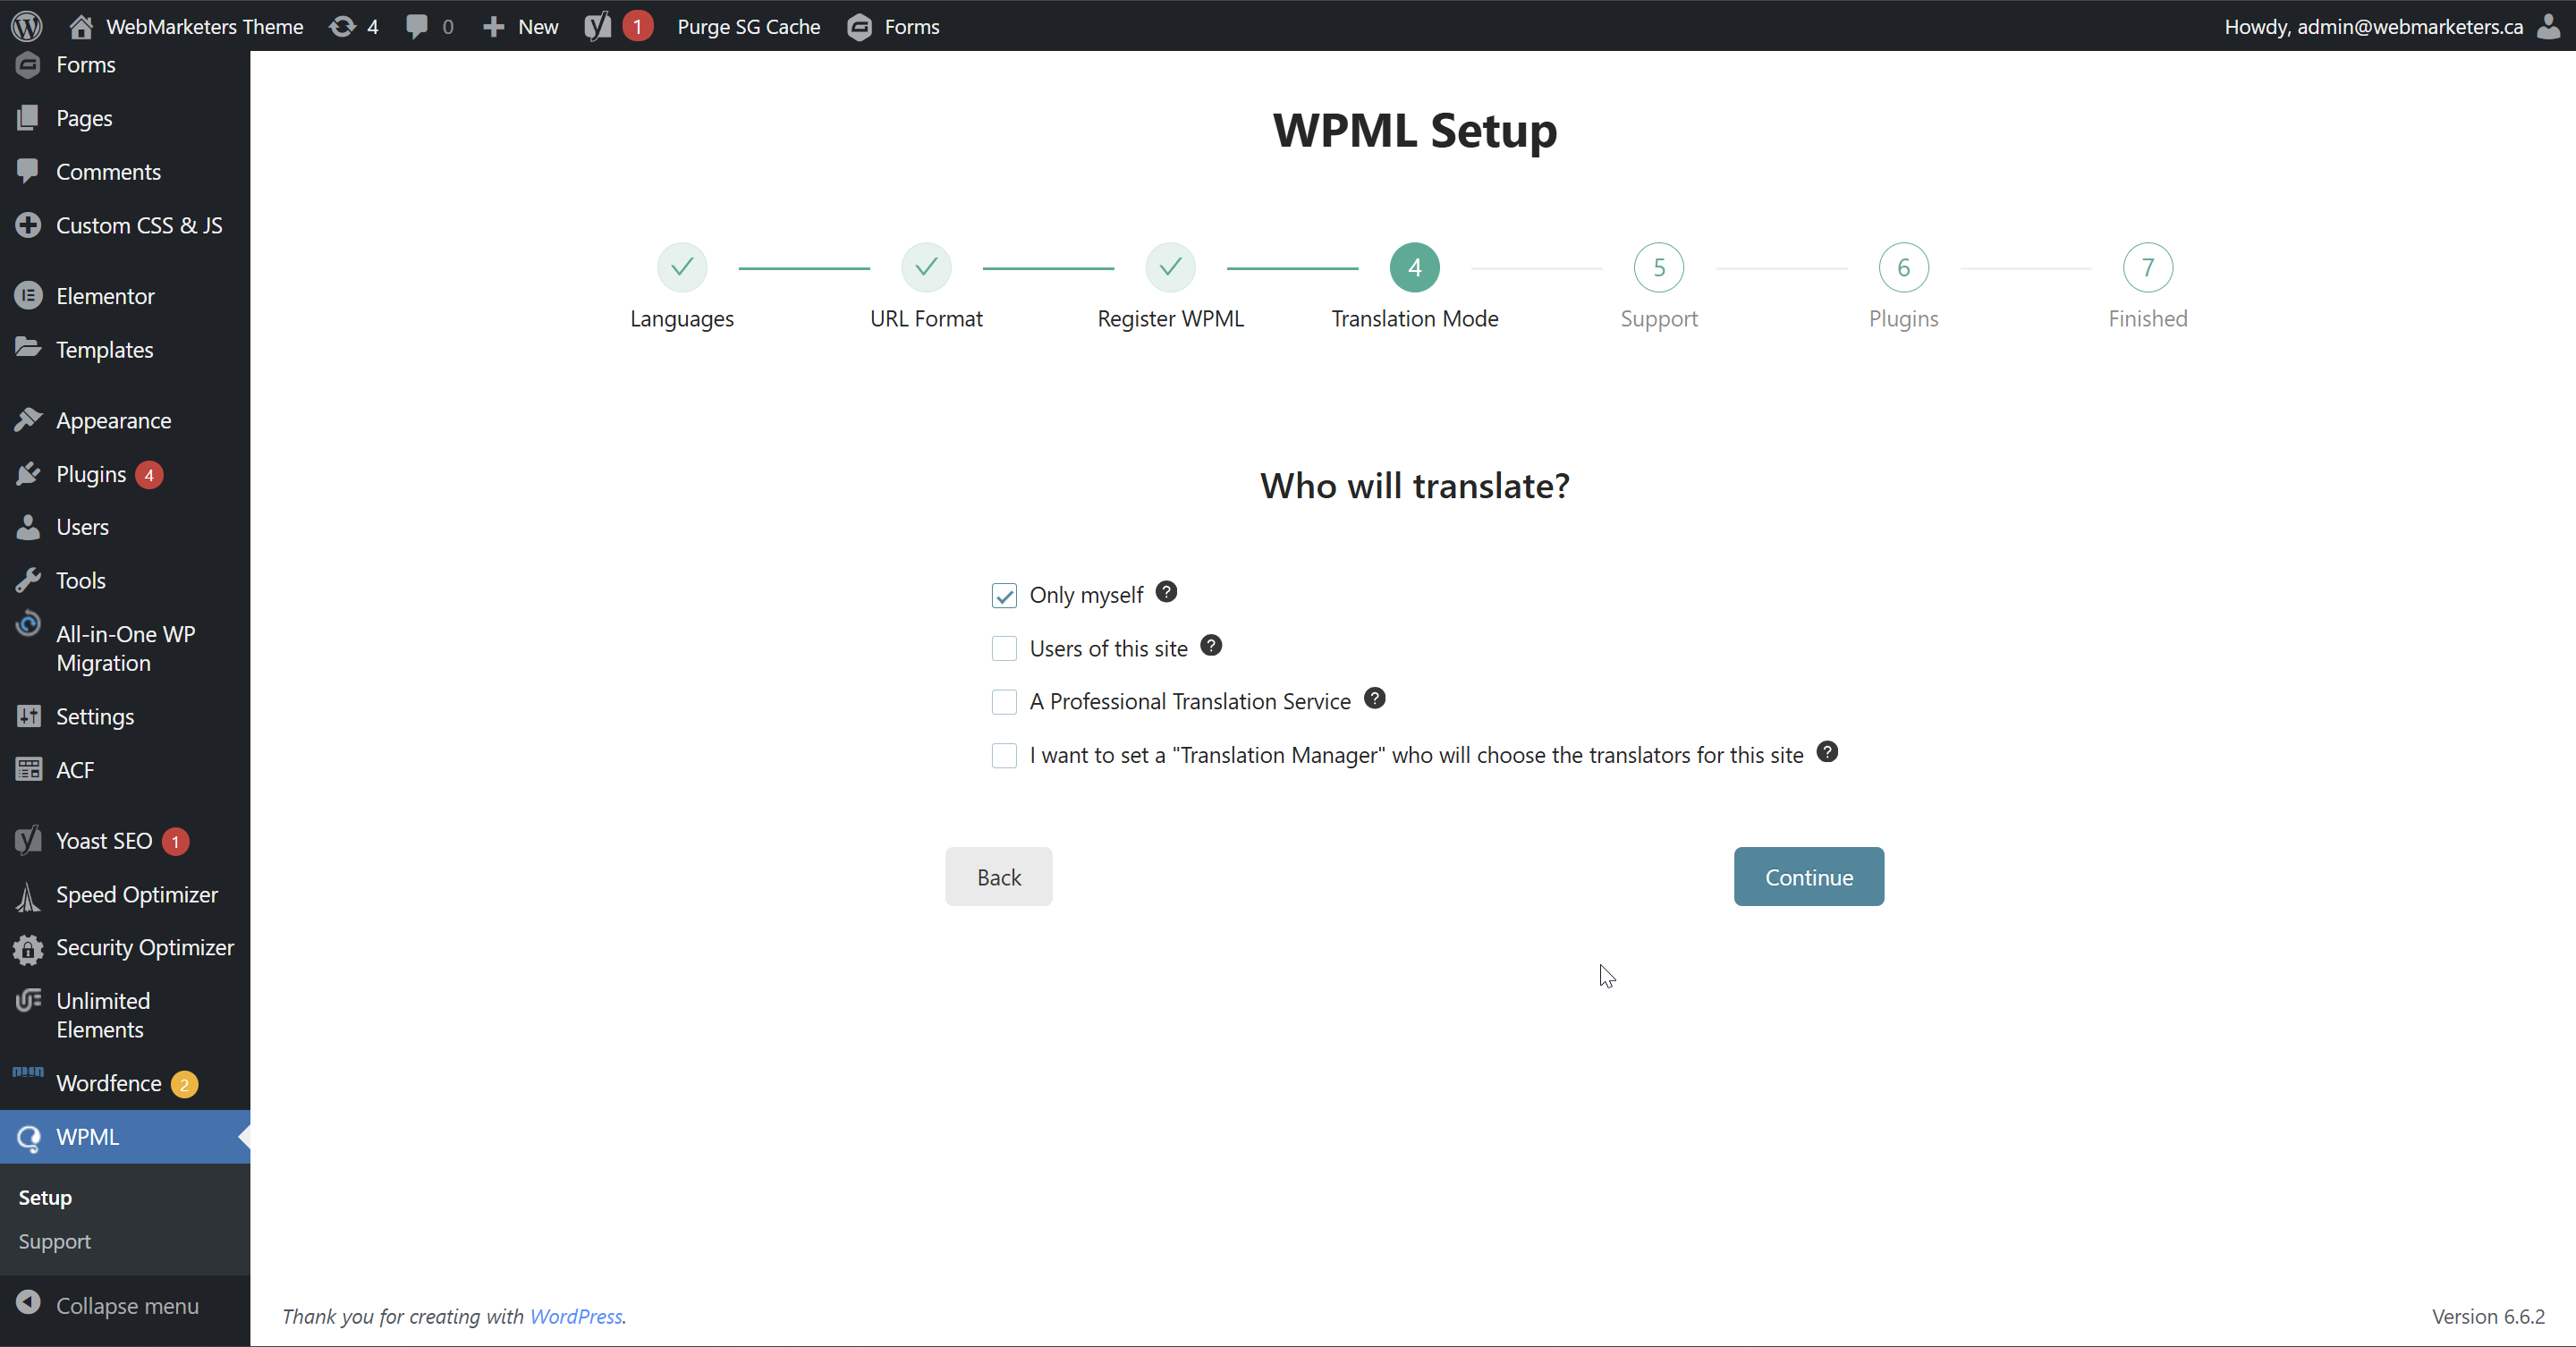
Then, choose your preferred method of translation. You can choose to pay WPML for credits and use the automatic translation feature, or translate everything manually. For most projects, we translate manually for a more accurate translation.
Then, pick your translator(s). This can be changed later, so feel free to just click "Continue".
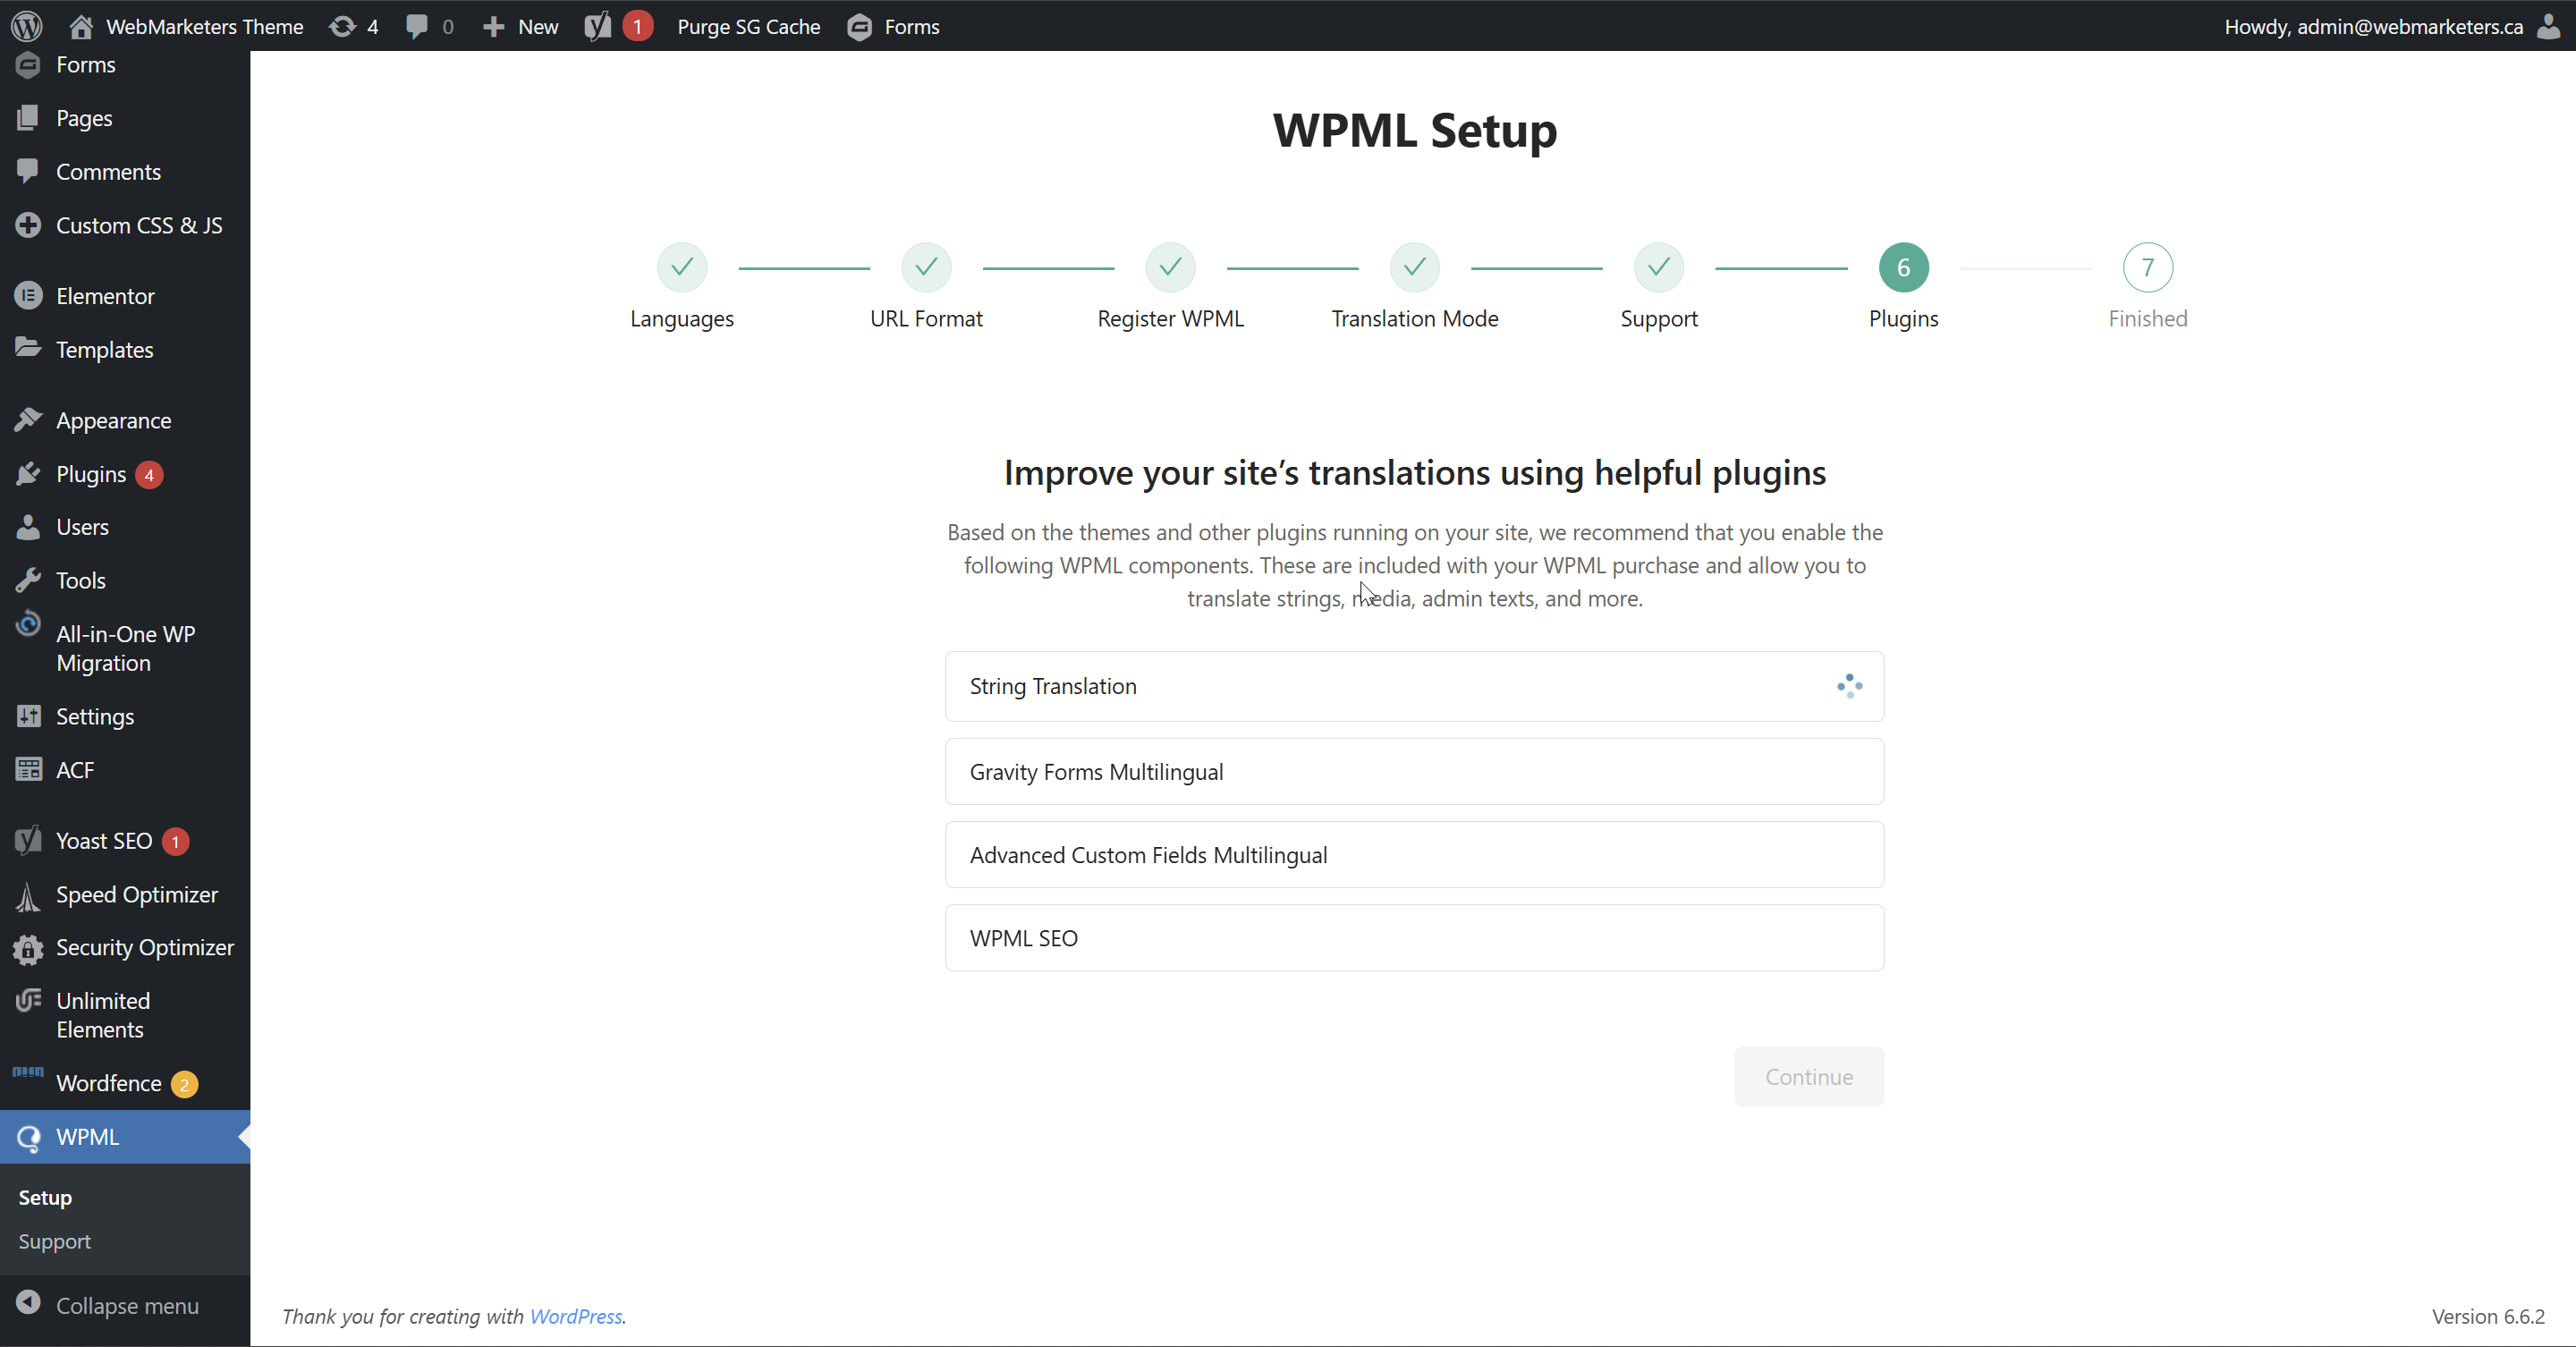
Then, it will ask you to install certain add-ons based on your site's plugins. Install them if necessary.
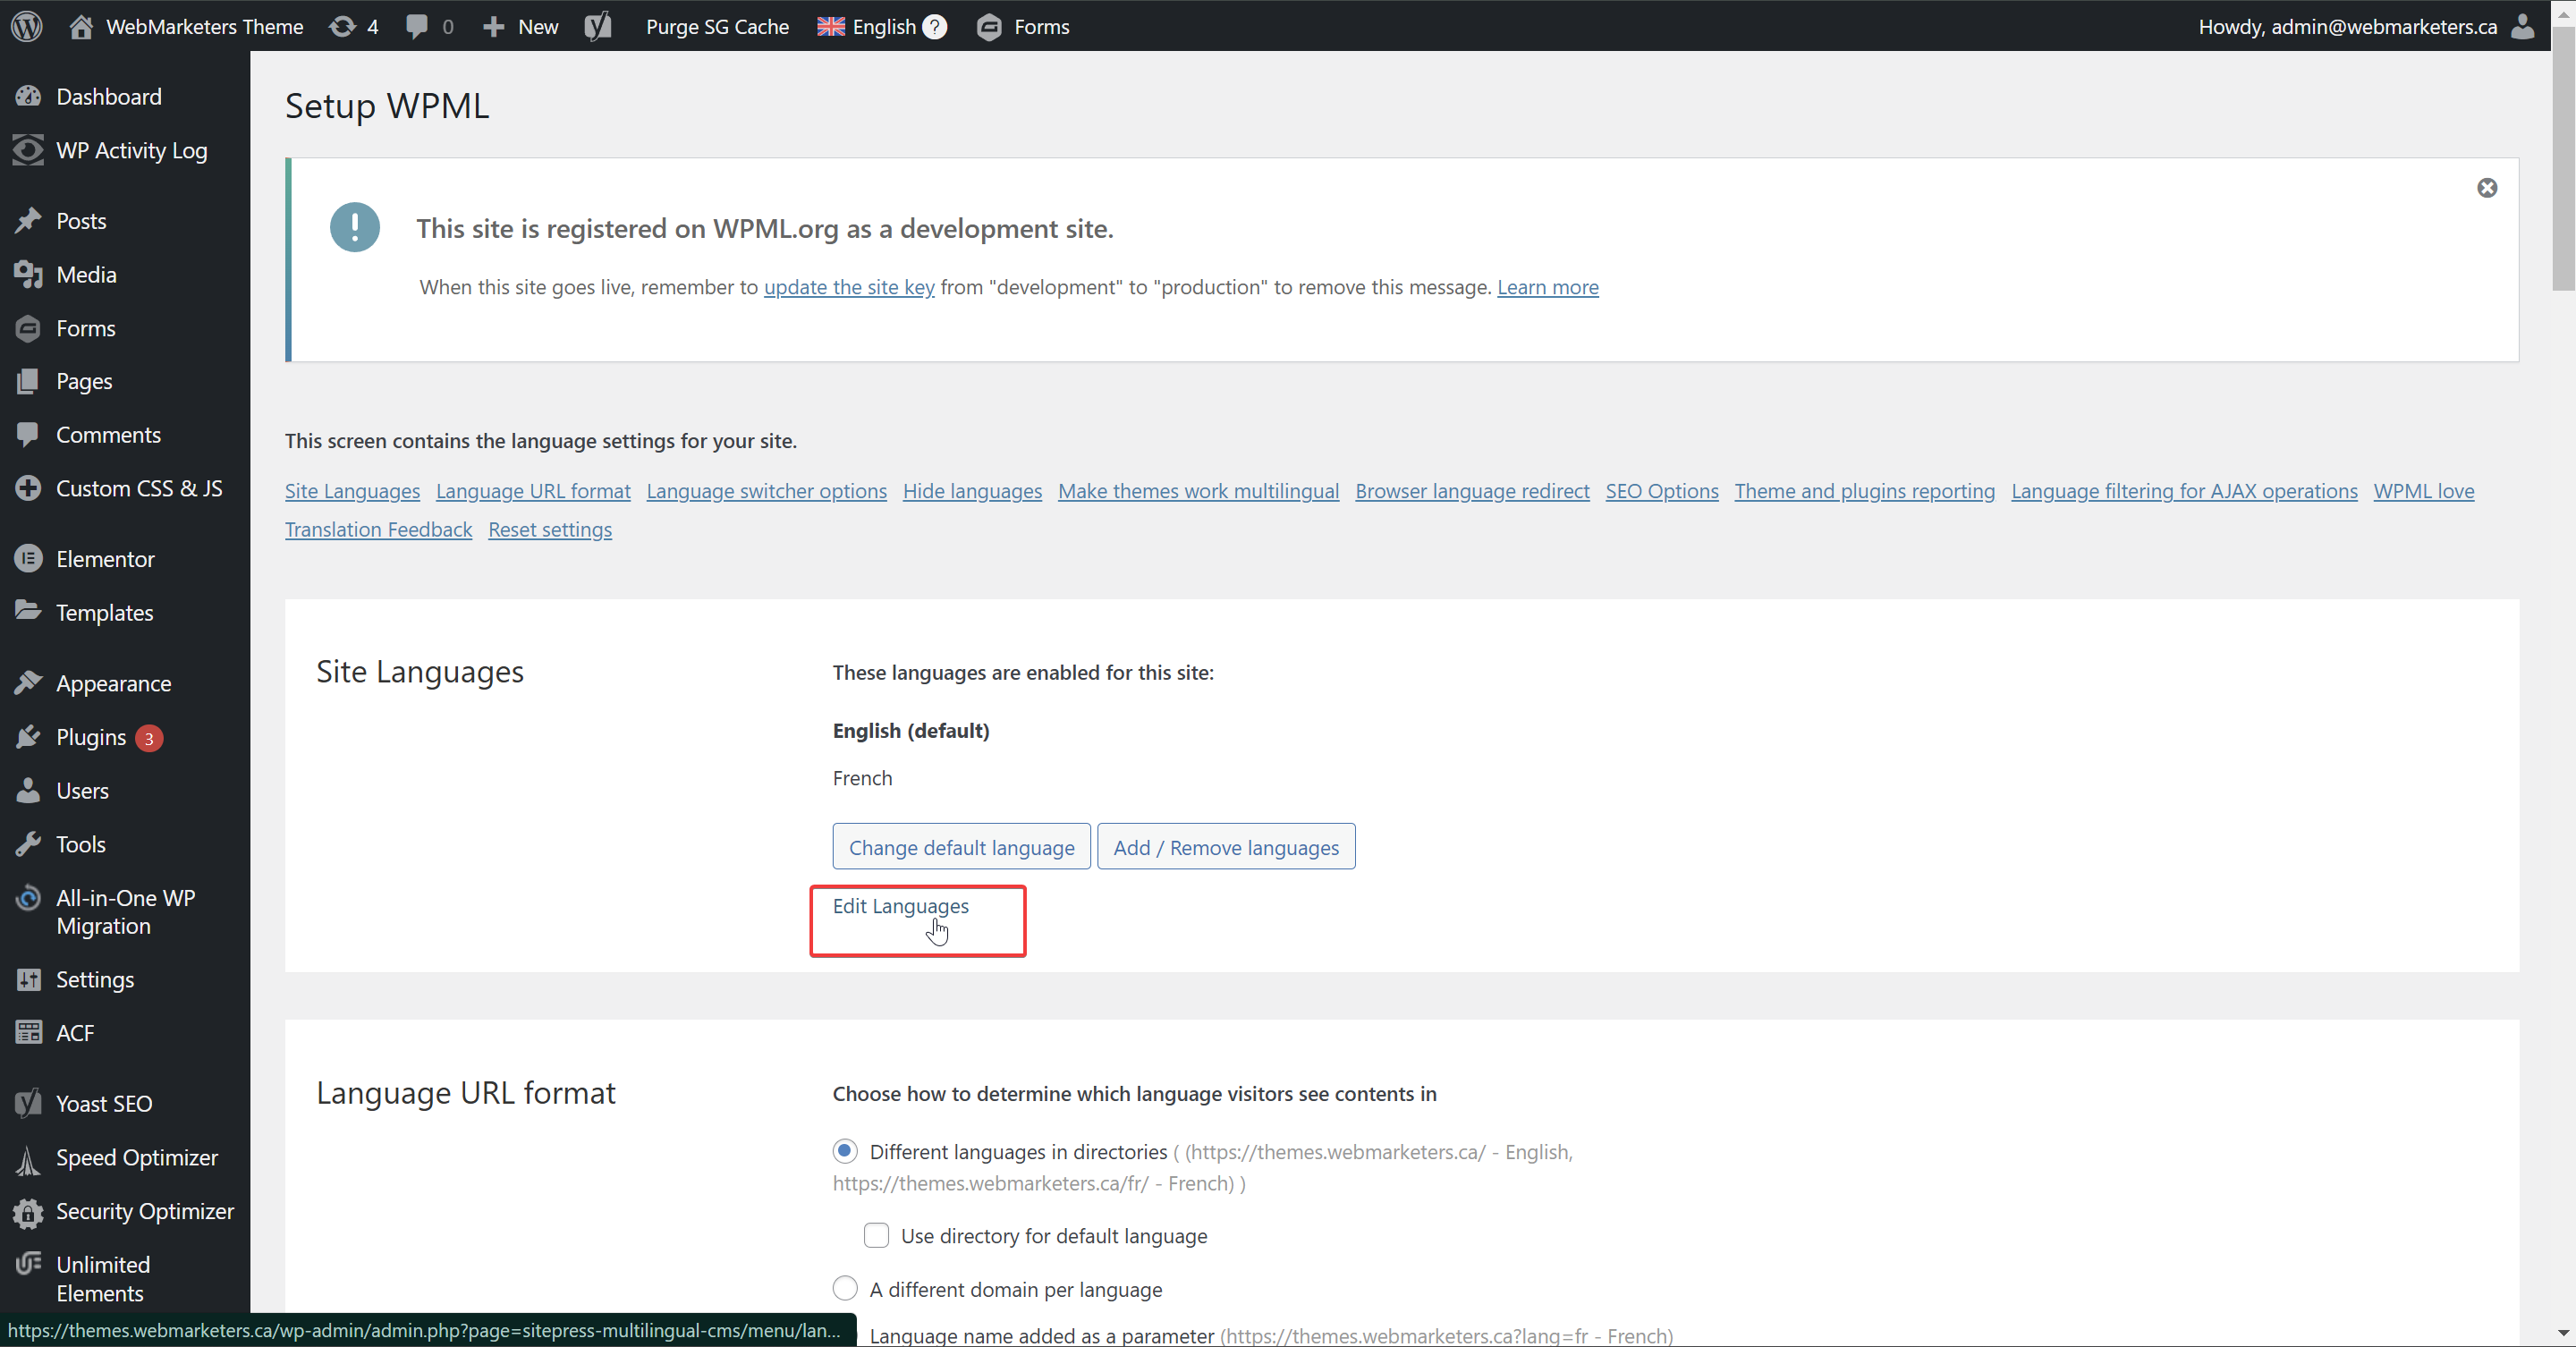
Step 6: In this site's WordPress Dashboard, navigate to WPML -> Languages
Under the "Site Languages" section, click "Edit Languages".
In the "Translation (English)" and "Translation (French)" columns, edit the language name to the language code, example: EN for English, and FR for French.
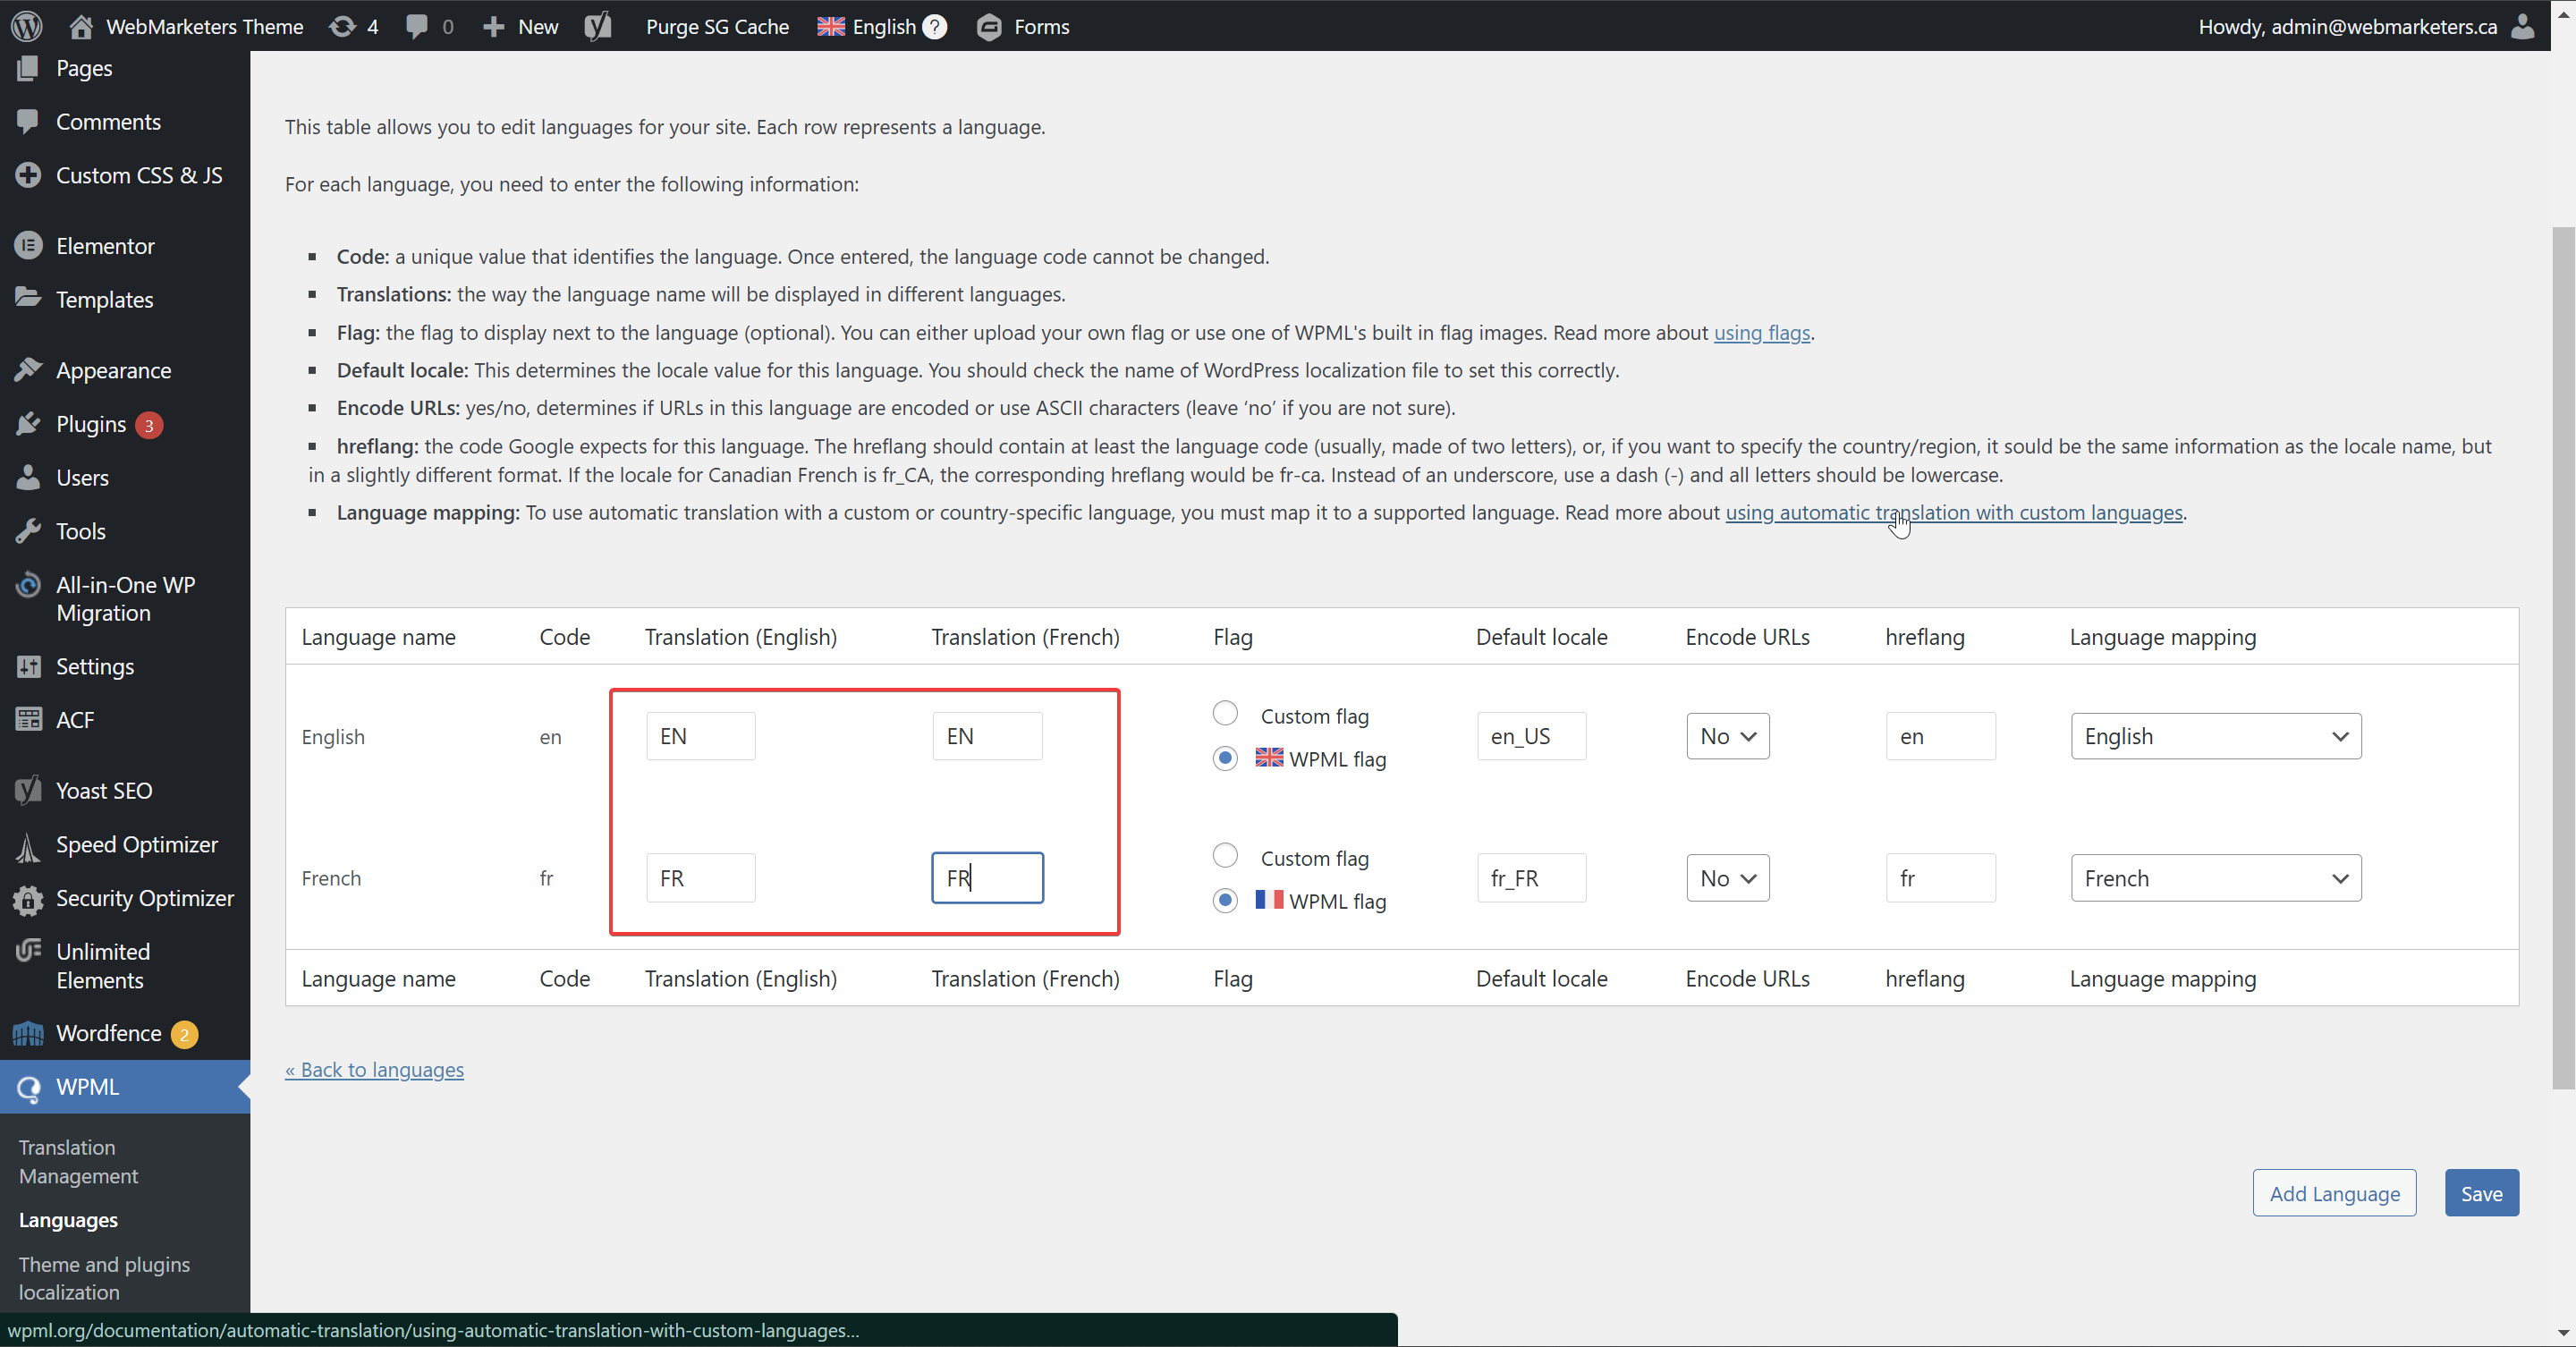
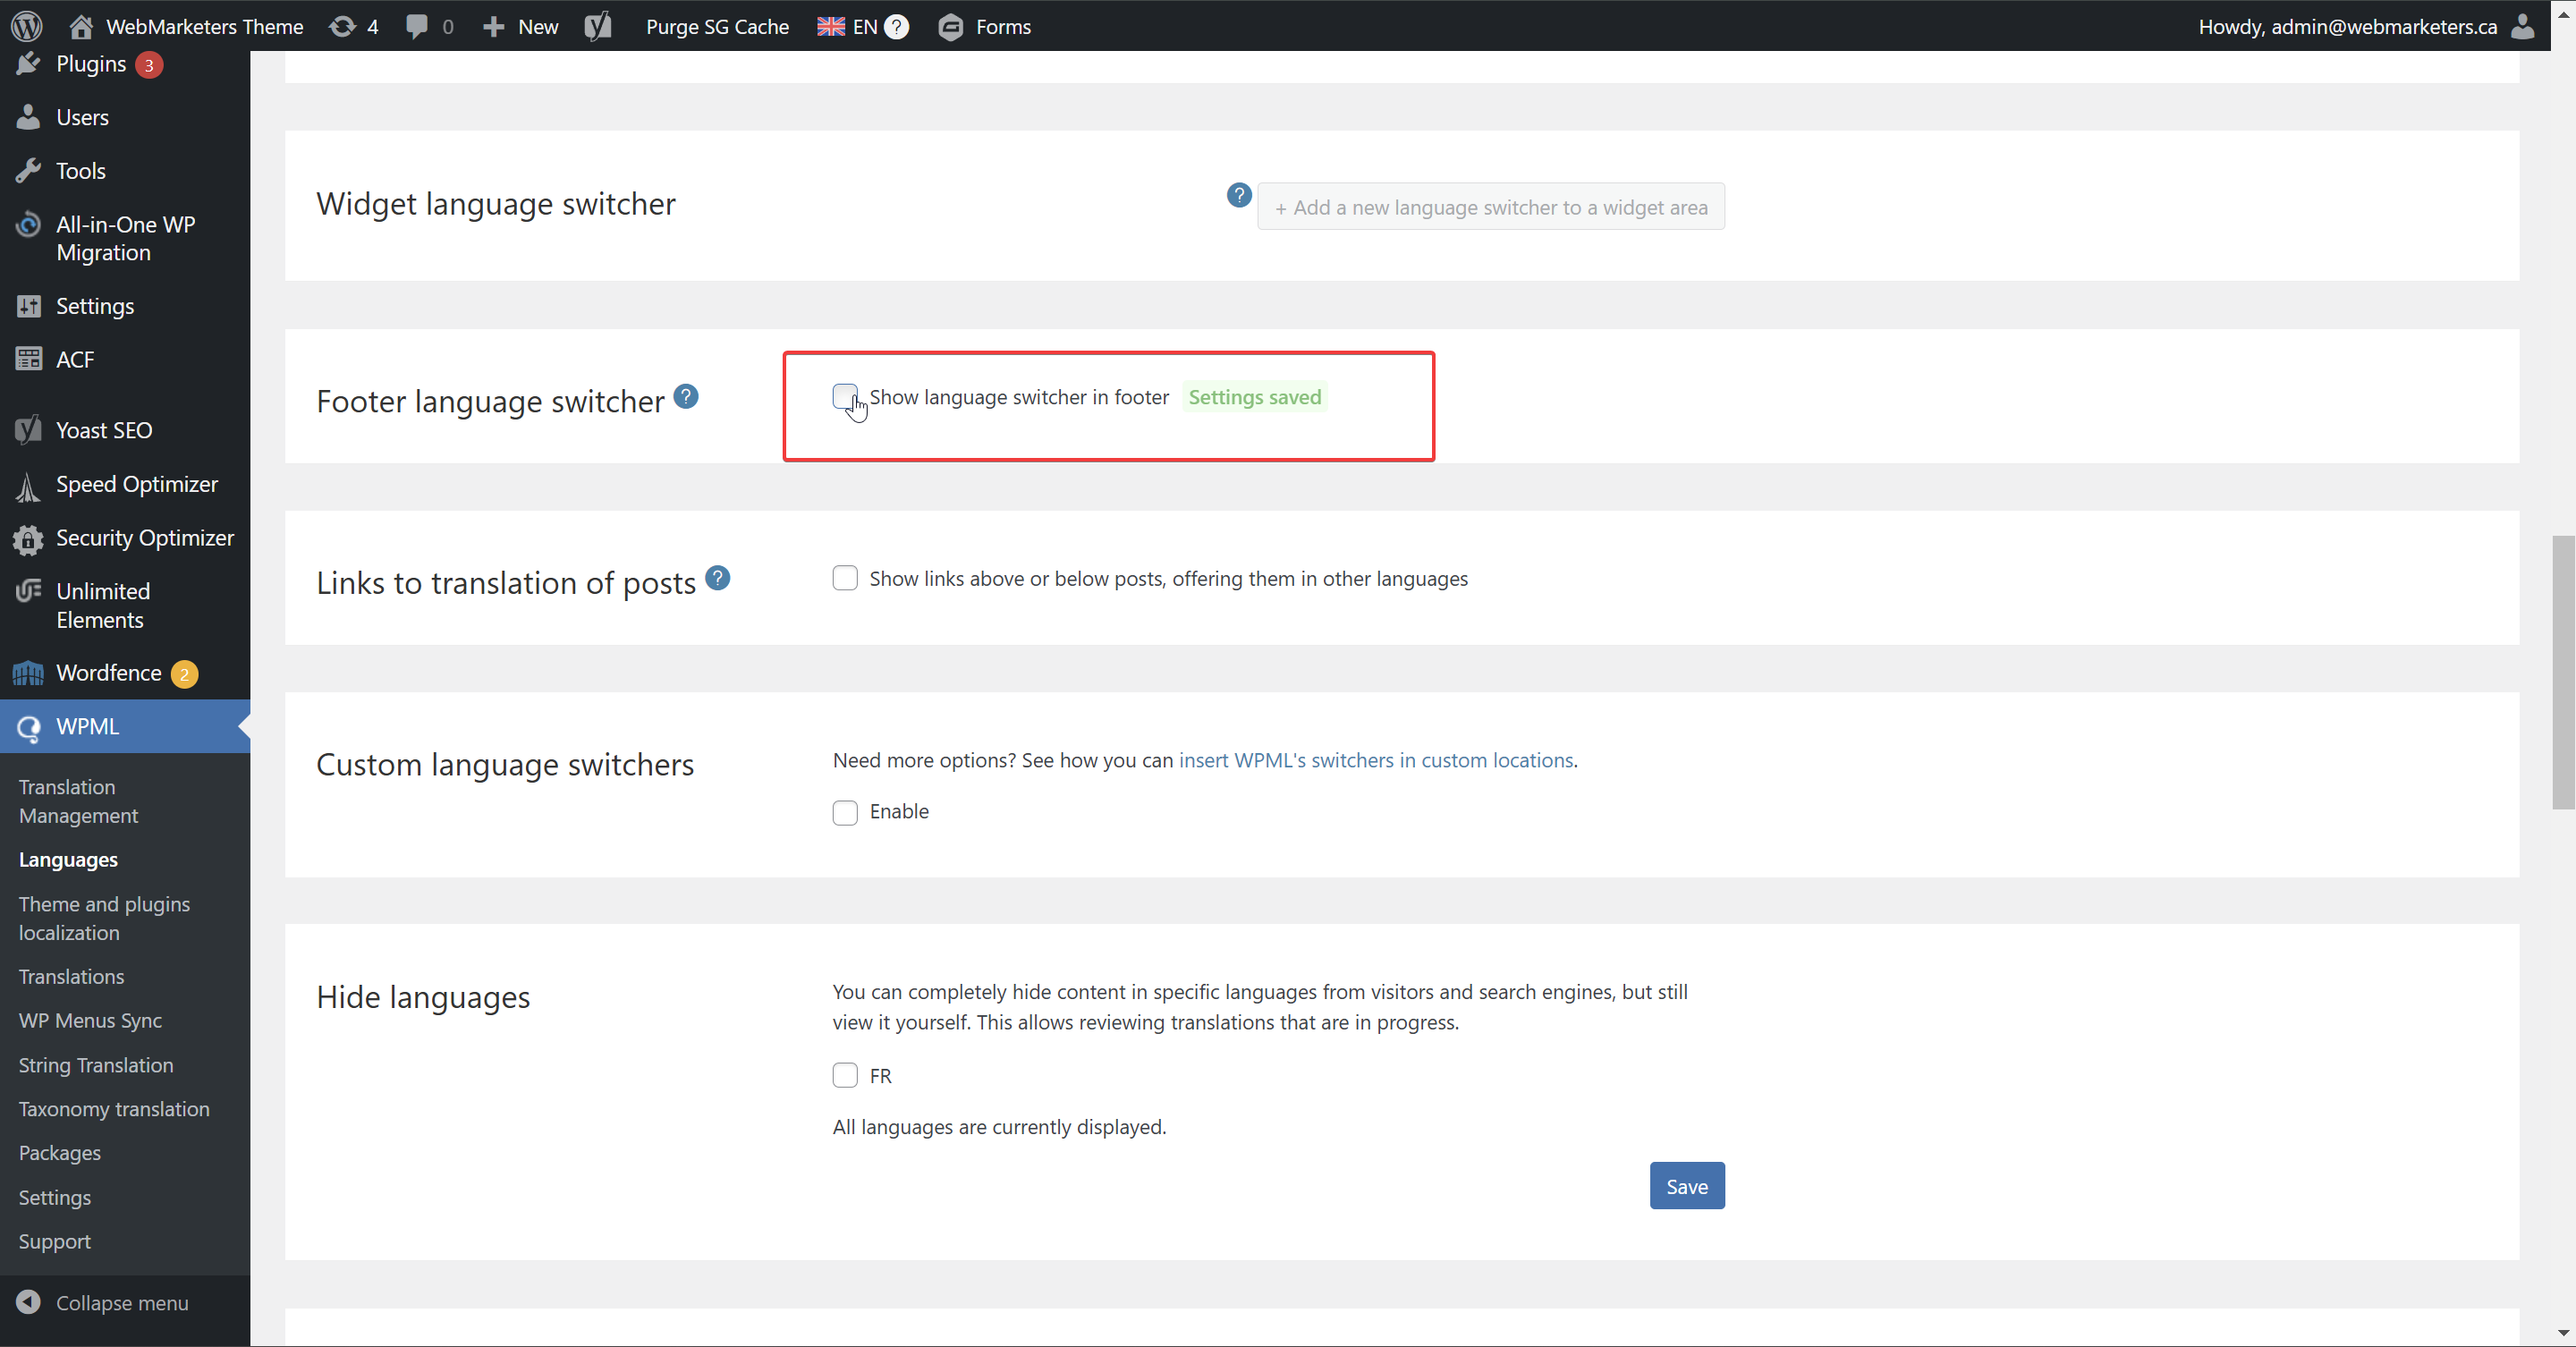
Click "Save", then "Back to Languages" and navigate to the "Footer language switcher" section.
Then, make sure that the "Show language switcher in footer" checkbox is unchecked.
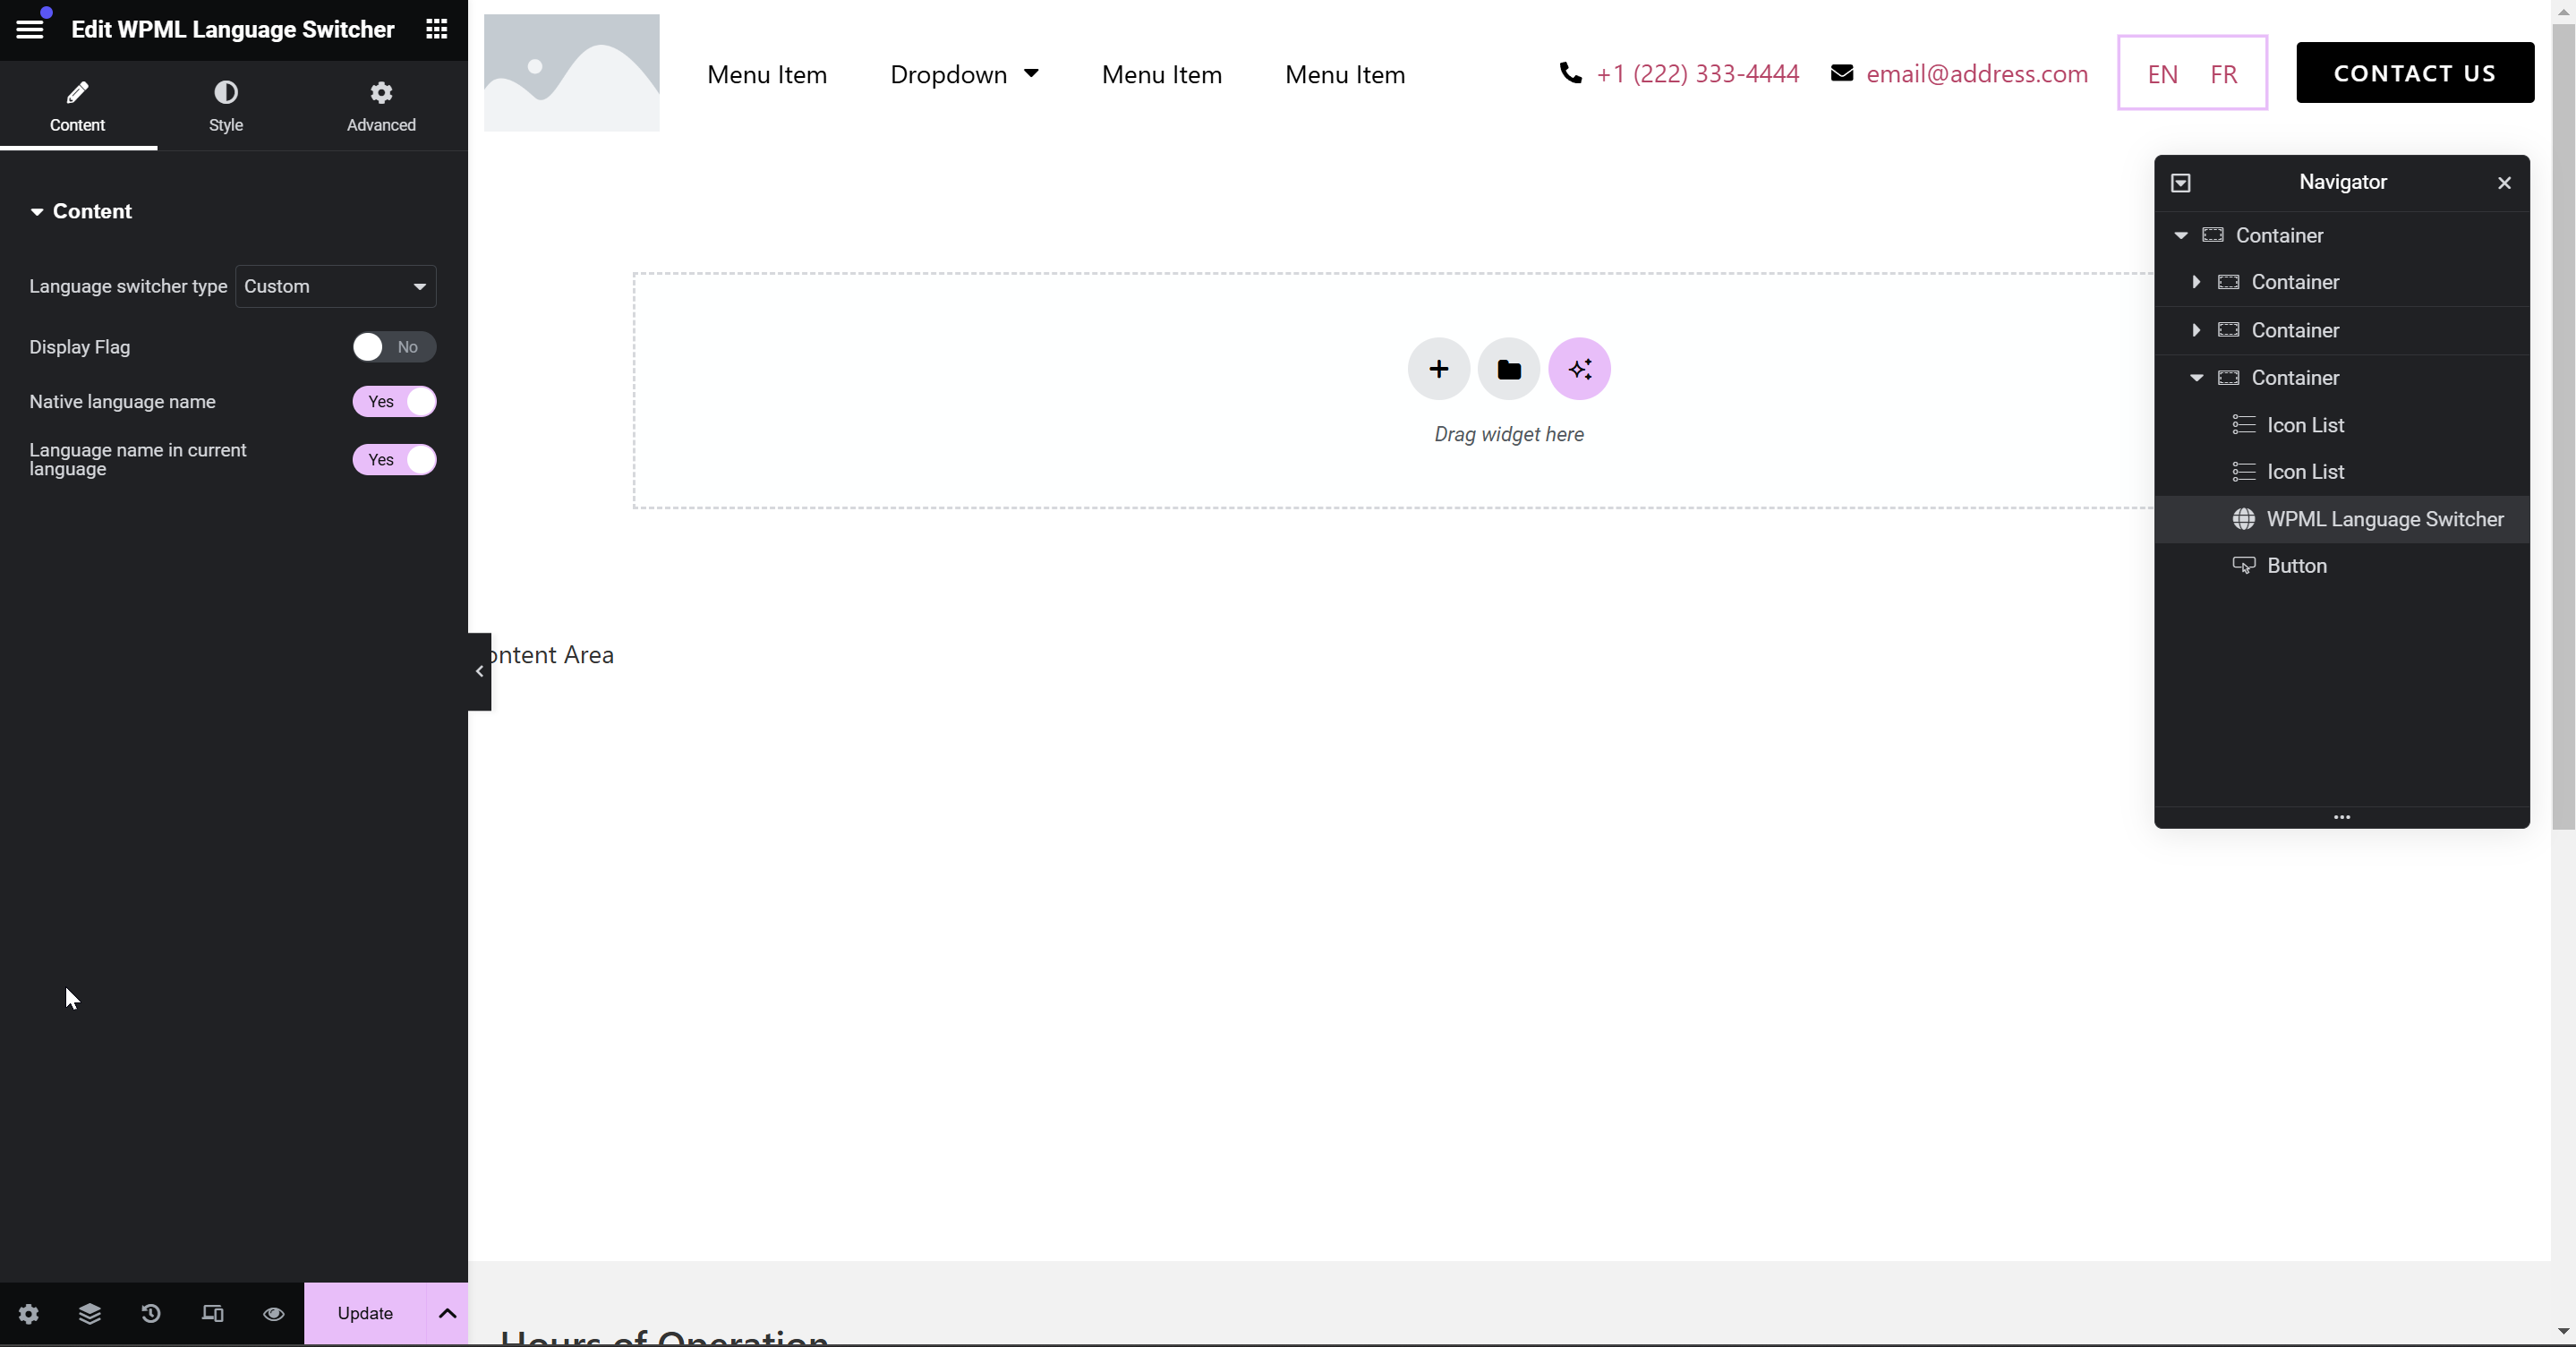
Step 7: Configure the header template & language switcher.
Load up the header template in Elementor editor, and search for the "WPML Language Switcher" widget, then drag and drop in its intended location.
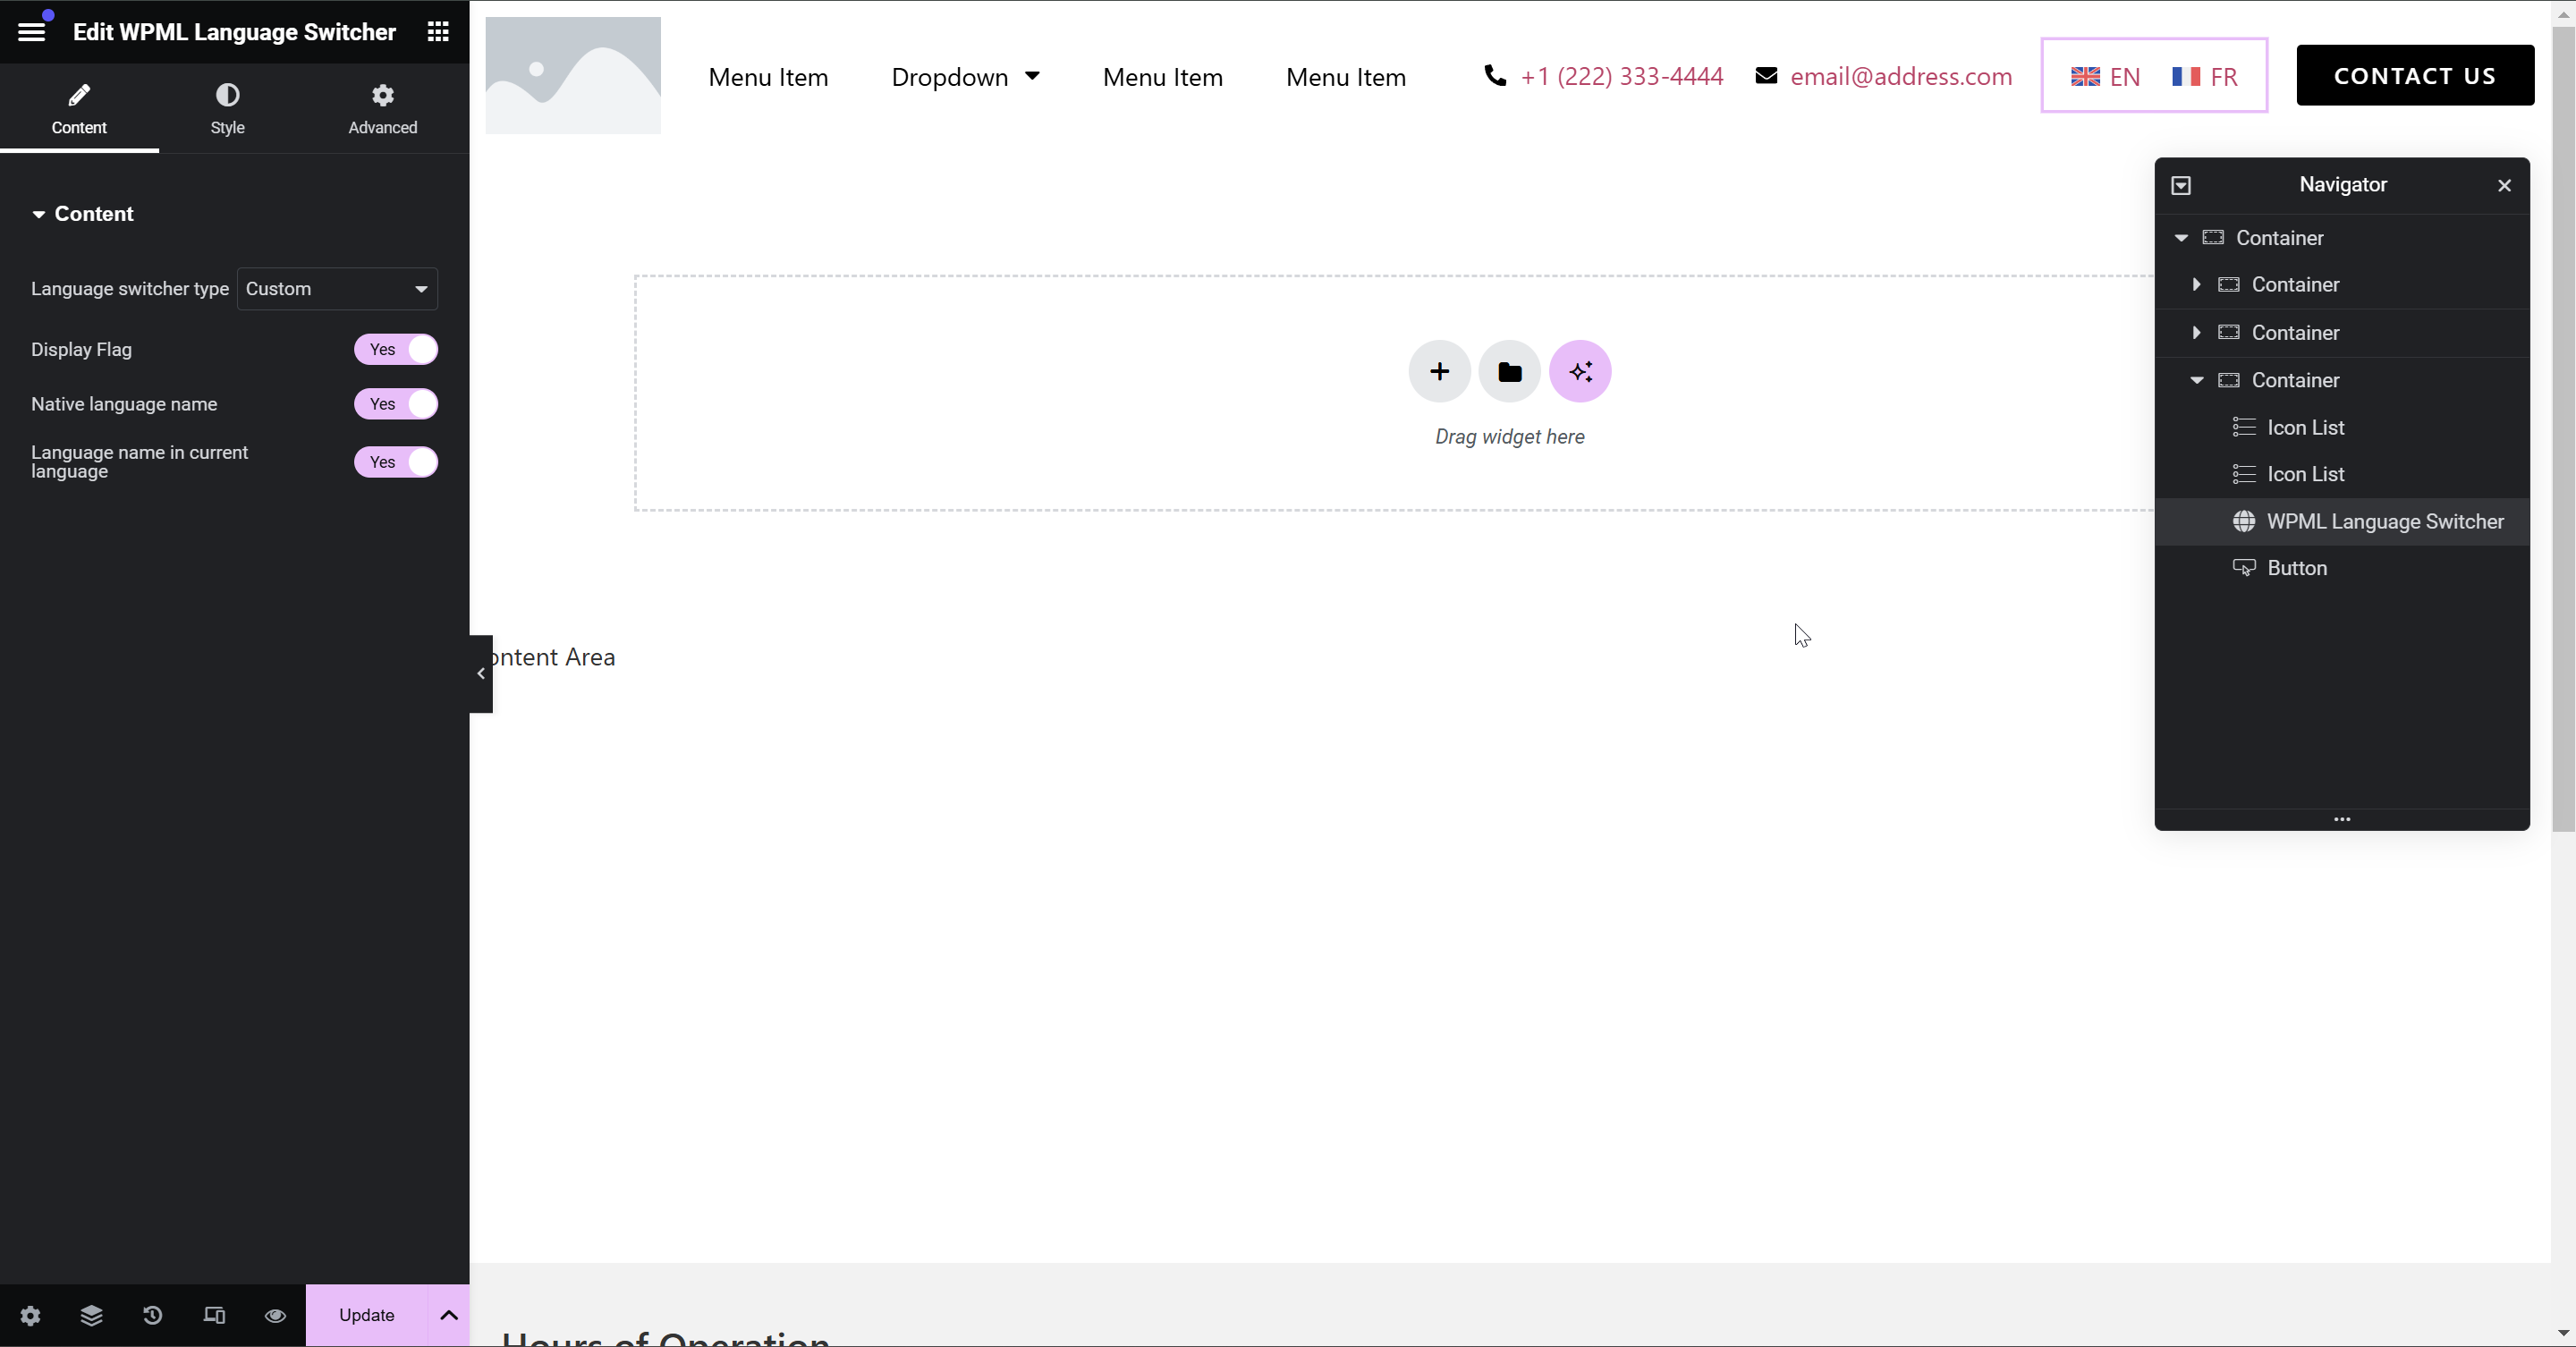
Then, adjust styles as needed. We usually set "Display Flag" to "No".
Step 8: Add & modify language switcher styles
/* Remove default padding on language switcher links */
.wpml-elementor-ls .wpml-ls, .wpml-elementor-ls .wpml-ls a {
padding: 0px;
}
/* Show border line between items and adjust padding when more than one language is active */
.wpml-elementor-ls .wpml-ls li:nth-child(2) {
border-left: 1px solid var(--e-global-color-primary);
}
.wpml-elementor-ls .wpml-ls ul li:not(:only-child) {
padding: 0px 15px;
}
/* Styling of individual language names or codes */
.wpml-elementor-ls .wpml-ls ul, .wpml-elementor-ls .wpml-ls ul span {
line-height: 0px;
}
.wpml-elementor-ls .wpml-ls ul li a span {
font-size: 13px;
font-weight: 700;
}
.wpml-elementor-ls .wpml-ls ul li a, .wpml-elementor-ls .wpml-ls ul li a span {
line-height: 13px;
}
/* Change the language color for the active language, using Elementor's Global Primary Color */
.wpml-elementor-ls .wpml-ls .wpml-ls-item.wpml-ls-current-language a span {
color: var(--e-global-color-primary);
}
/* Change the language color for the other language, using Elementor's Global Accent Color */
.wpml-elementor-ls .wpml-ls .wpml-ls-item:not(.wpml-ls-current-language) a span {
color: var(--e-global-color-accent);
}
Anti-Spam by CleanTalk
What is CleanTalk?
The "Anti-spam by CleanTalk" WordPress plugin is a cloud-based solution that automatically blocks spam comments, registrations, contact form submissions, and other types of spam across your site without using CAPTCHA or intrusive challenges. It works silently in the background by analyzing user behavior and validating email addresses in real time, ensuring a smooth experience for legitimate visitors. The plugin also includes features like spam firewalls, blacklist checks, and compatibility with WooCommerce and other major plugins.
This guide's steps assume you are installing and configuring the plugin from scratch. If the plugin is already installed on your website, the steps or results may vary.
How do I set it up on a WordPress website?
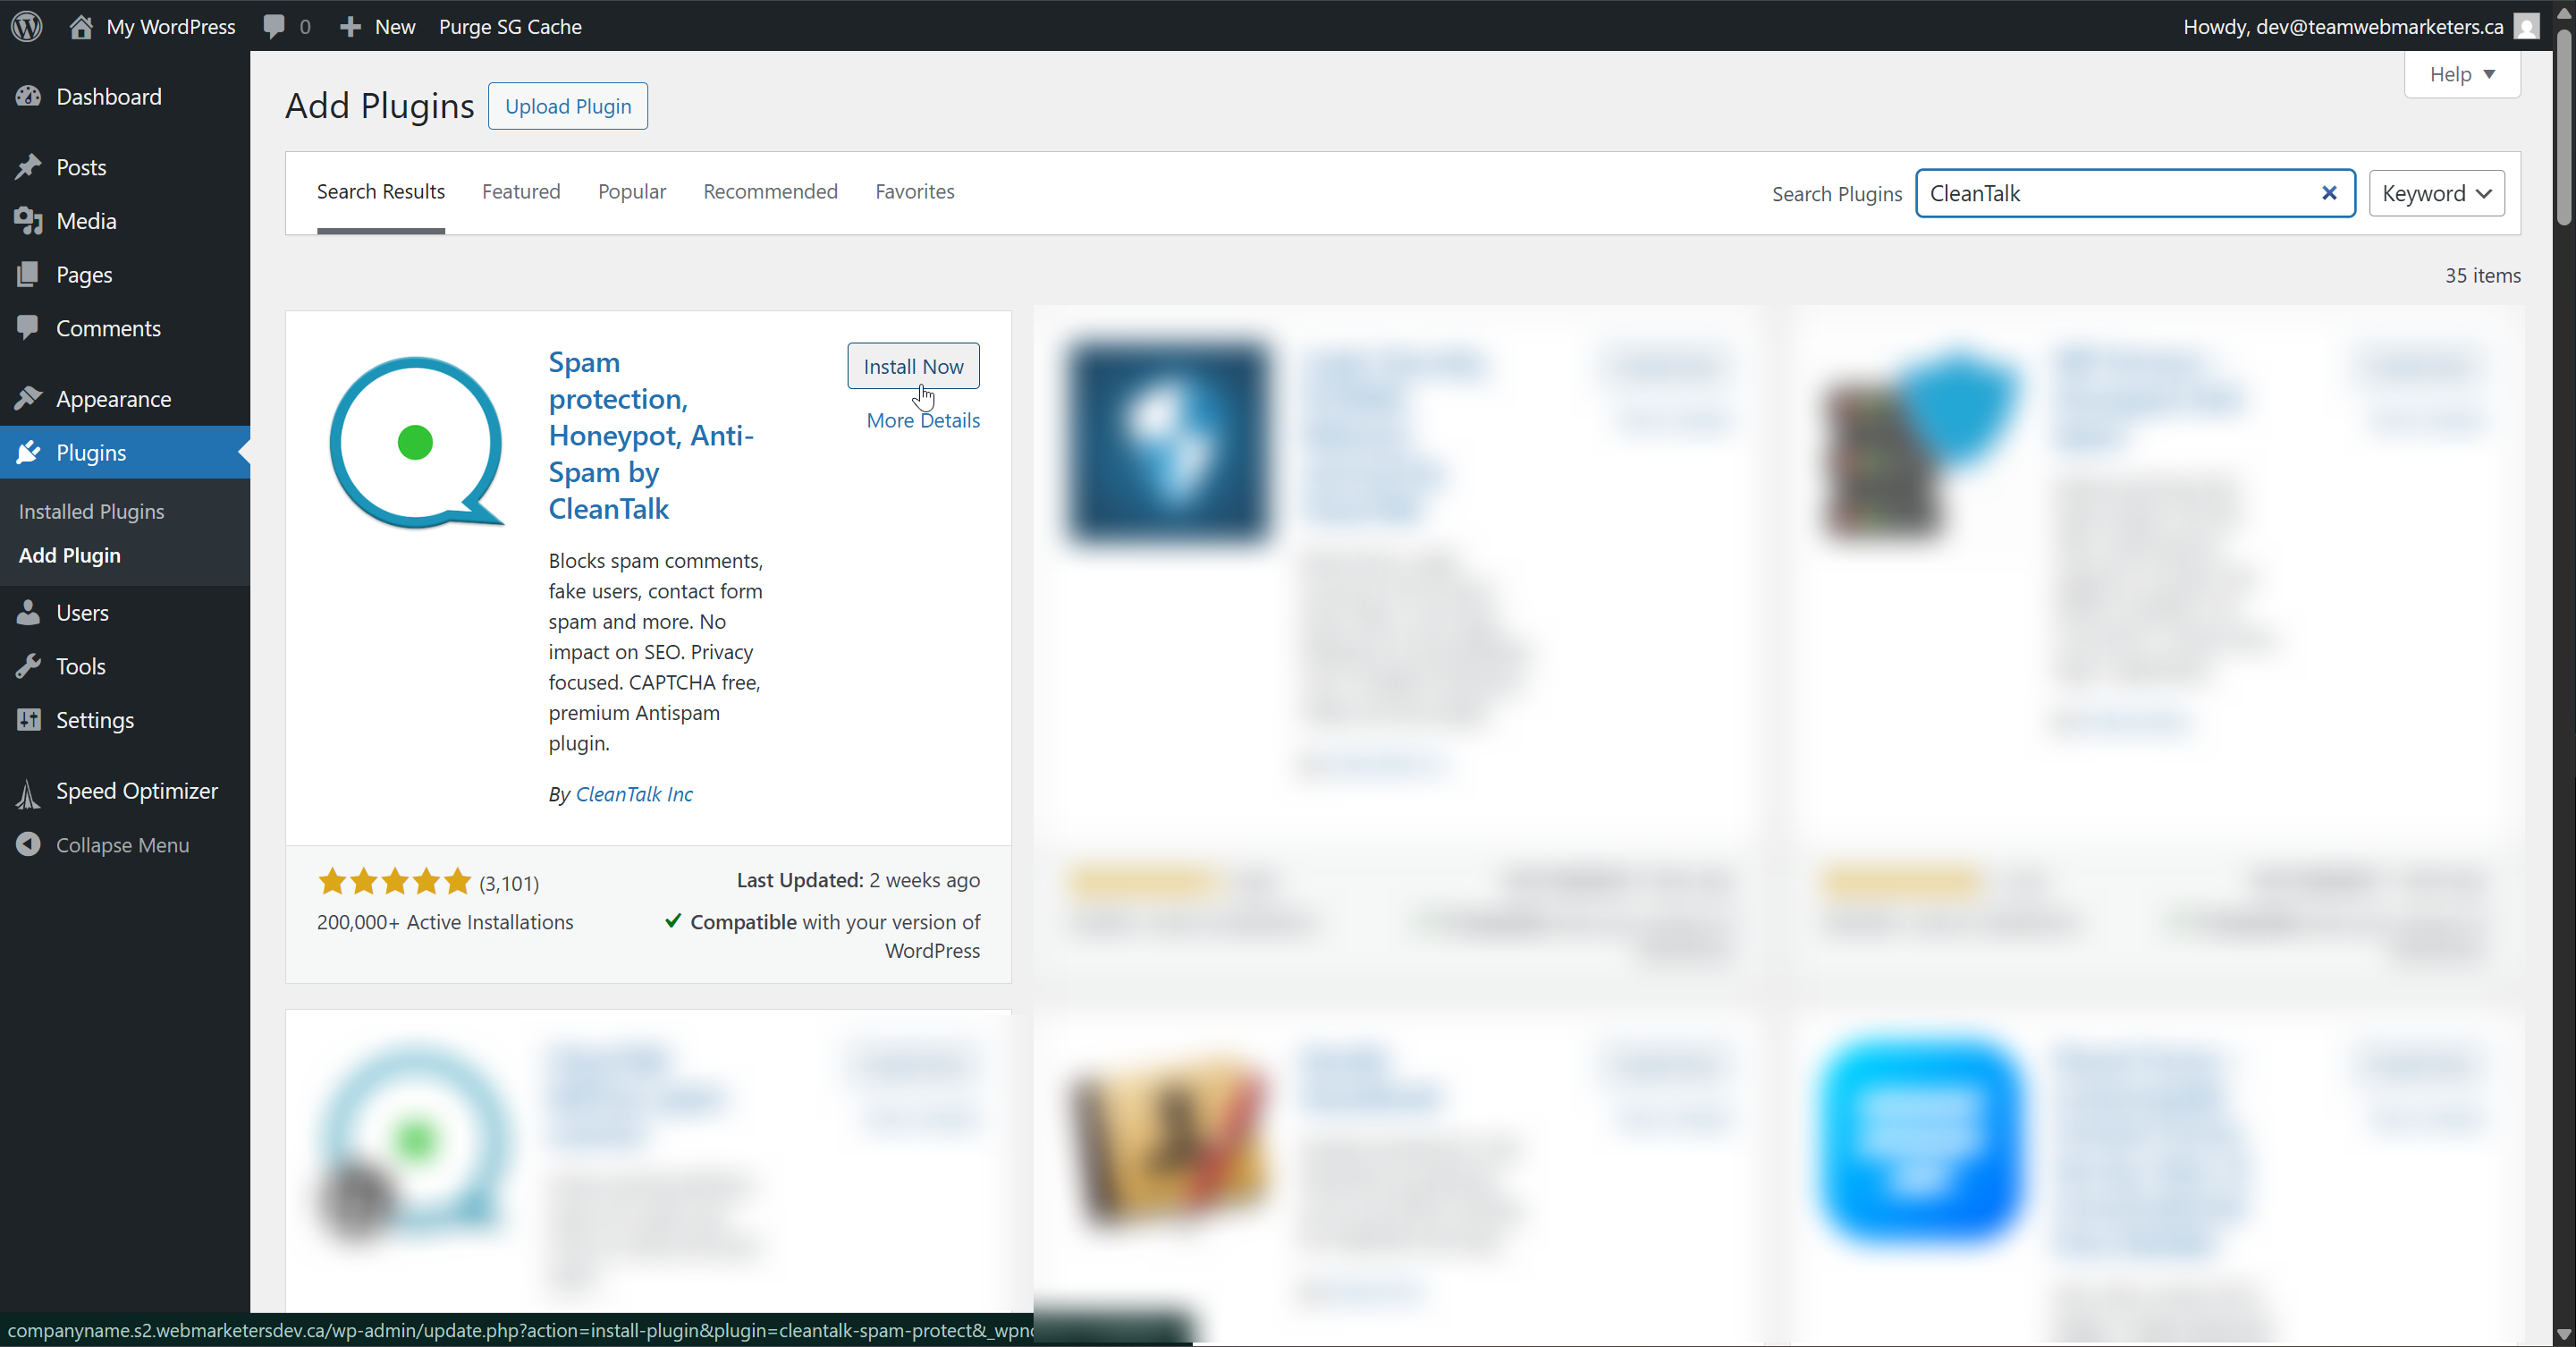
1. Install & Activate the plugin
Name: Spam protection, Honeypot, Anti-Spam by CleanTalk
Author: CleanTalk Inc
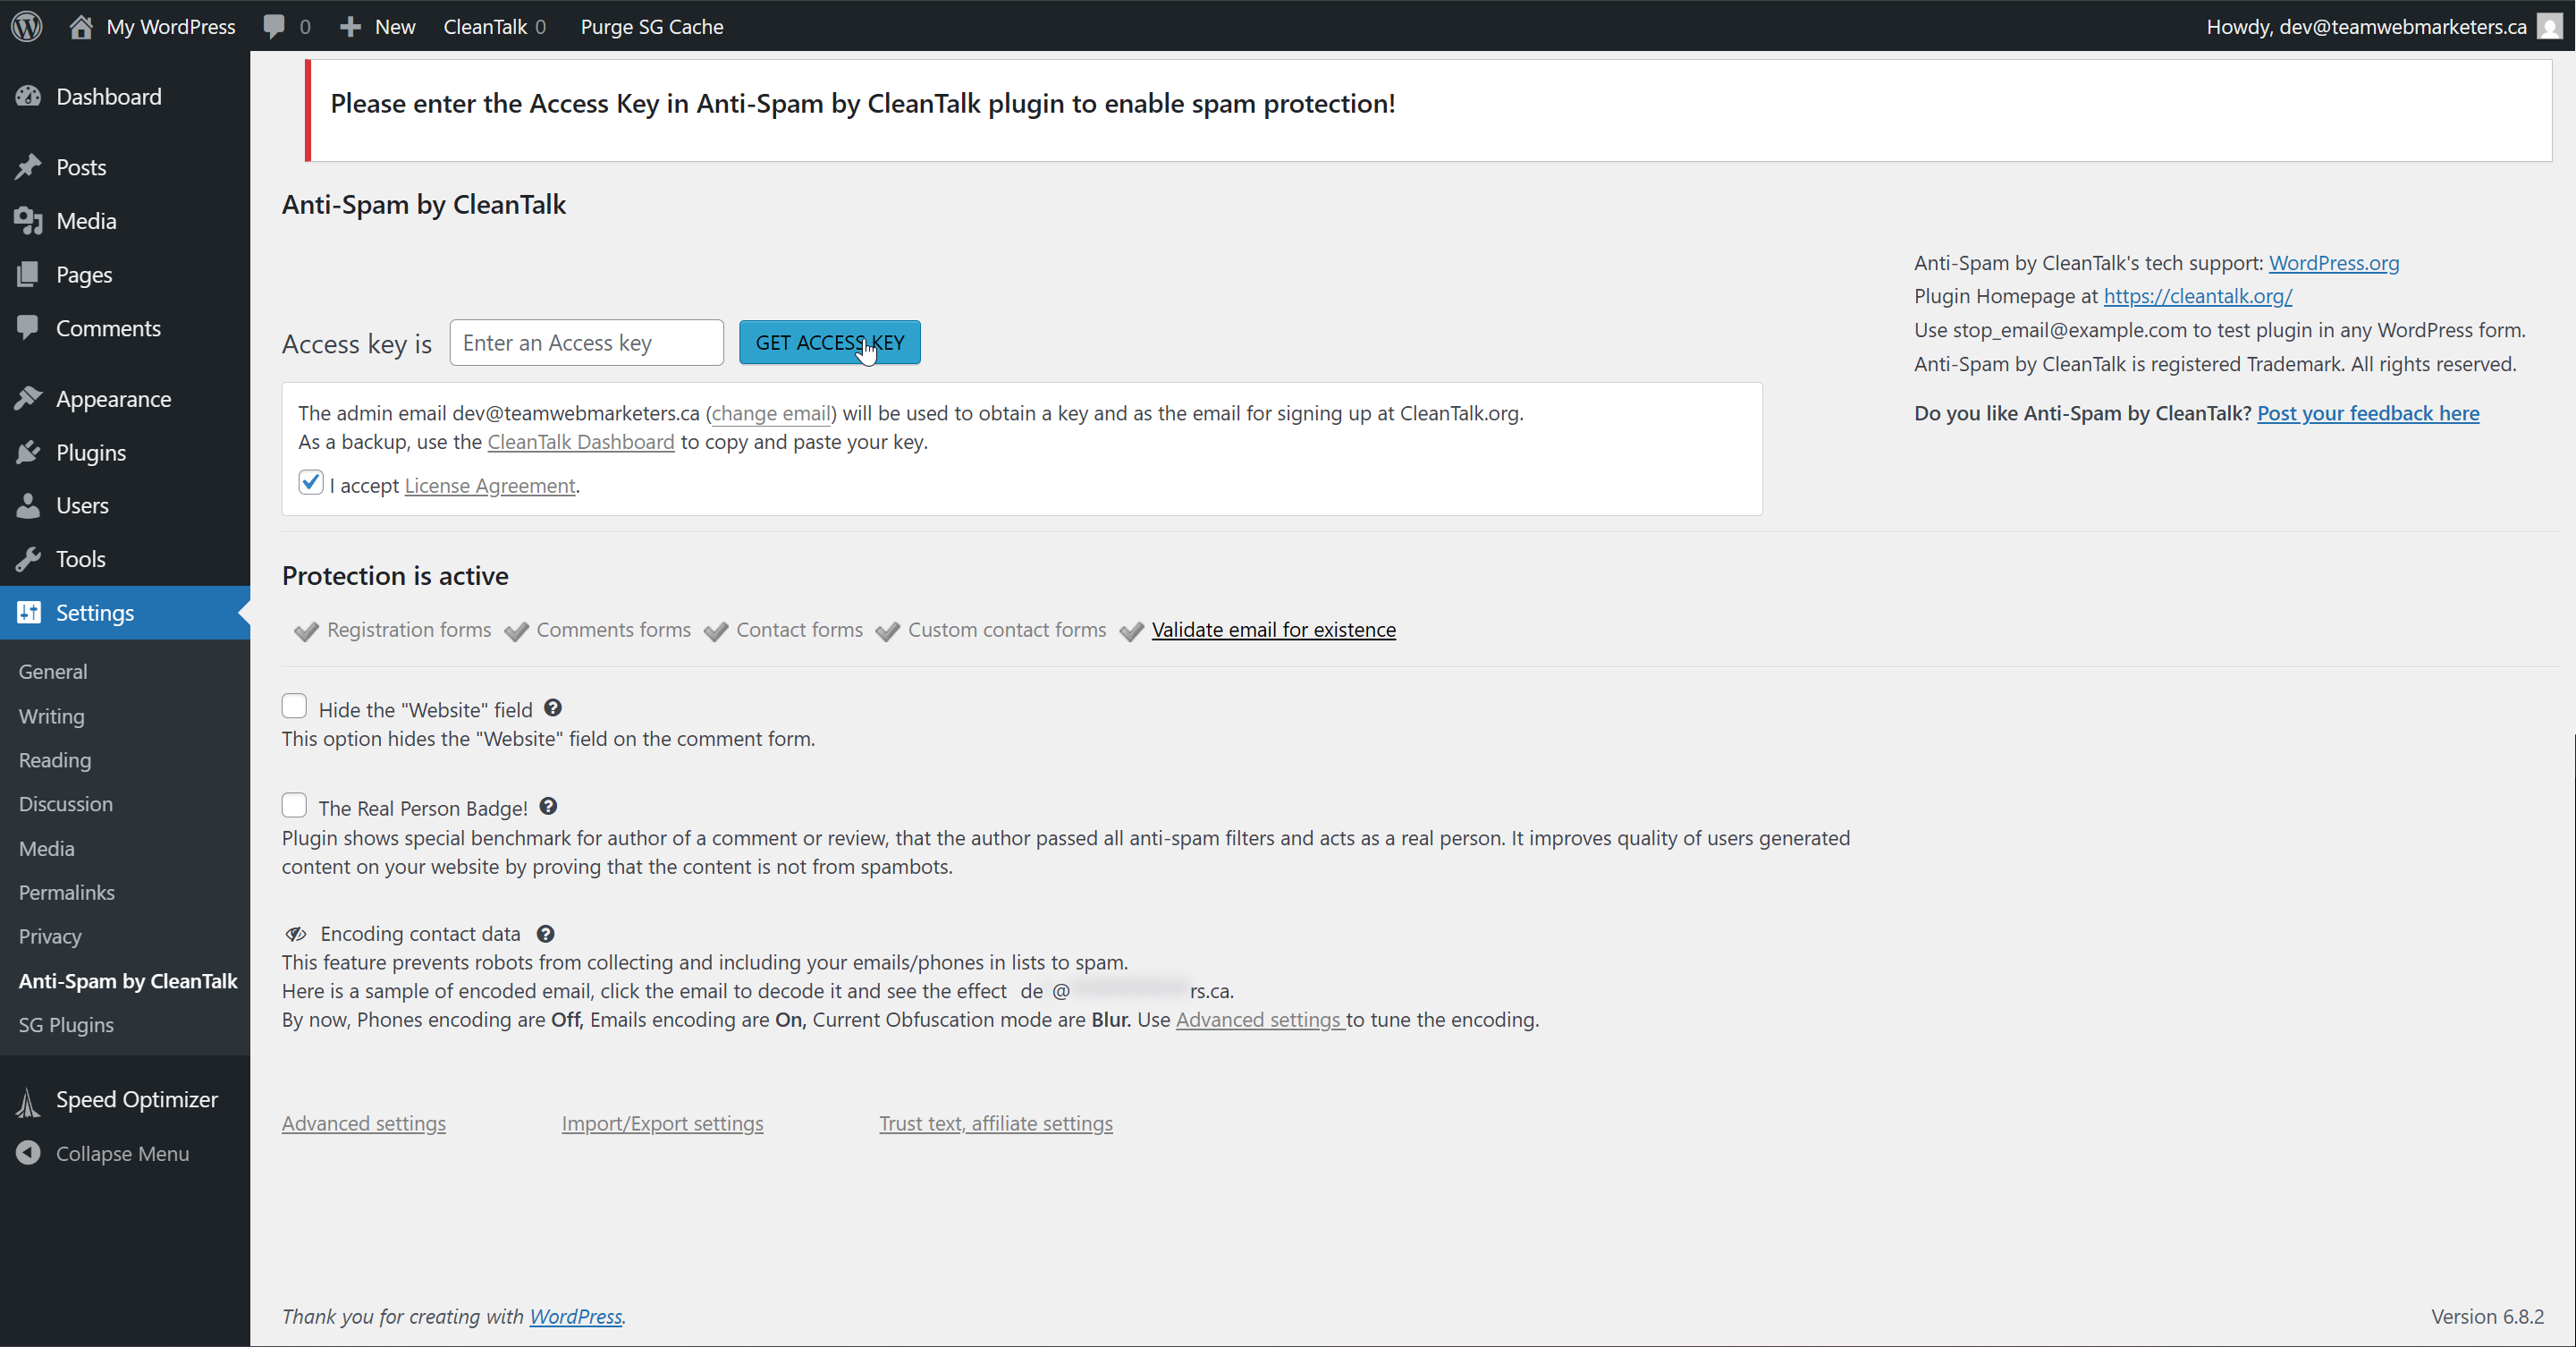
2. Generate & Add the Access Key
First, click the "Get Access Key" button.
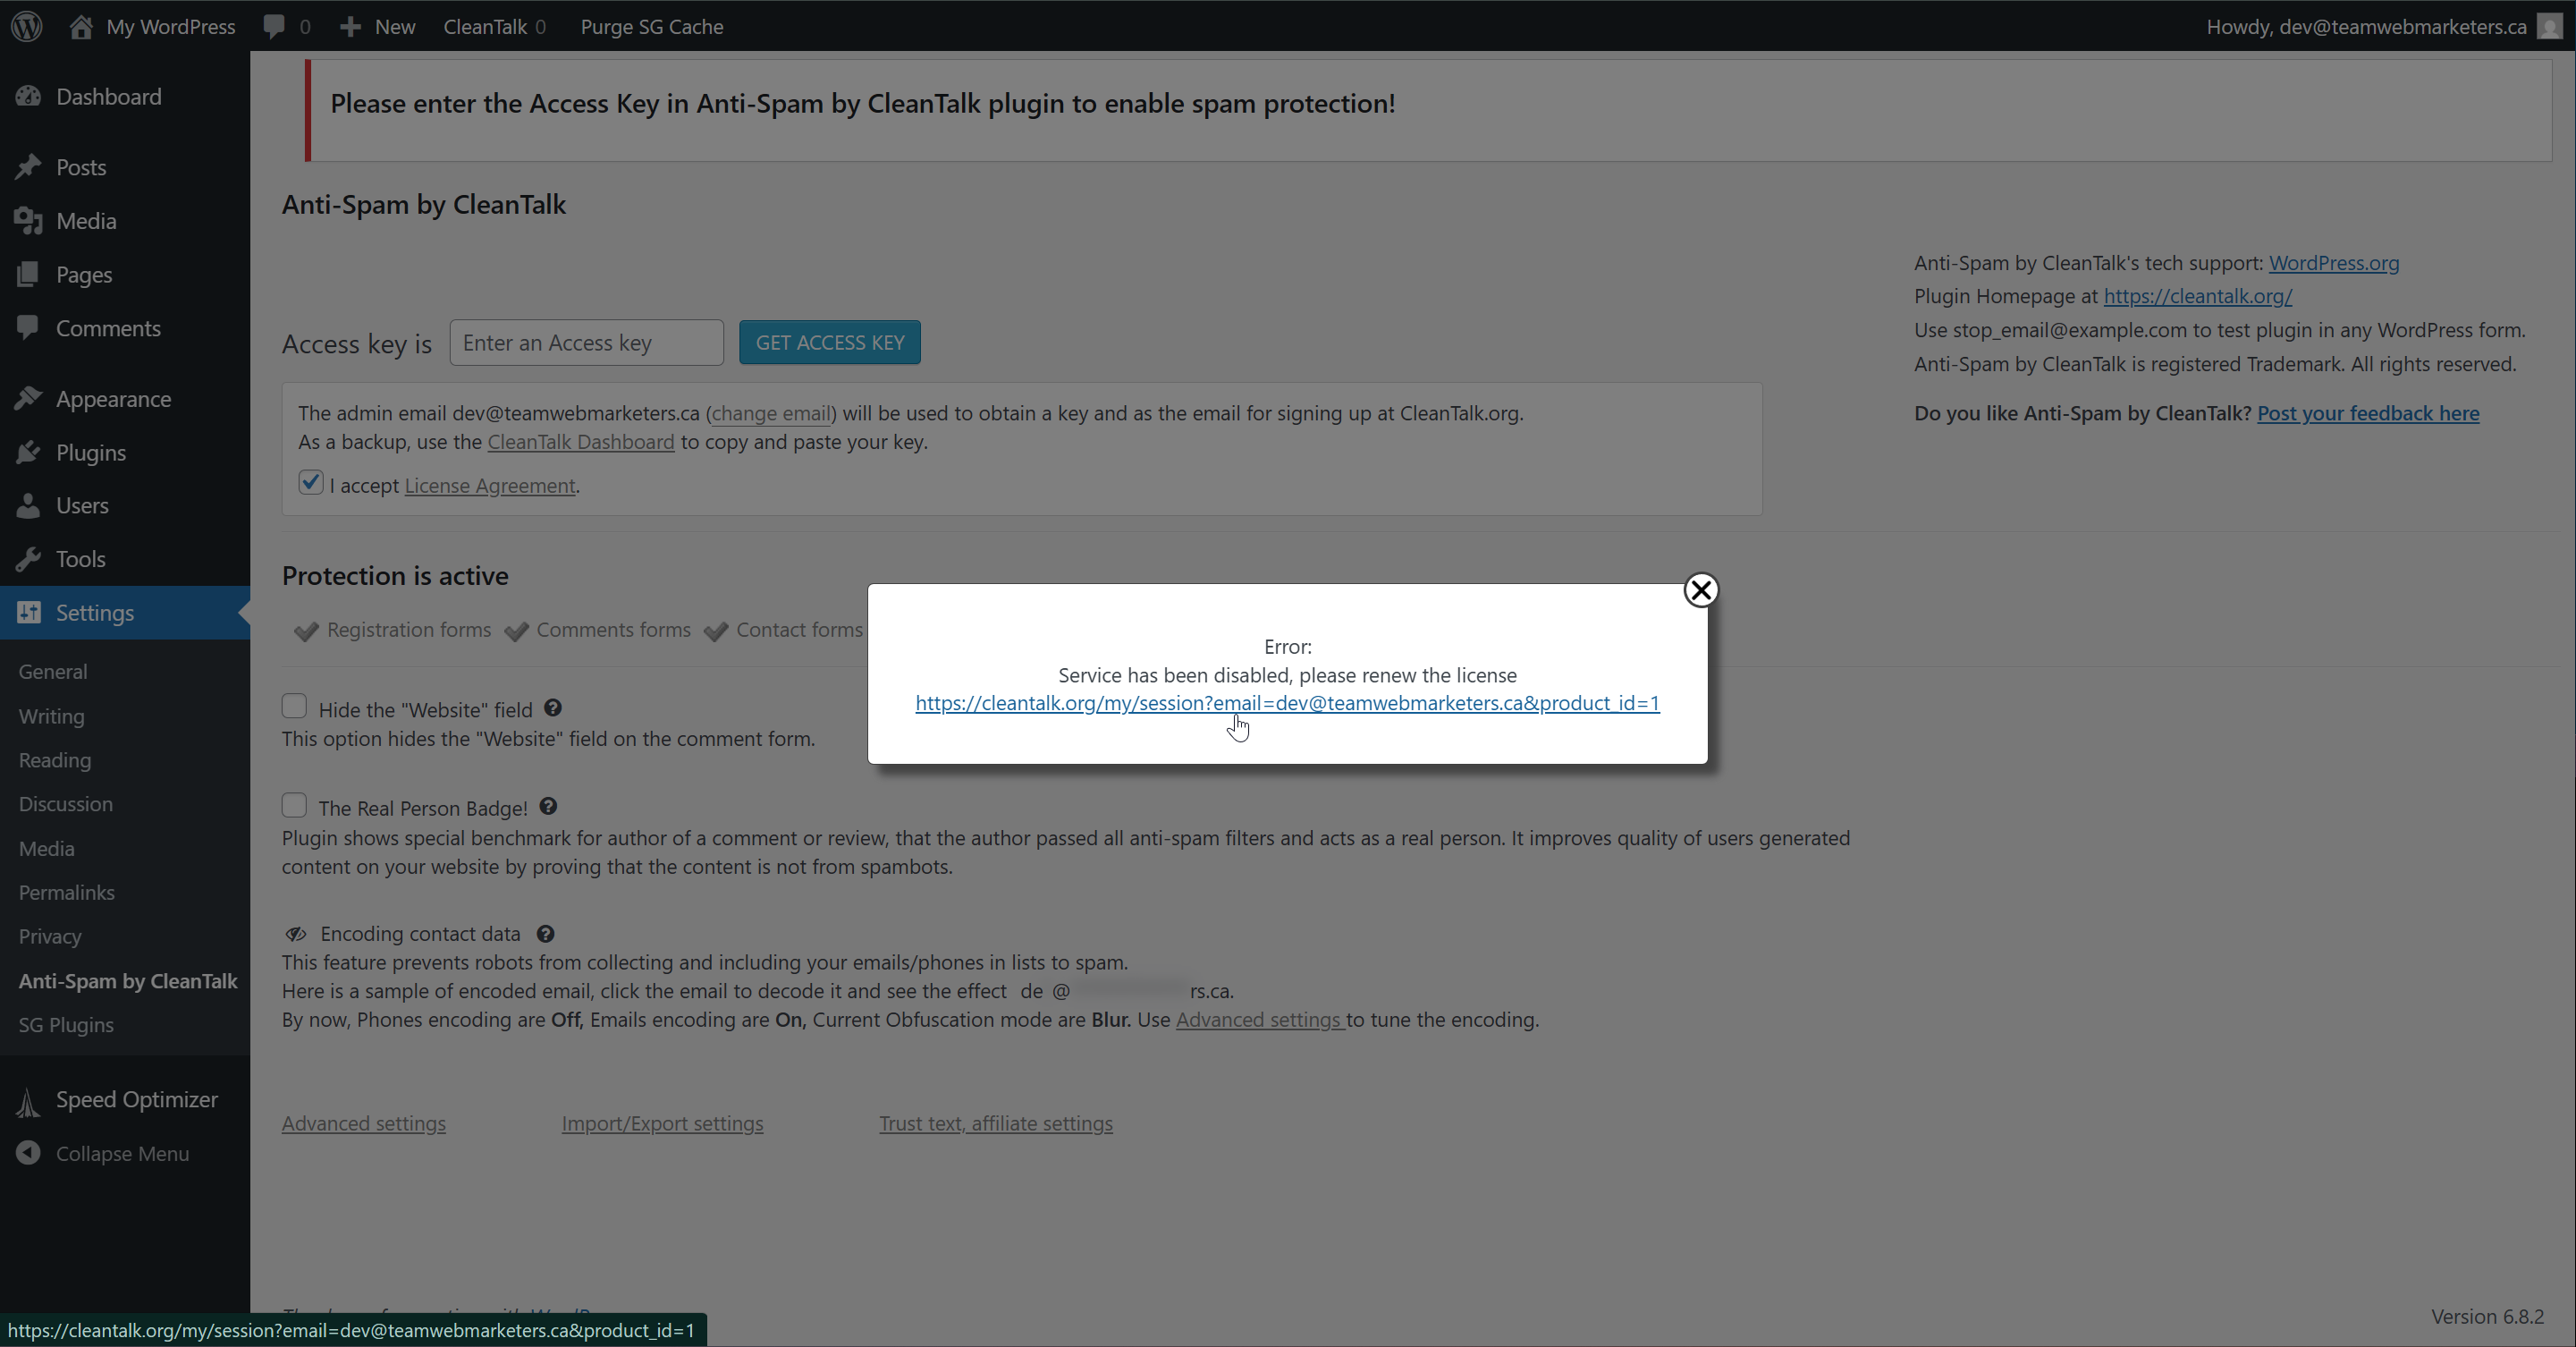
Second, you should get this popup.
Click the link.
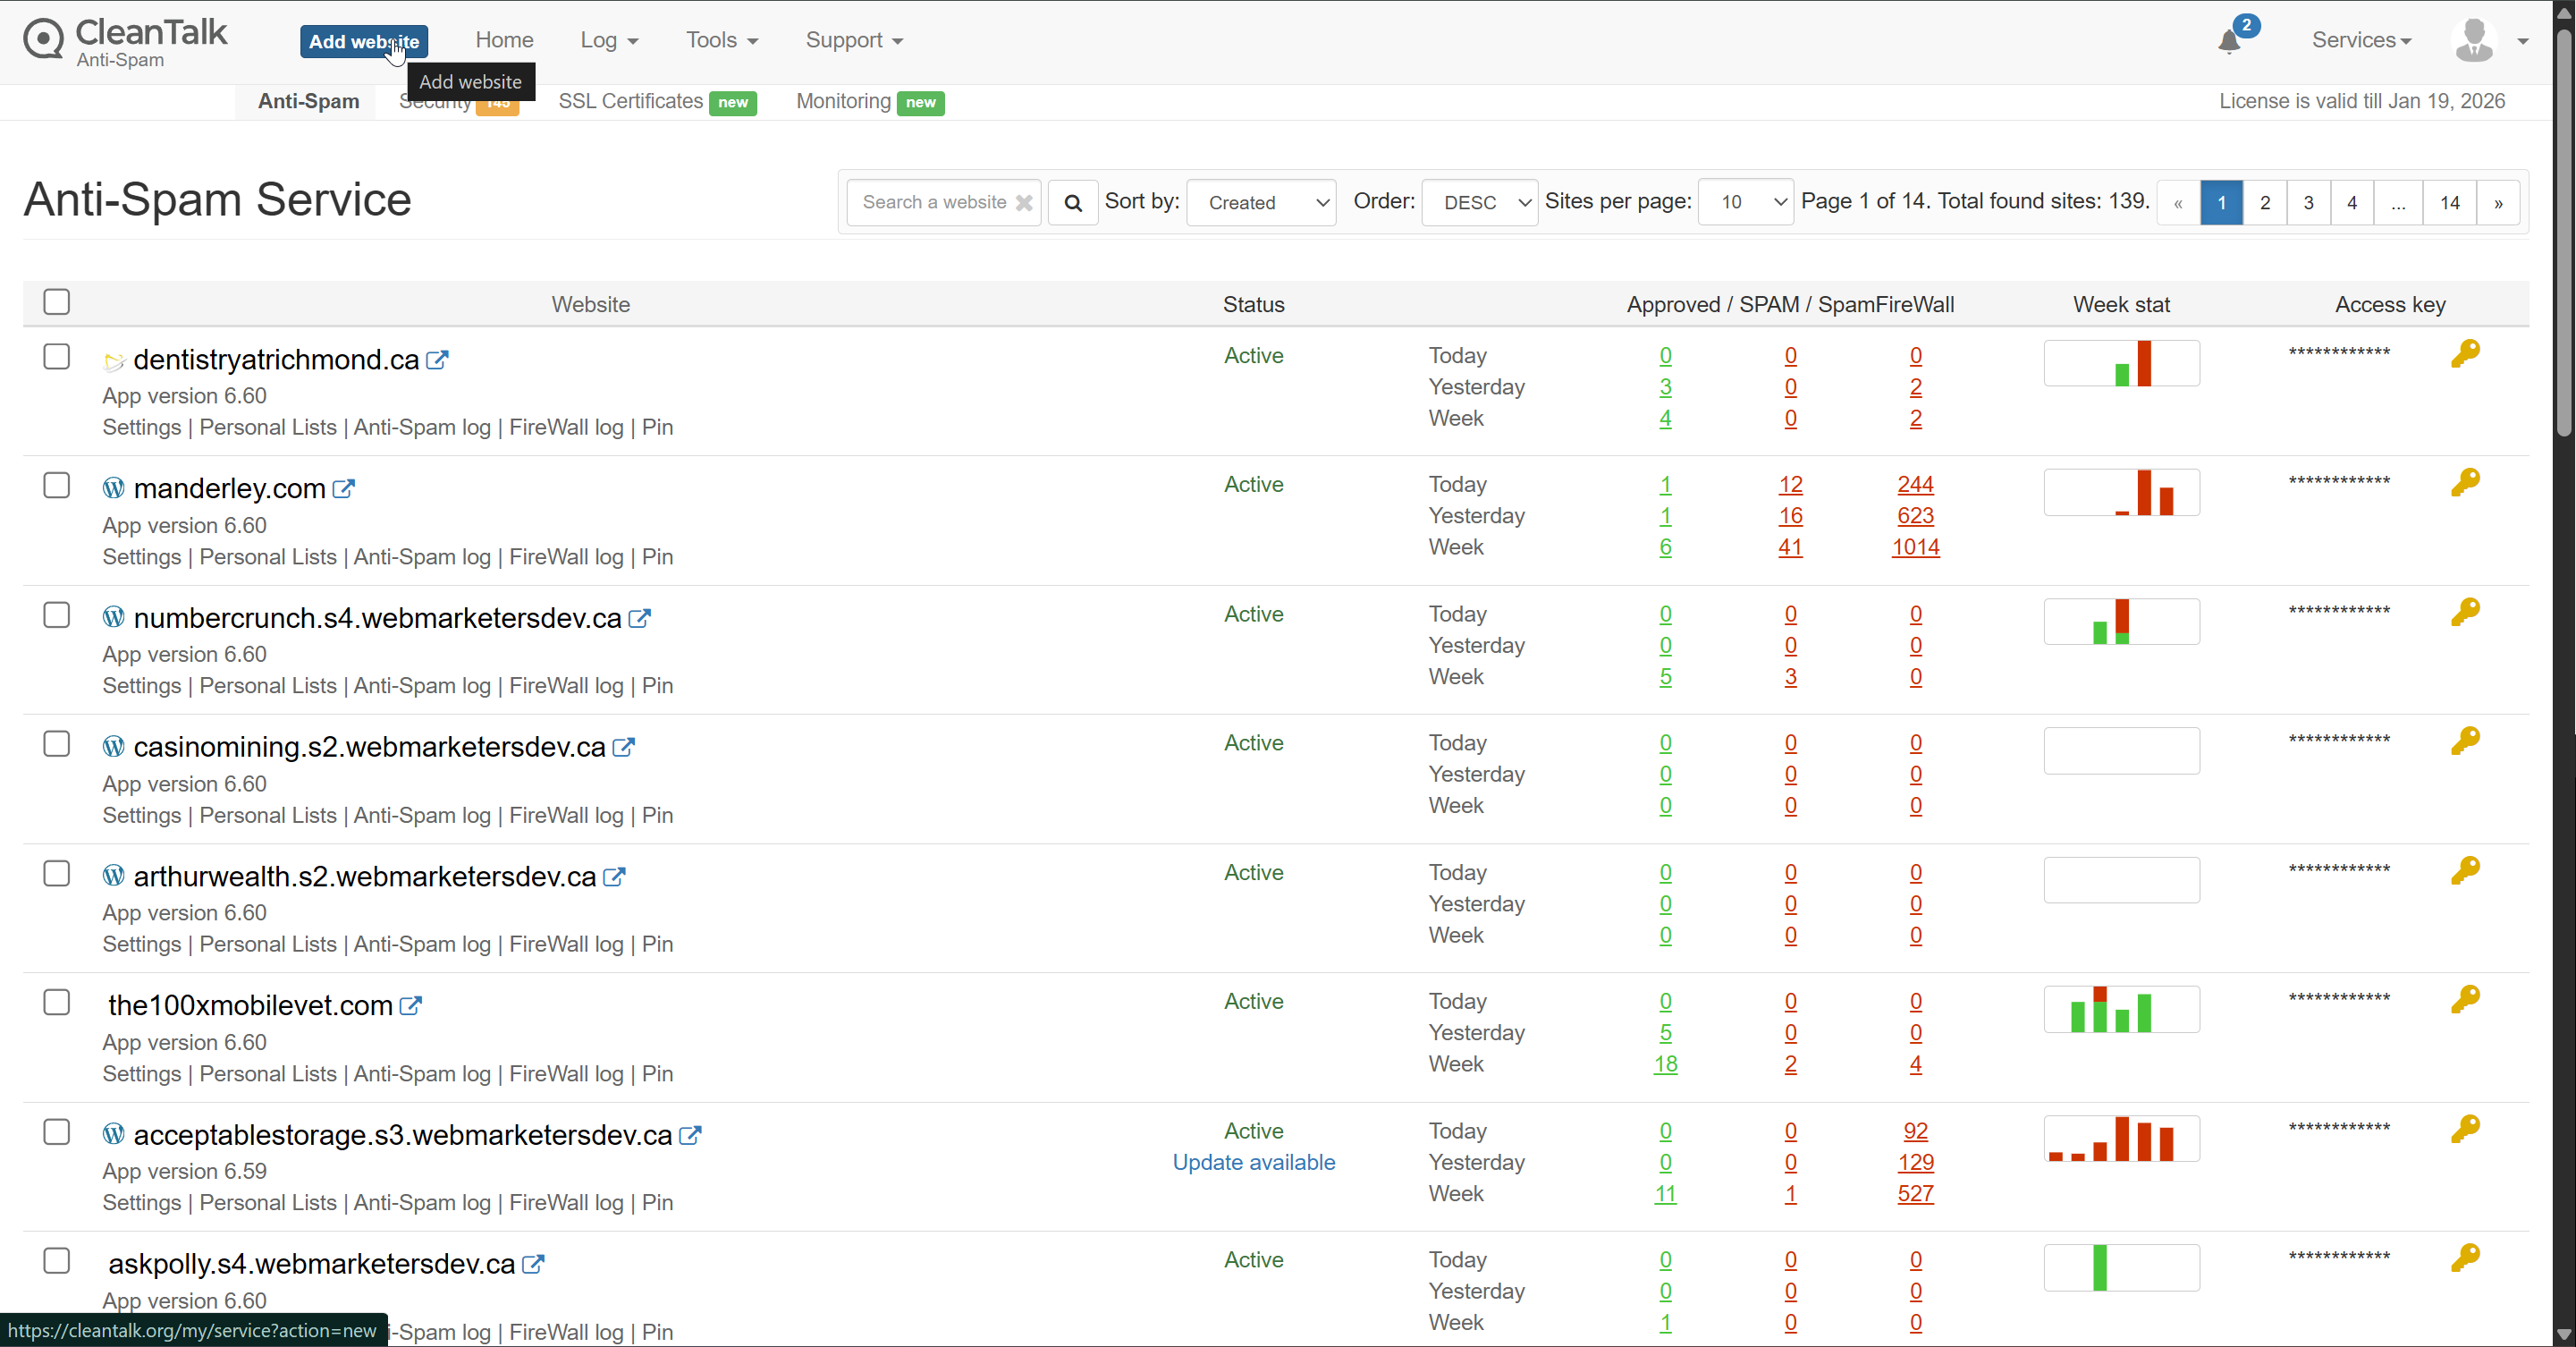
If you are not logged in, please do so using the avelica.ws@gmail.com account credentials in LastPass.
In the top left, click "Add website".
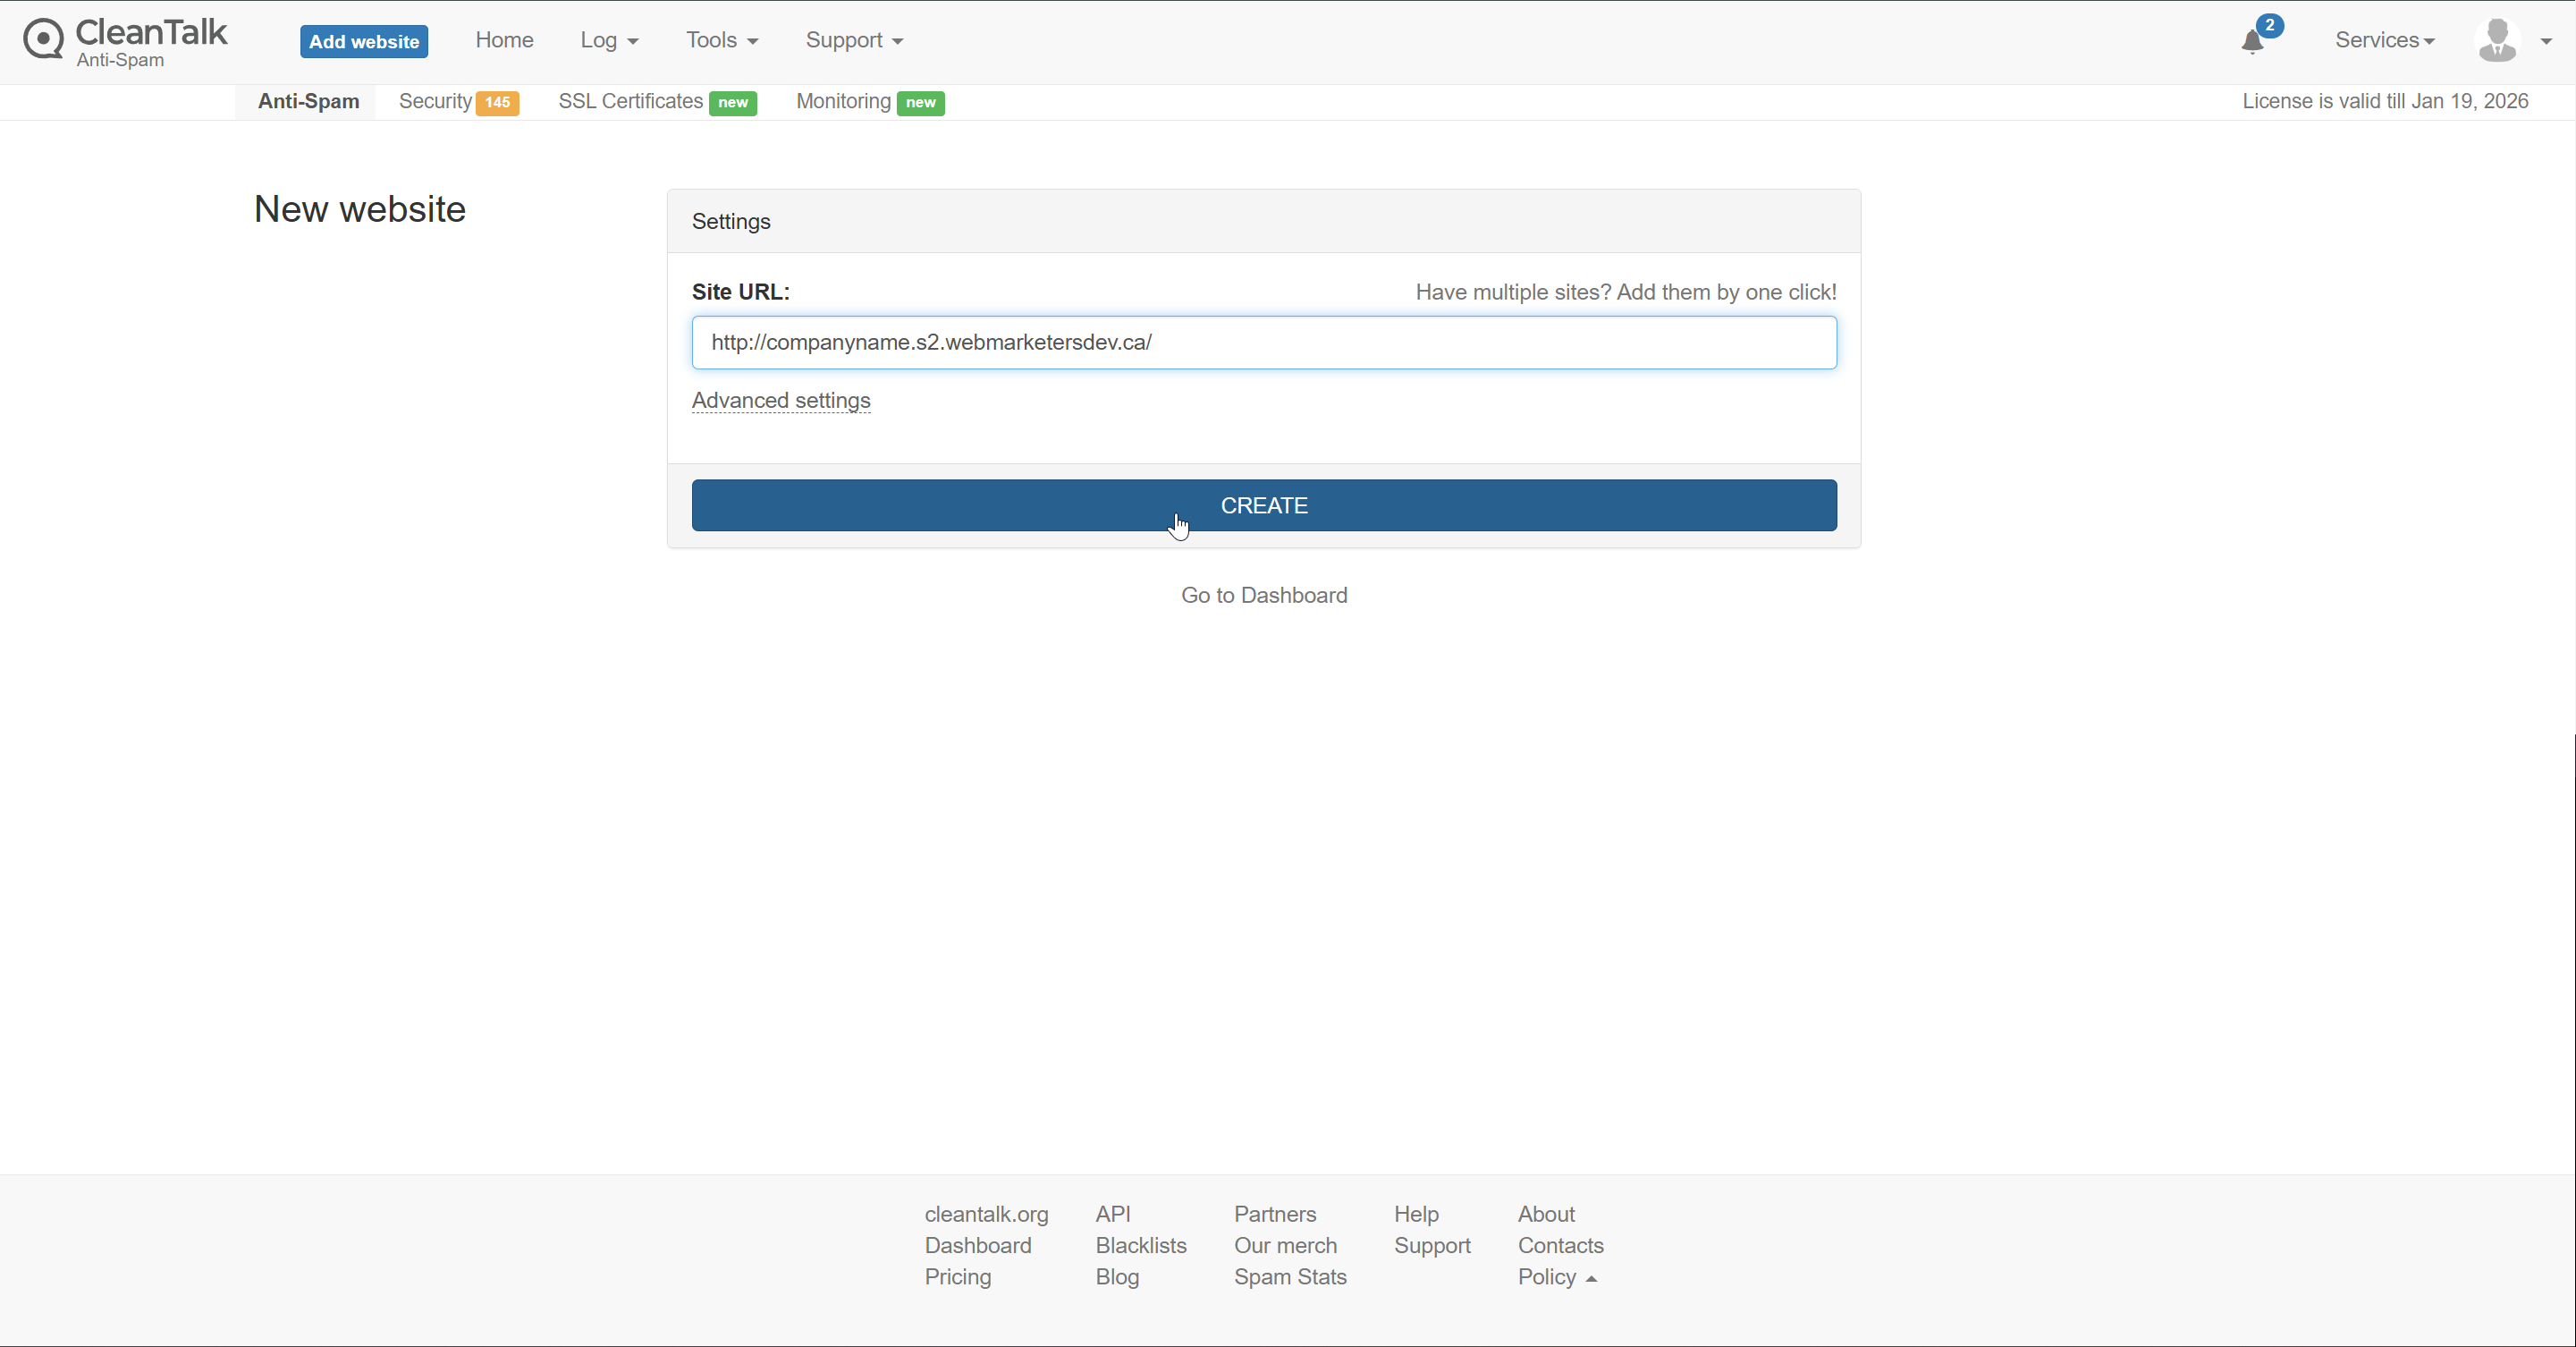
Paste in the URL of your website and click "Create".
In this example, I'm using http://companyname.s2.webmarketersdev.ca/
Copy your access key:
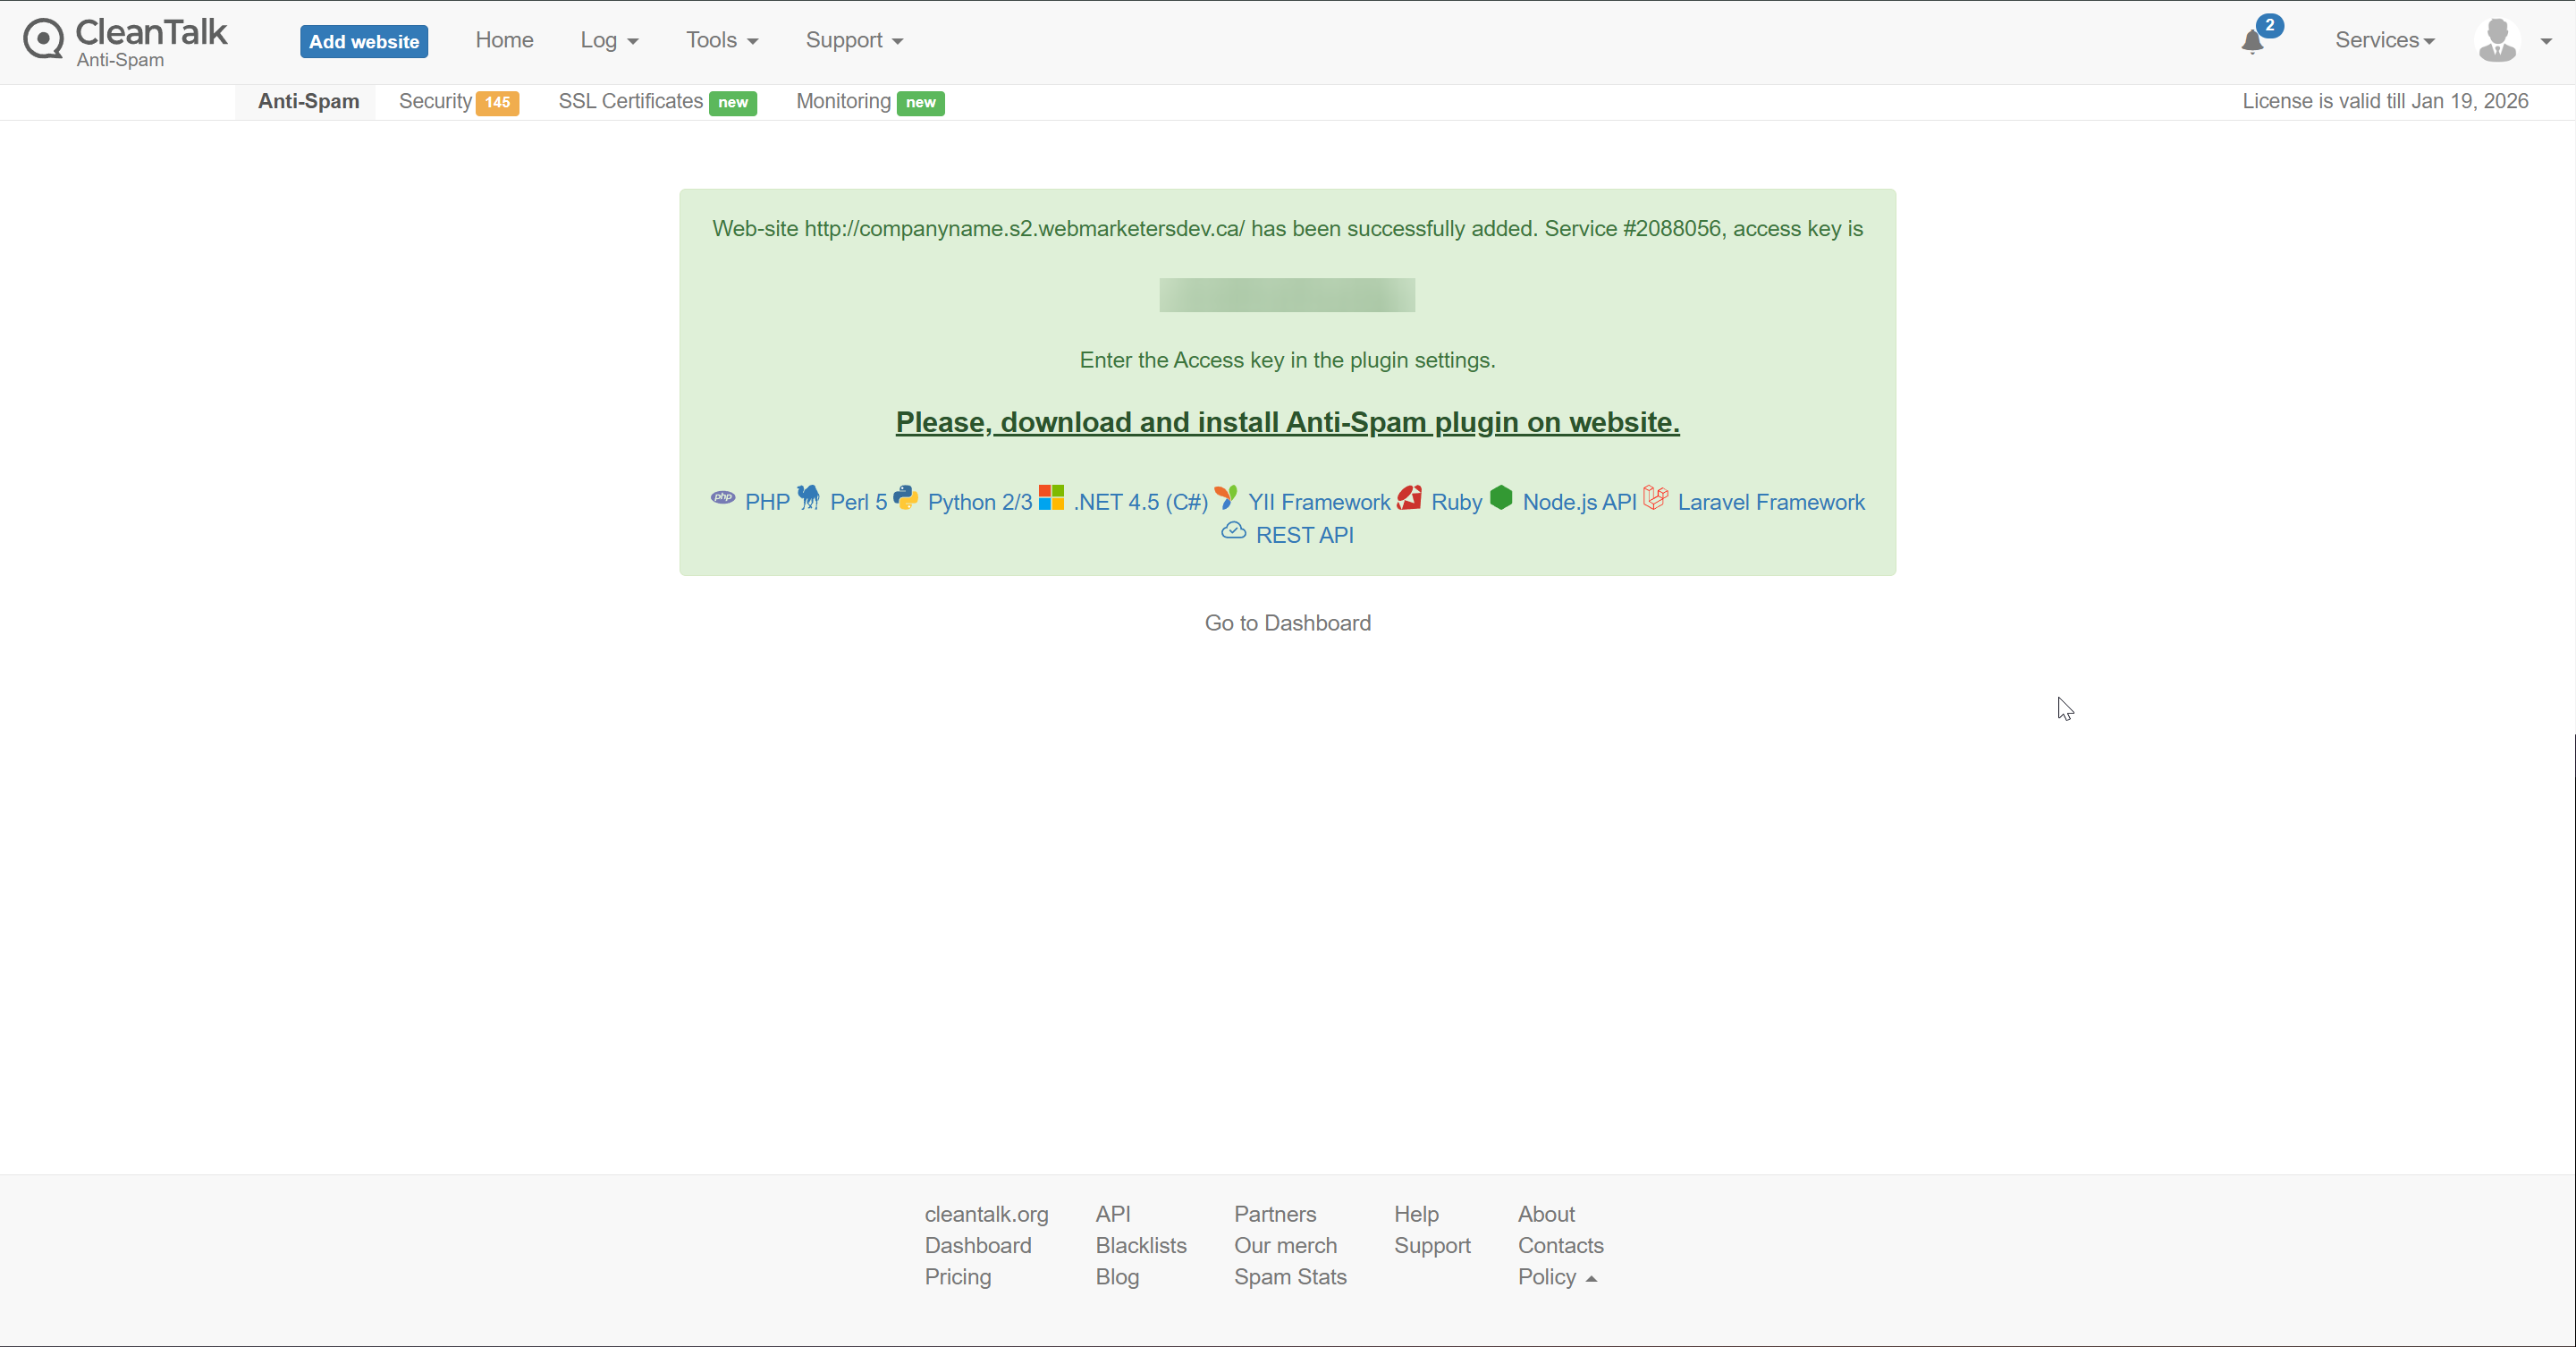
Paste the key and then click "Save the Access Key".
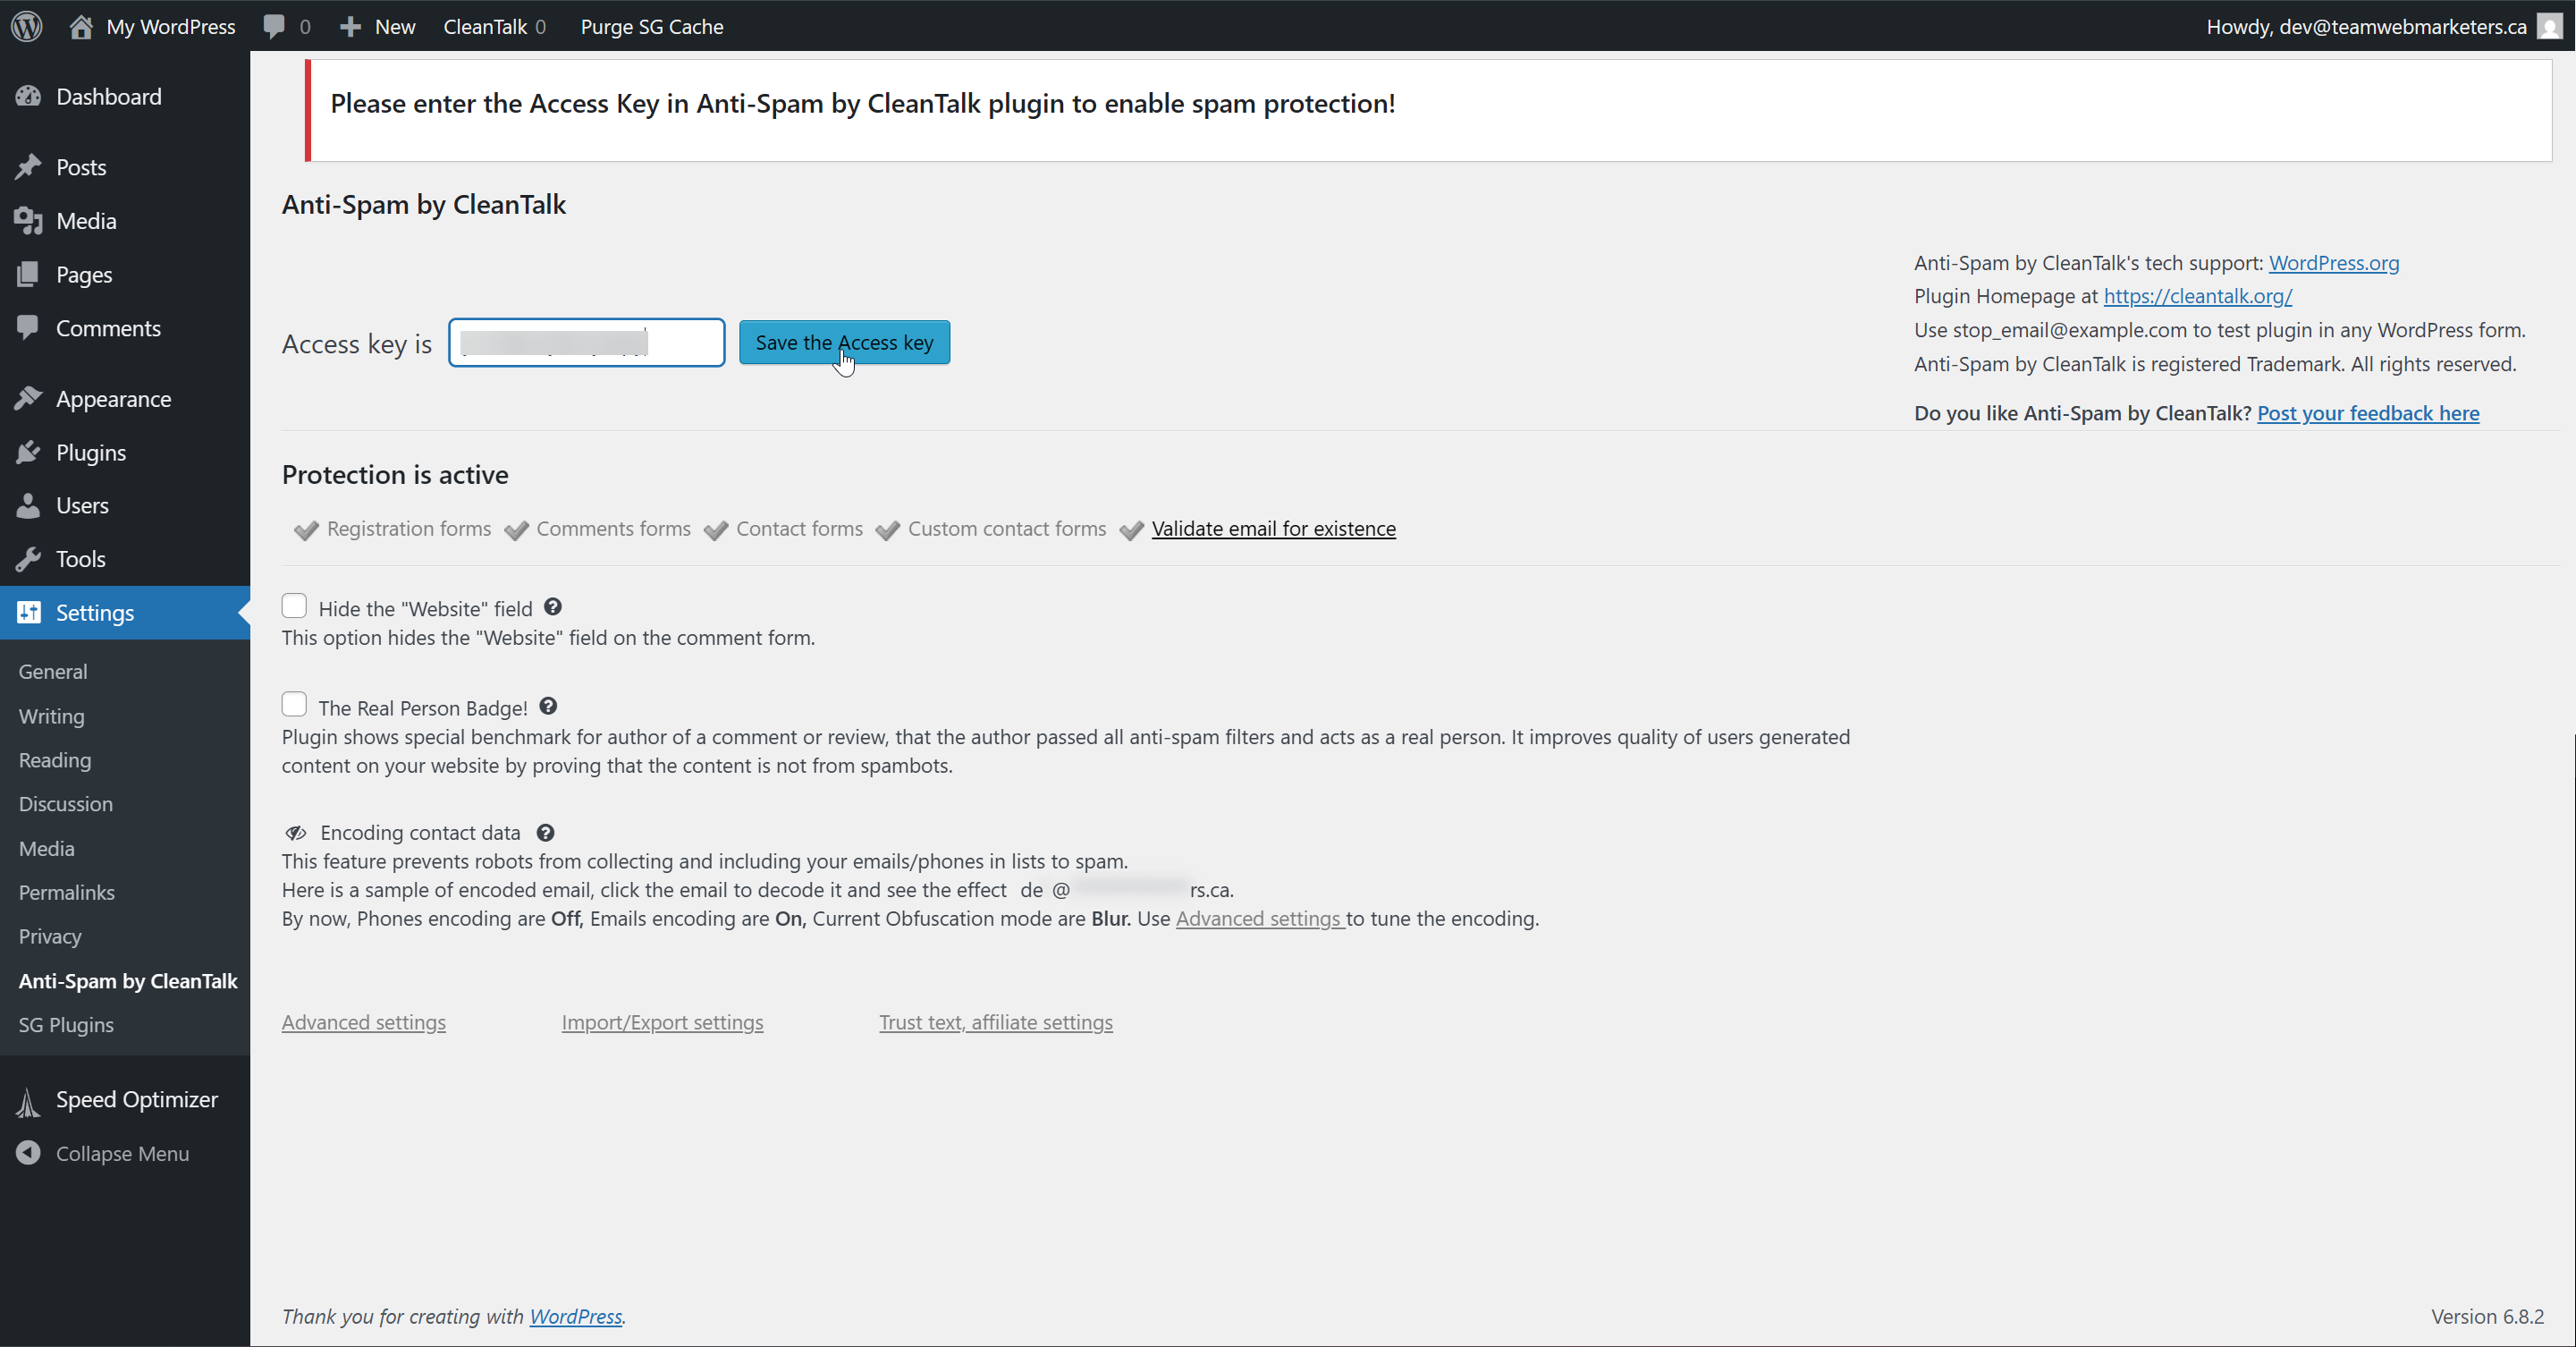
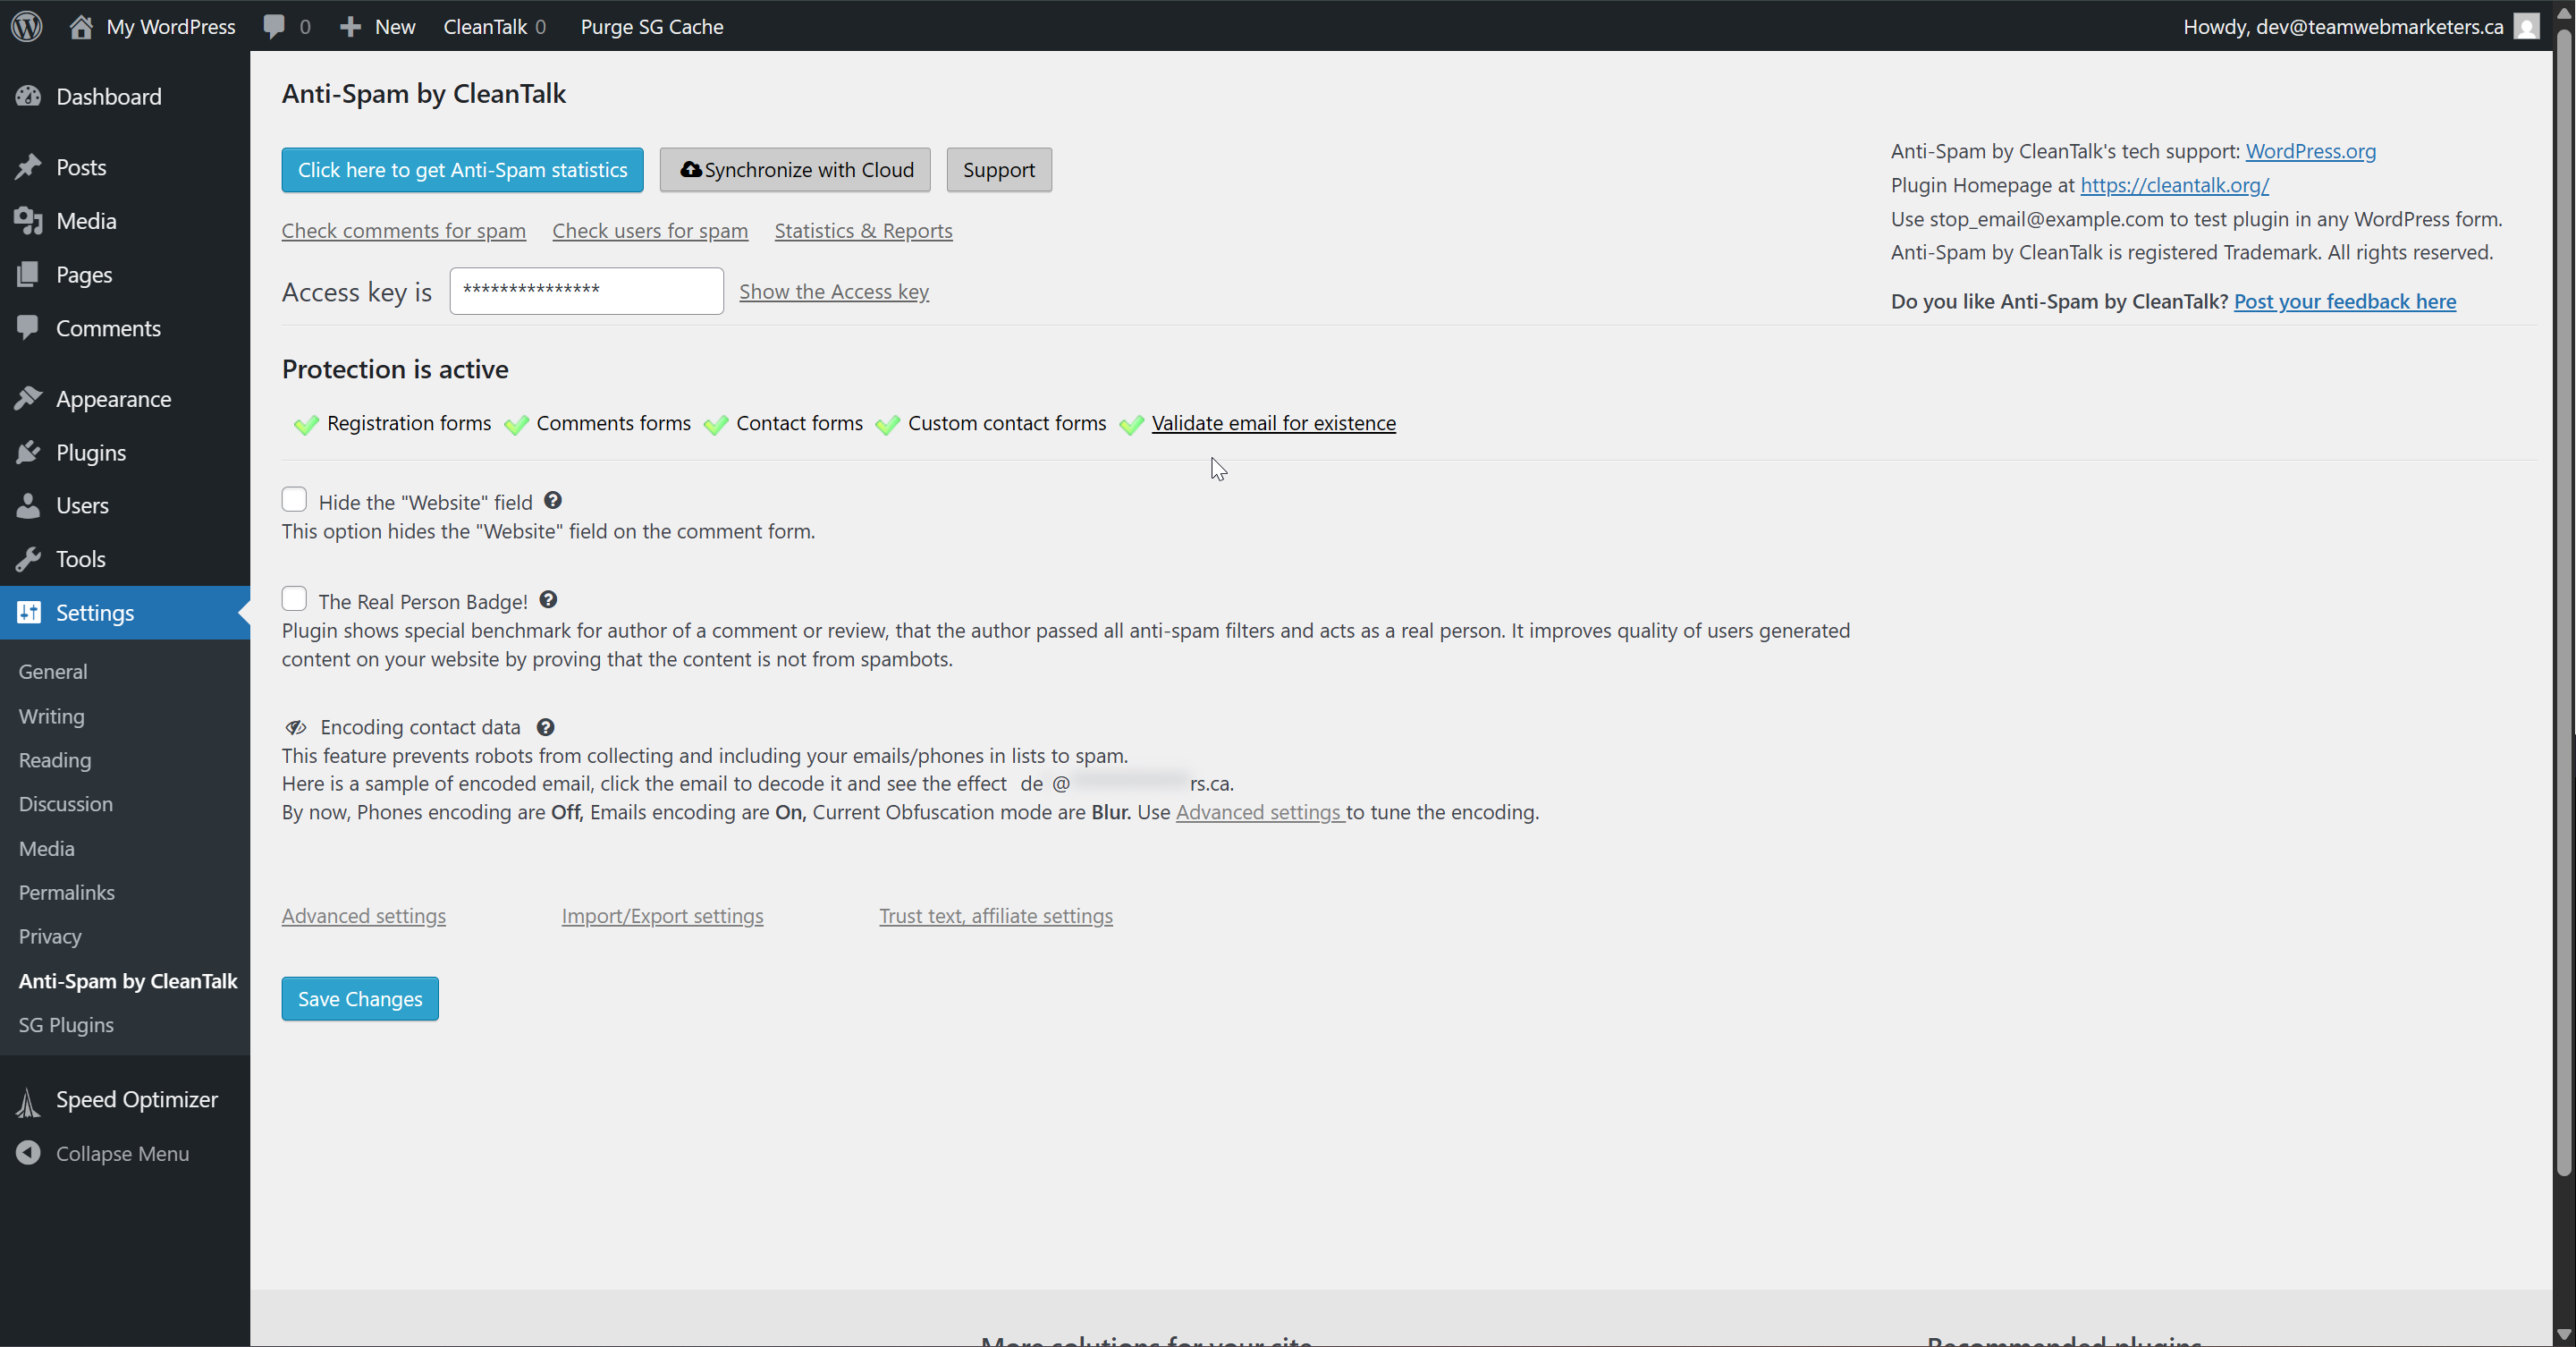
After about 5-10 seconds, it should notify you that CleanTalk protection is active, it looks like this:
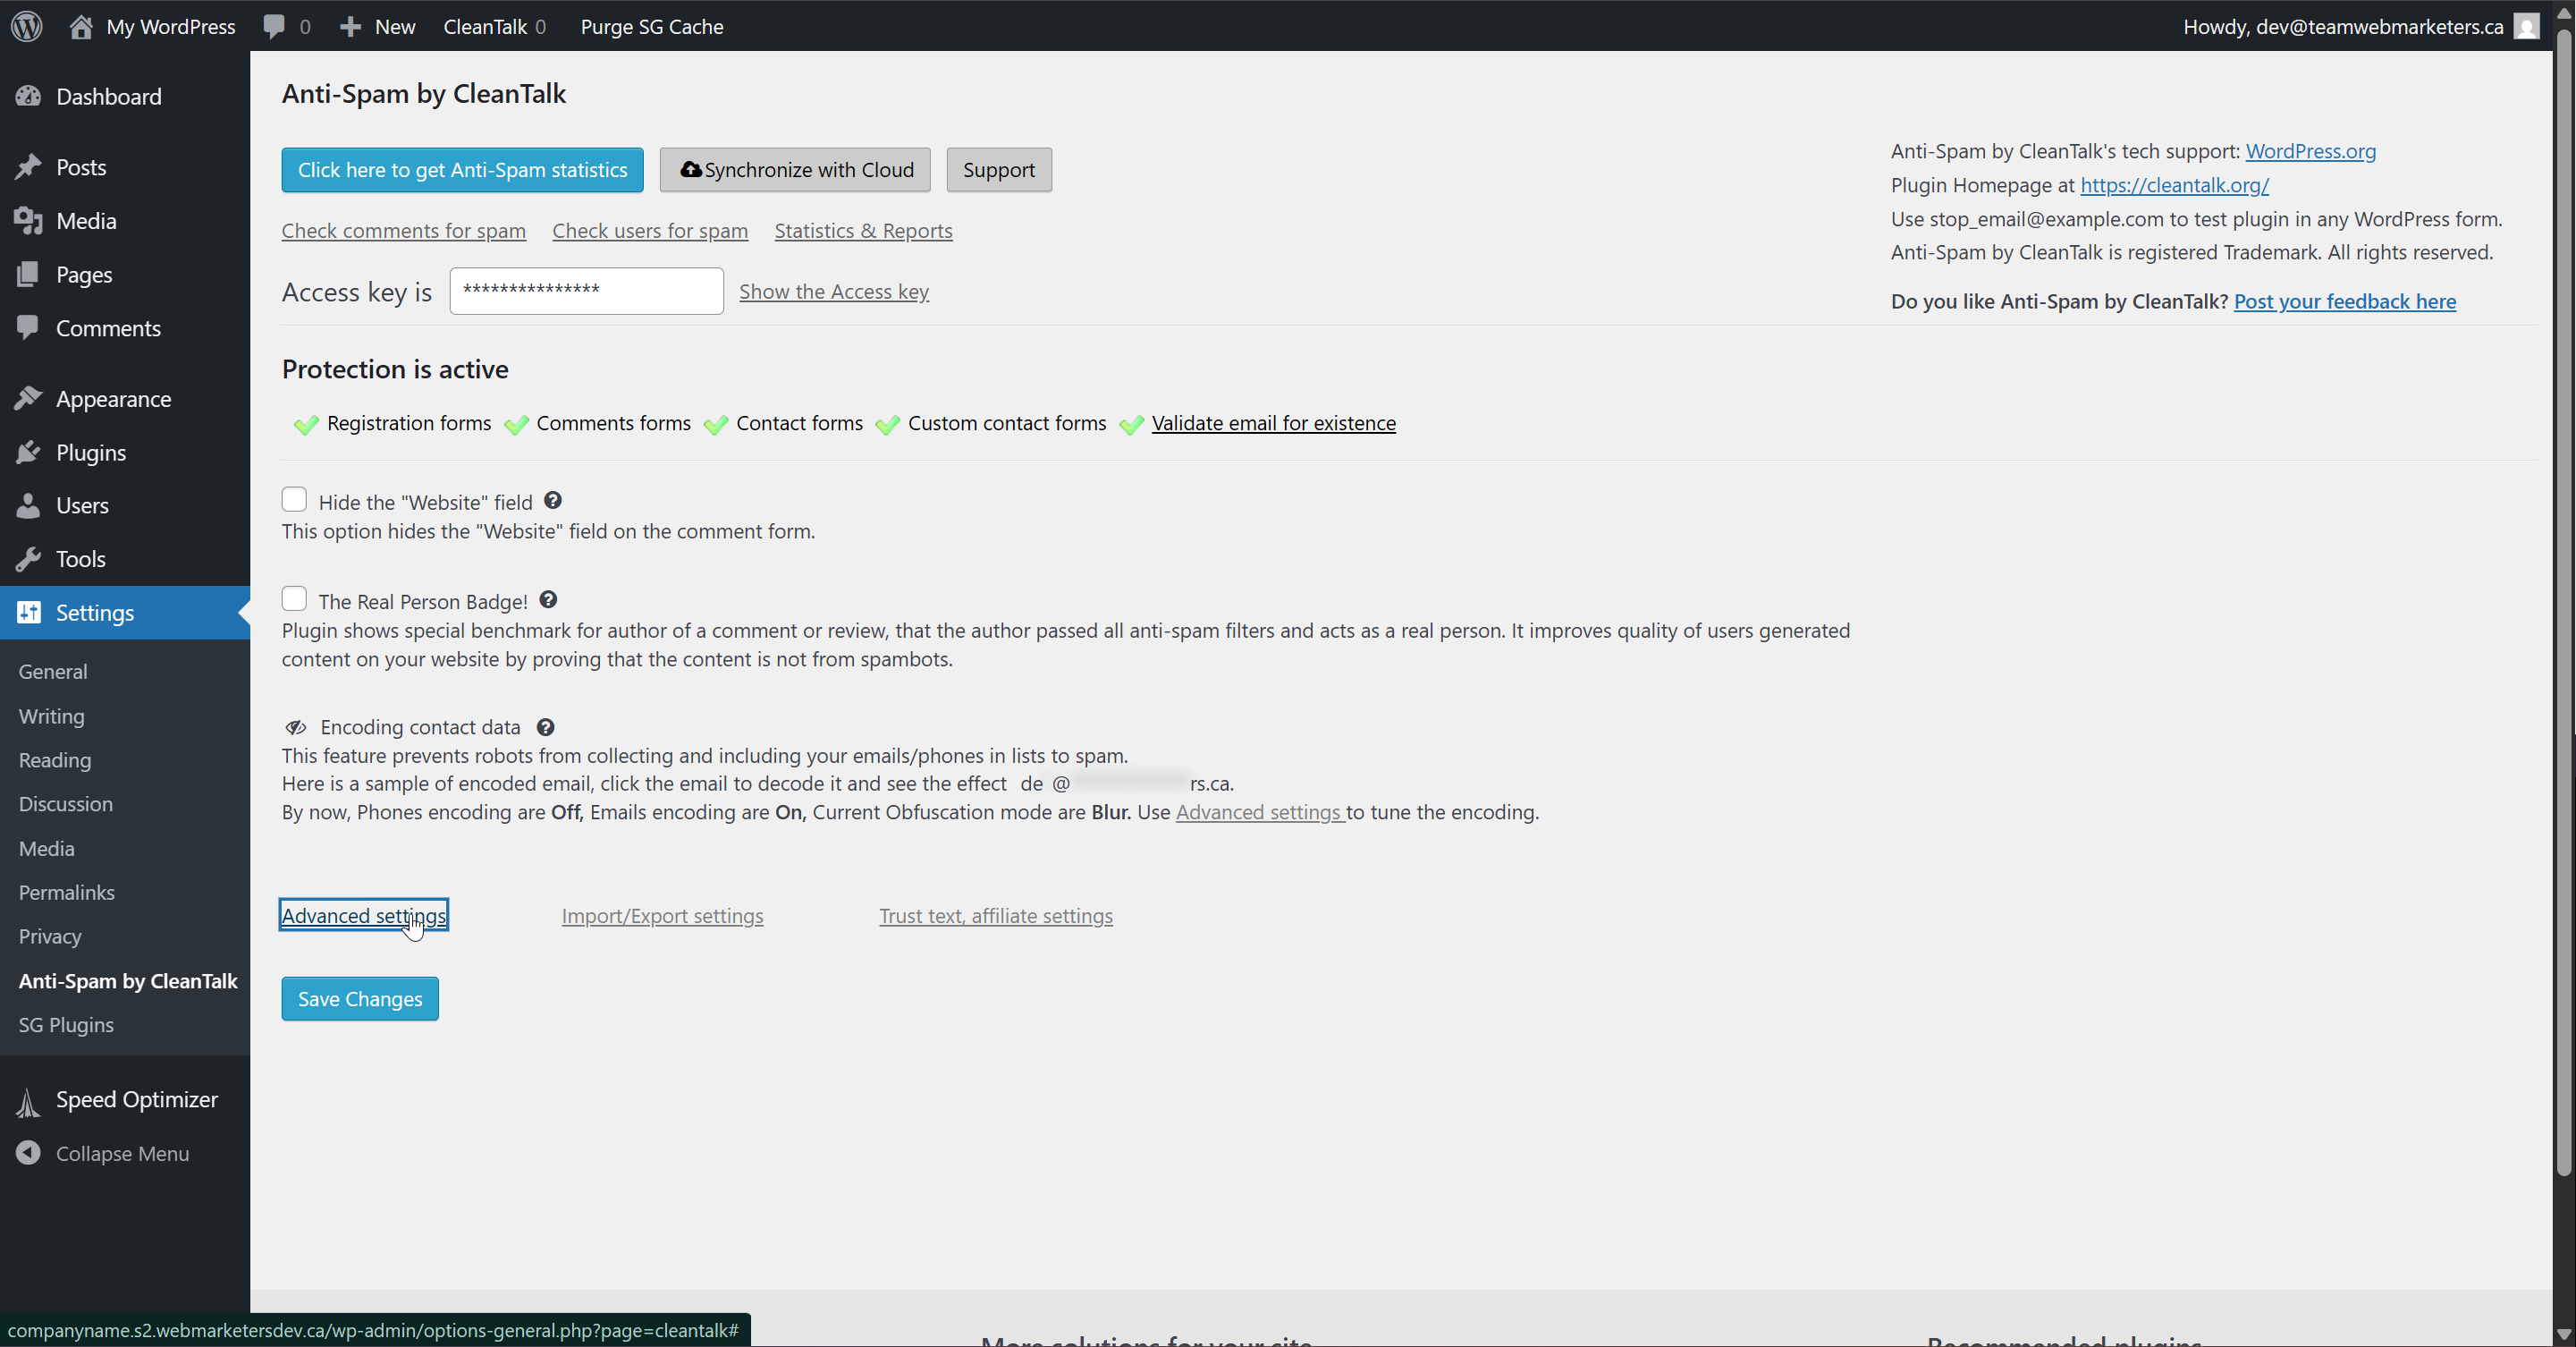
3. Configure the Plugin
Anti-Spam by CleanTalk offers a lot of security features. The primary reason we install the plugin is for contact form protection, to mitigate spam. However, we also use it for disabling the WordPress Comment functionality on posts, and there are some features we like to turn off.
Click "Advanced Settings"
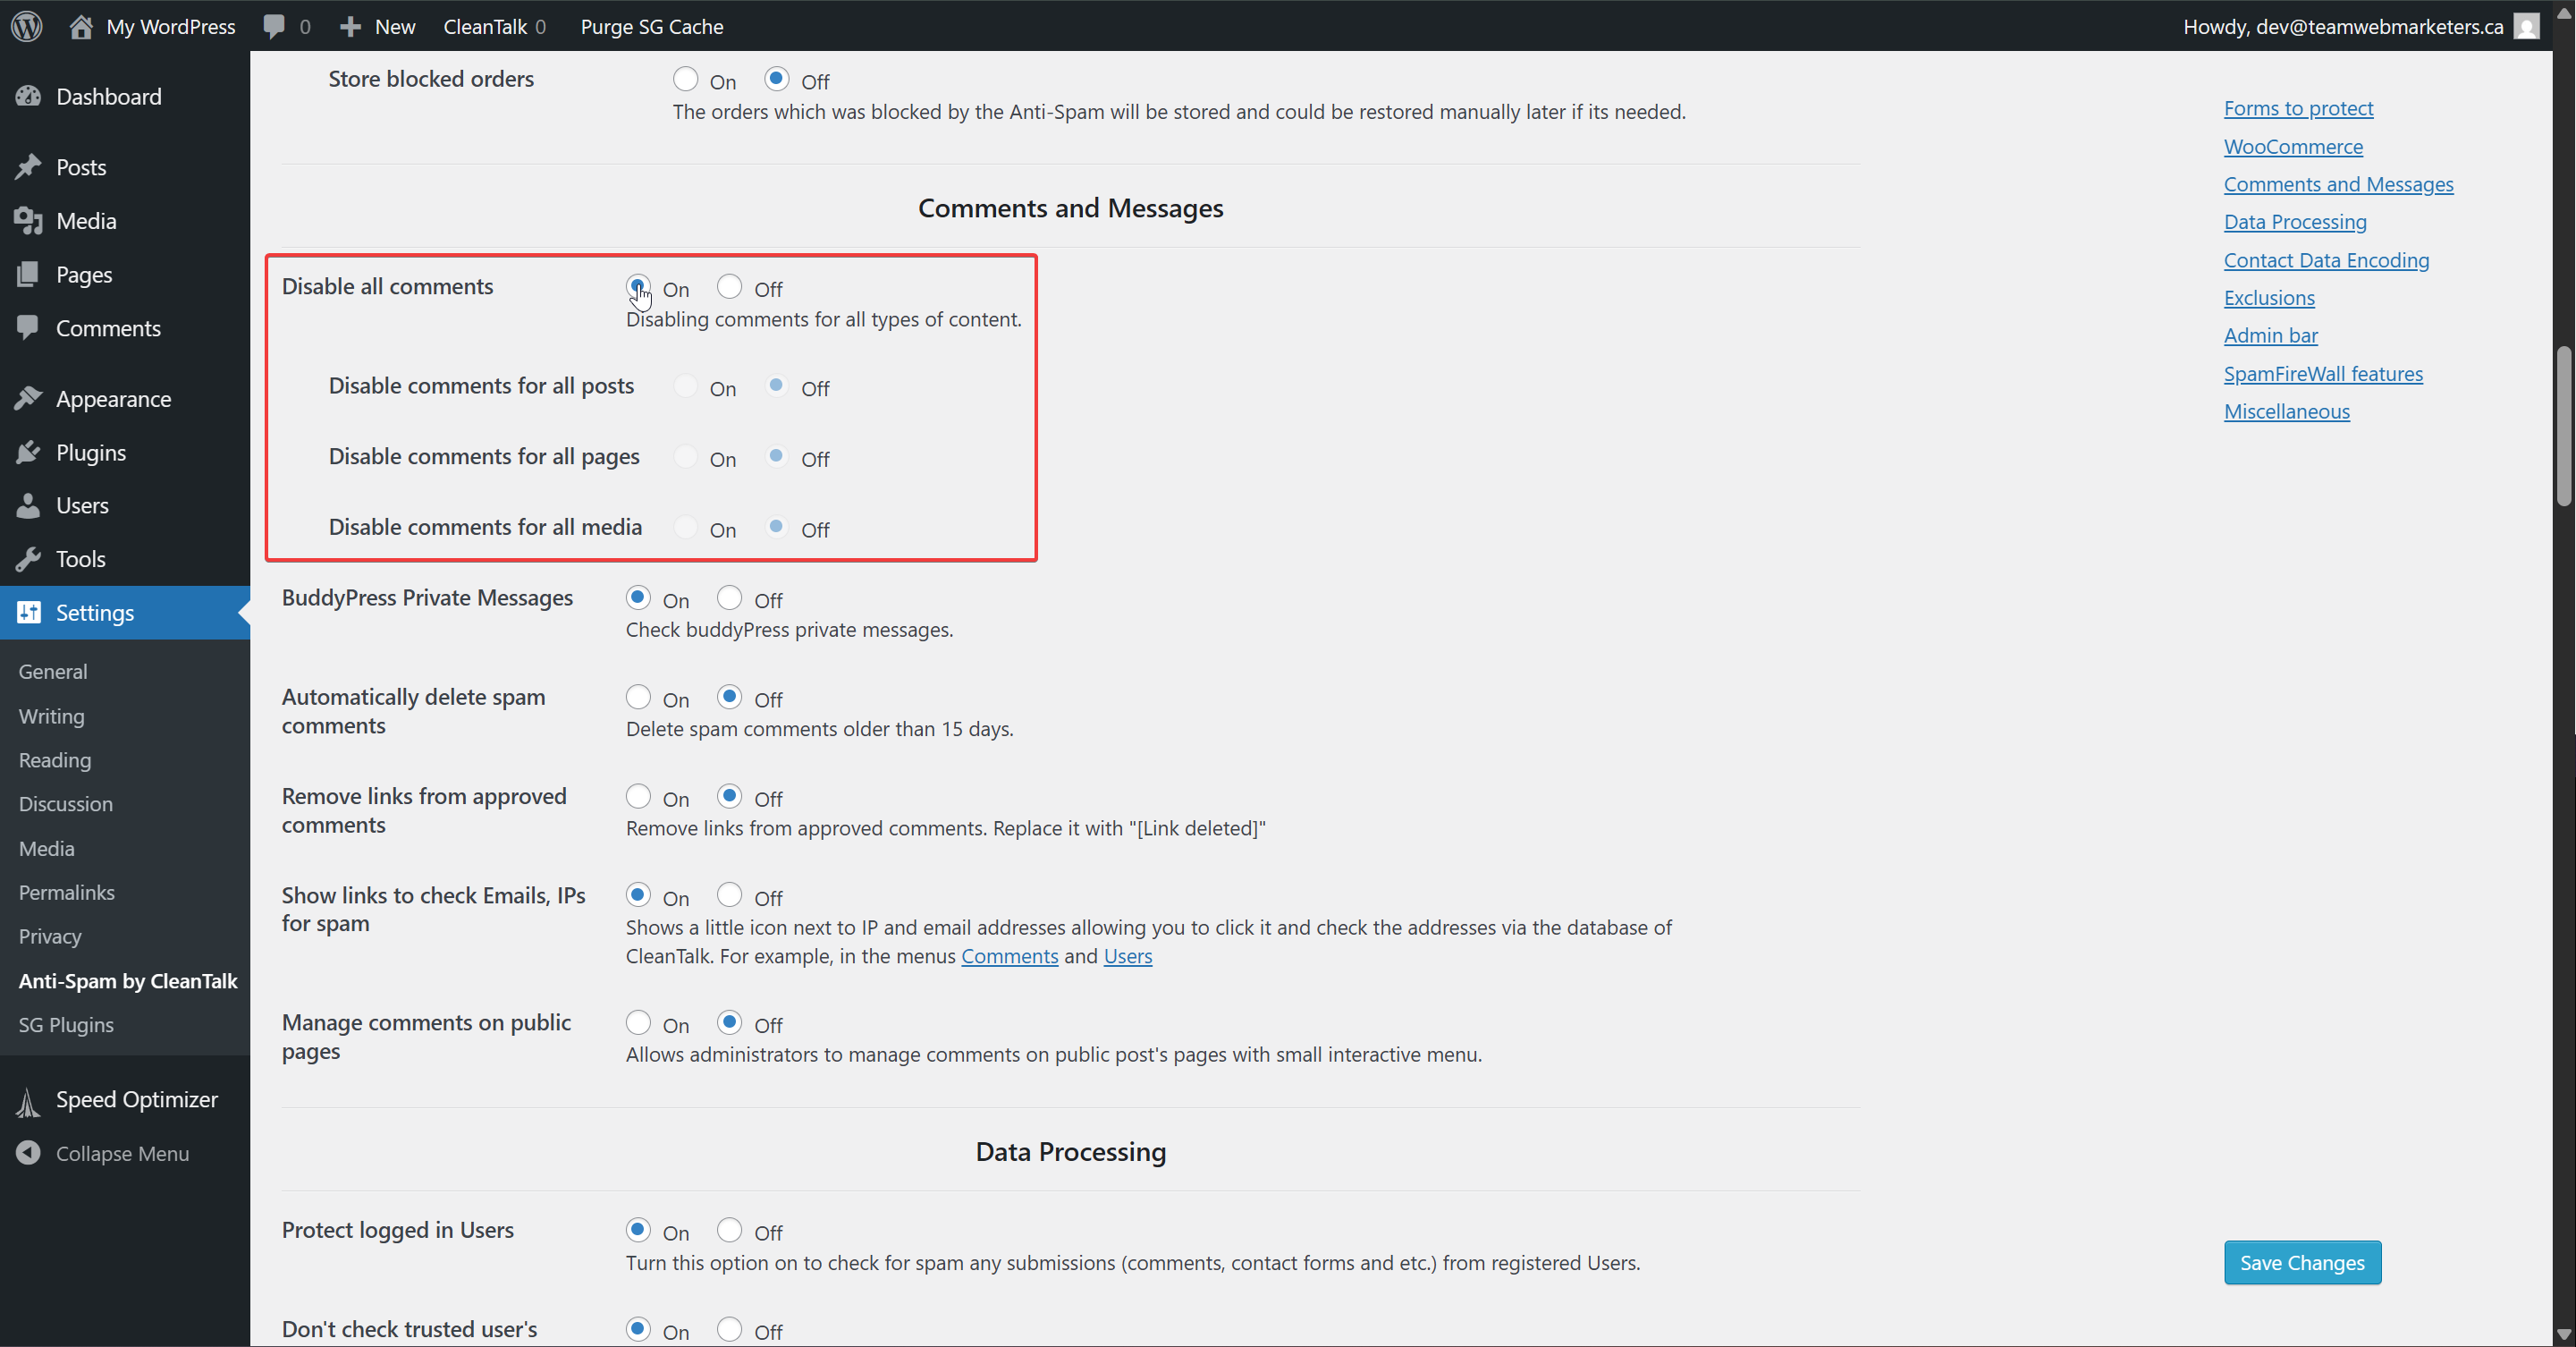
Scroll to "Comments and Messages" and turn on "Disable all comments"
This will turn off all comment functionality and prevent visitors from seeing spam. It also reduces the risk of database bloat from comments, and keeps the admin interface clean.
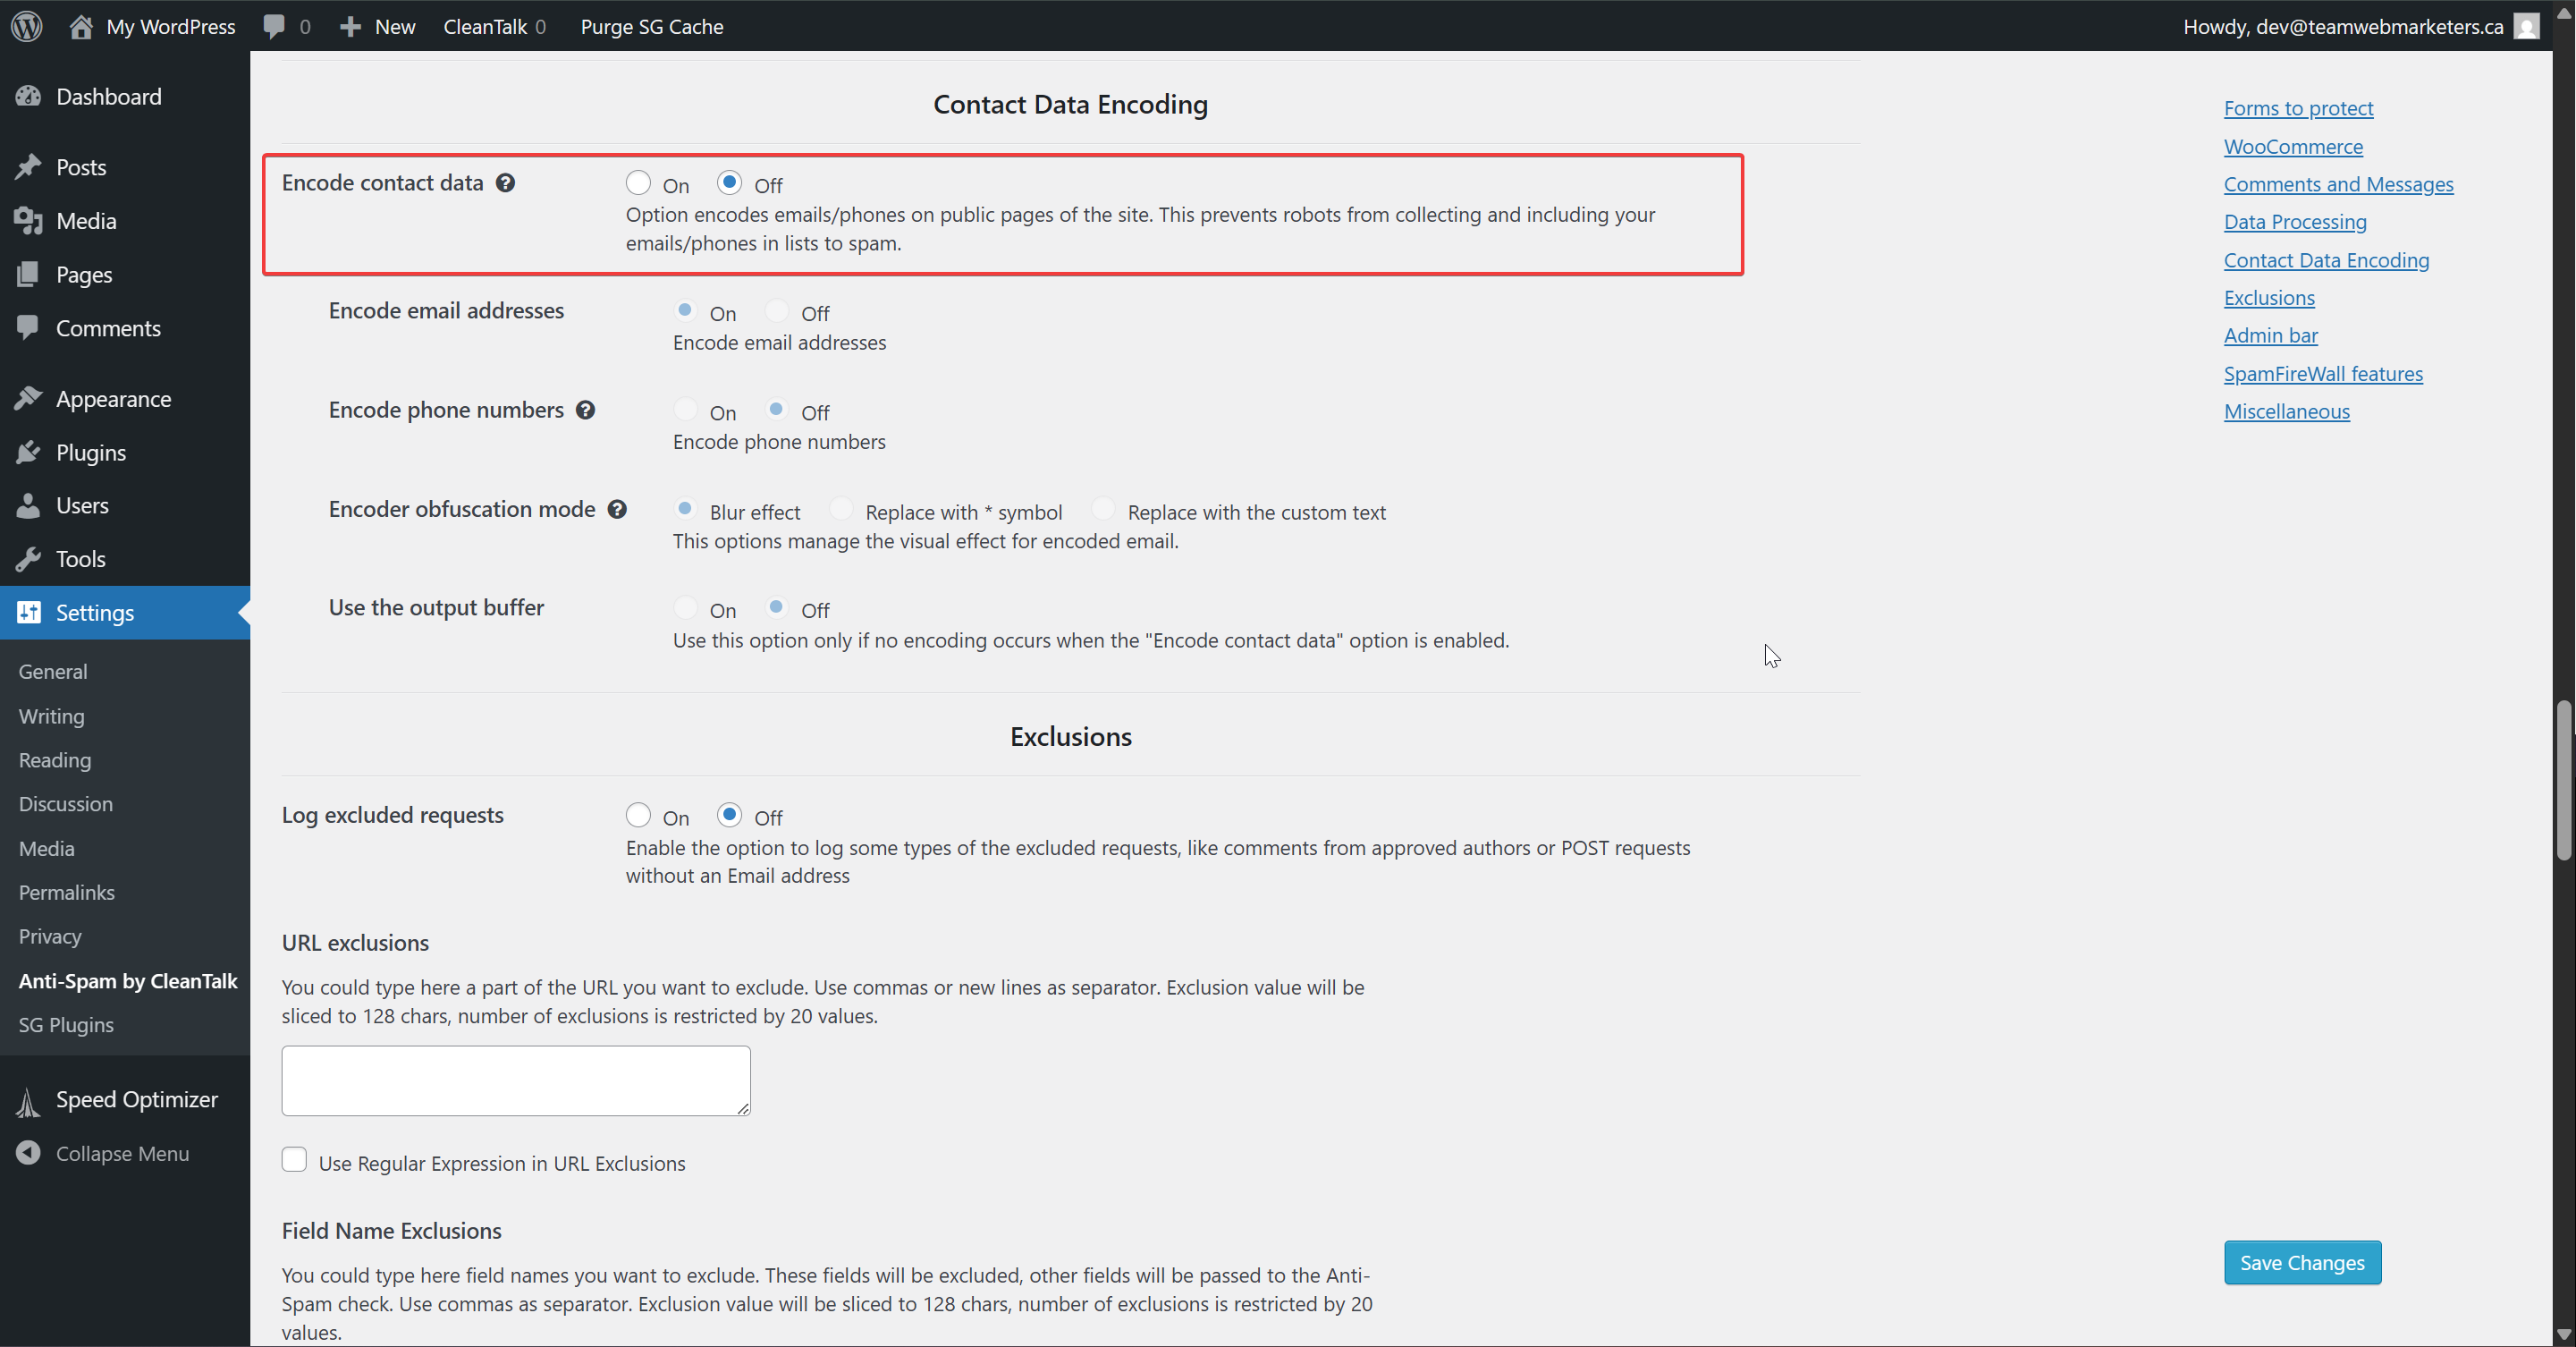
Scroll to "Contact Data Encoding" and turn off "Encode contact data"
We turn off contact data encoding because it's not usually something that clients and users want to see. It's a very effective feature, but adds a visual blur on contact data, which many people seem to dislike. For this reason, we turn it off.
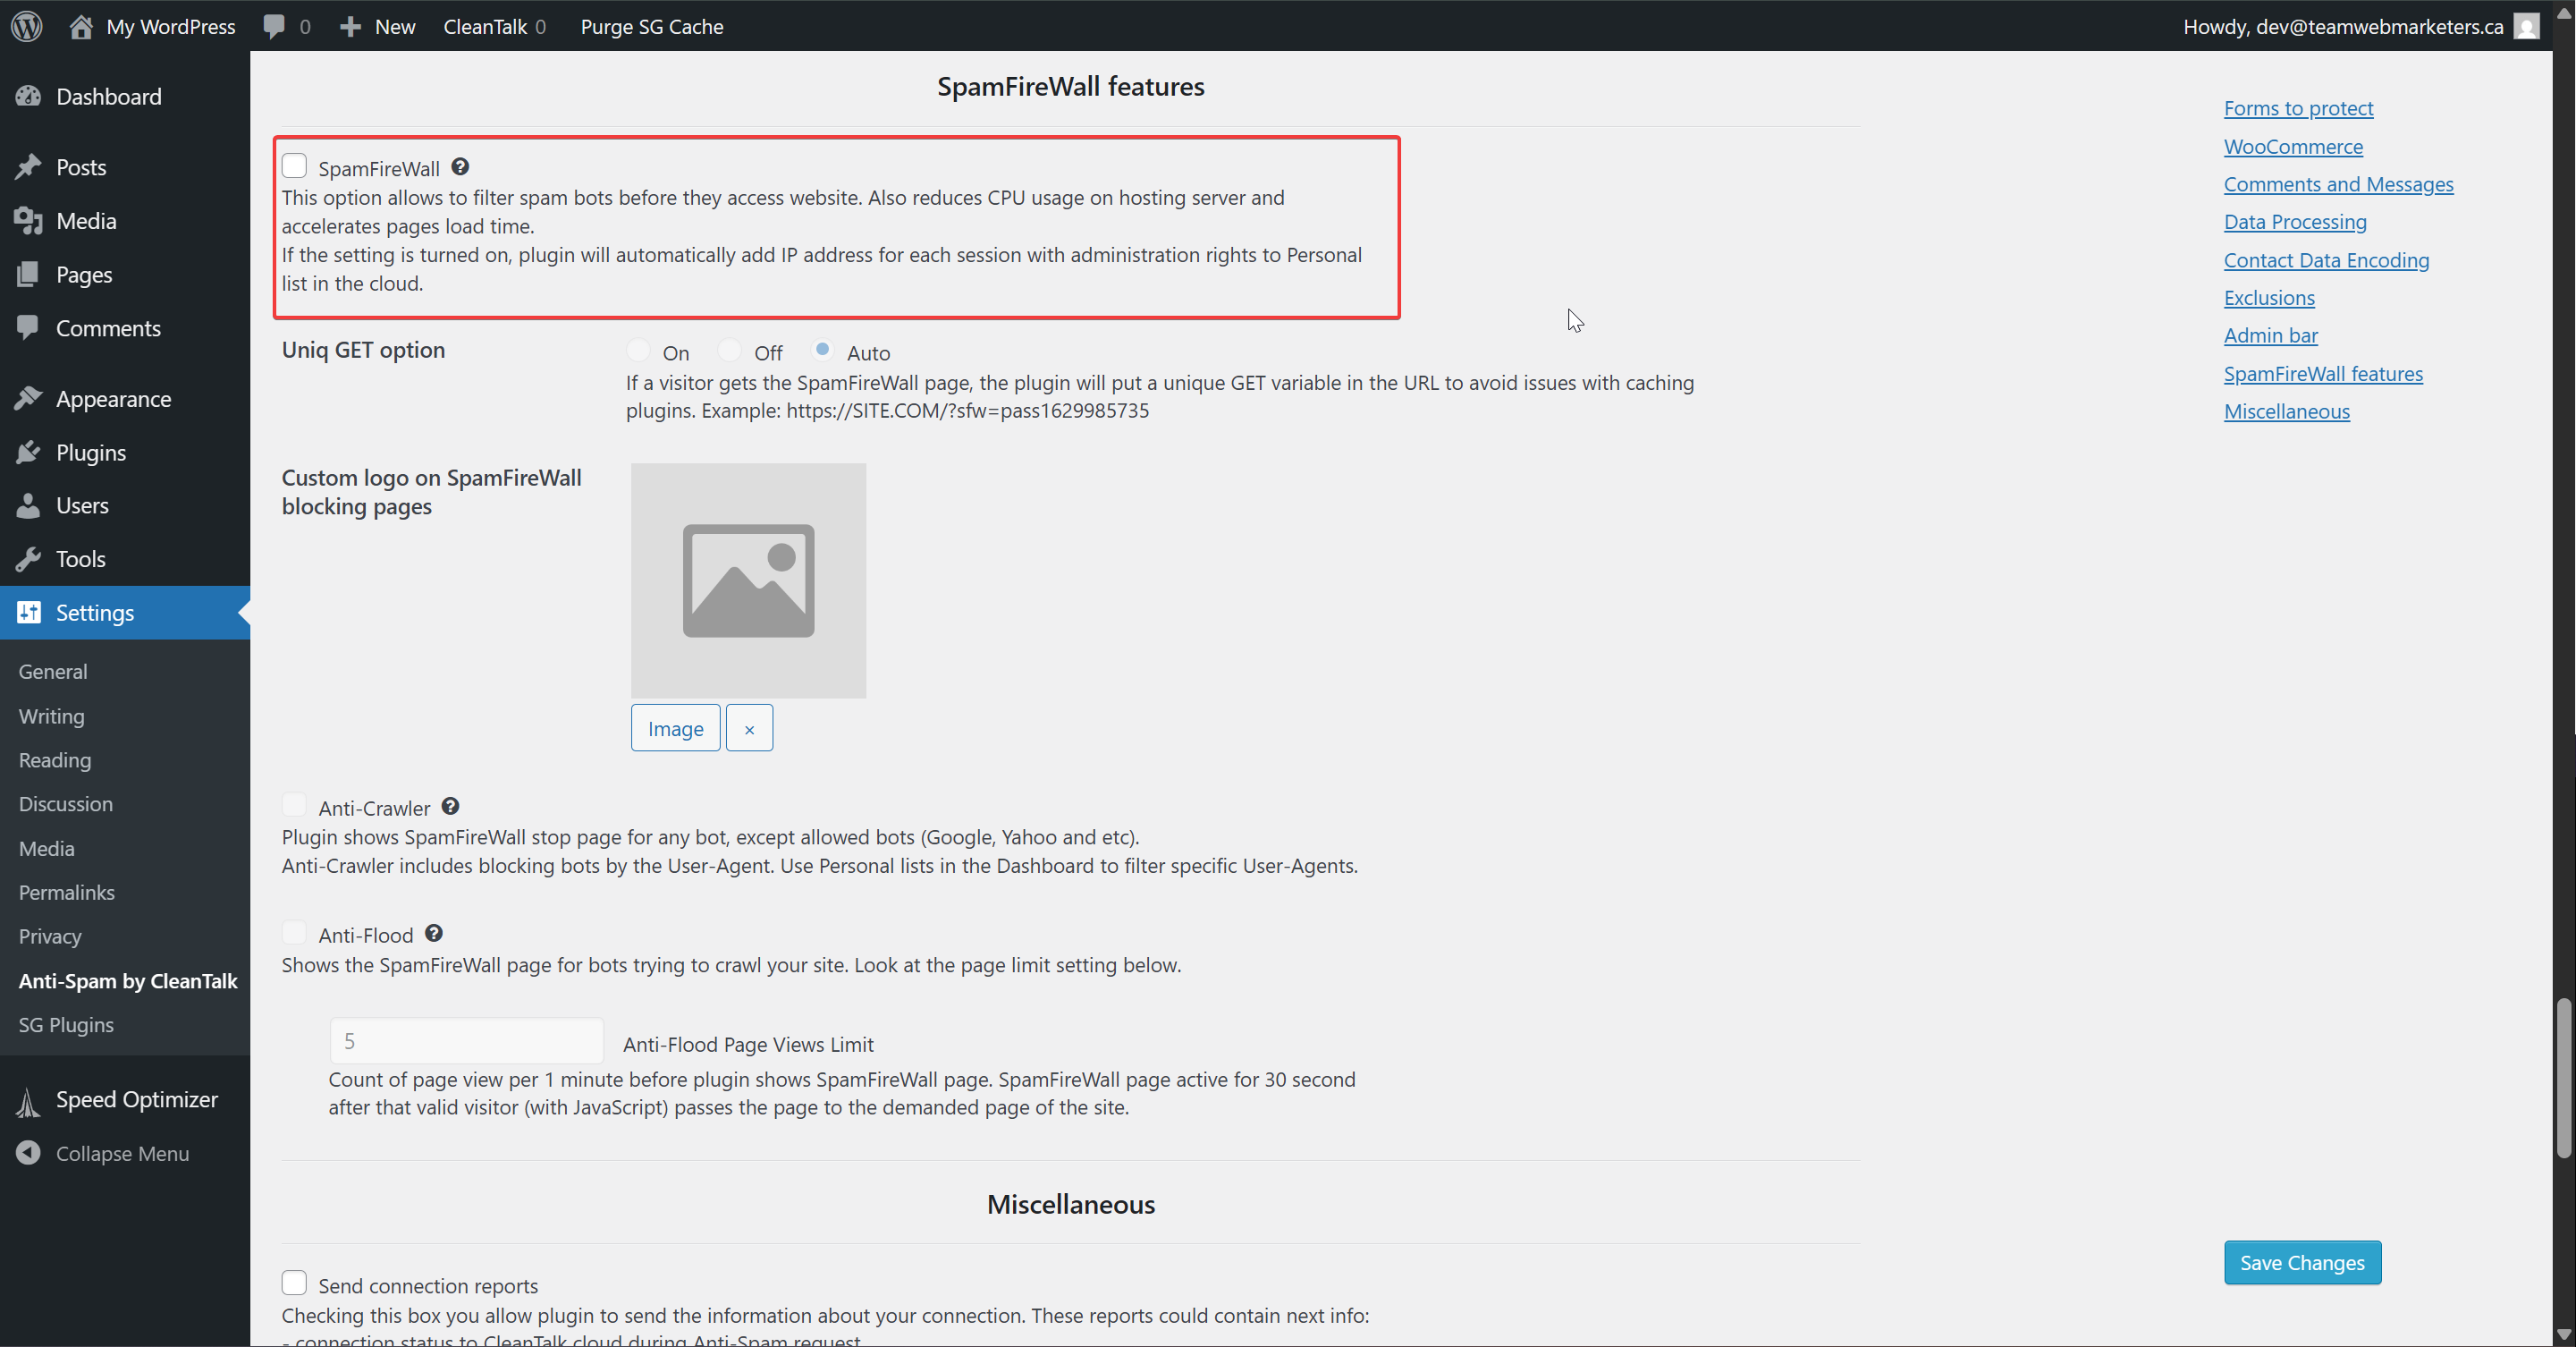
Scroll to "SpamFireWall features" and make sure that "SpamFireWall" is off
Although this can be a useful feature, it creates friction and has previously created conflicts for clients running ad campaigns. The last thing we want to do is show a firewall & spam filter to real people clicking a valuable ad link.
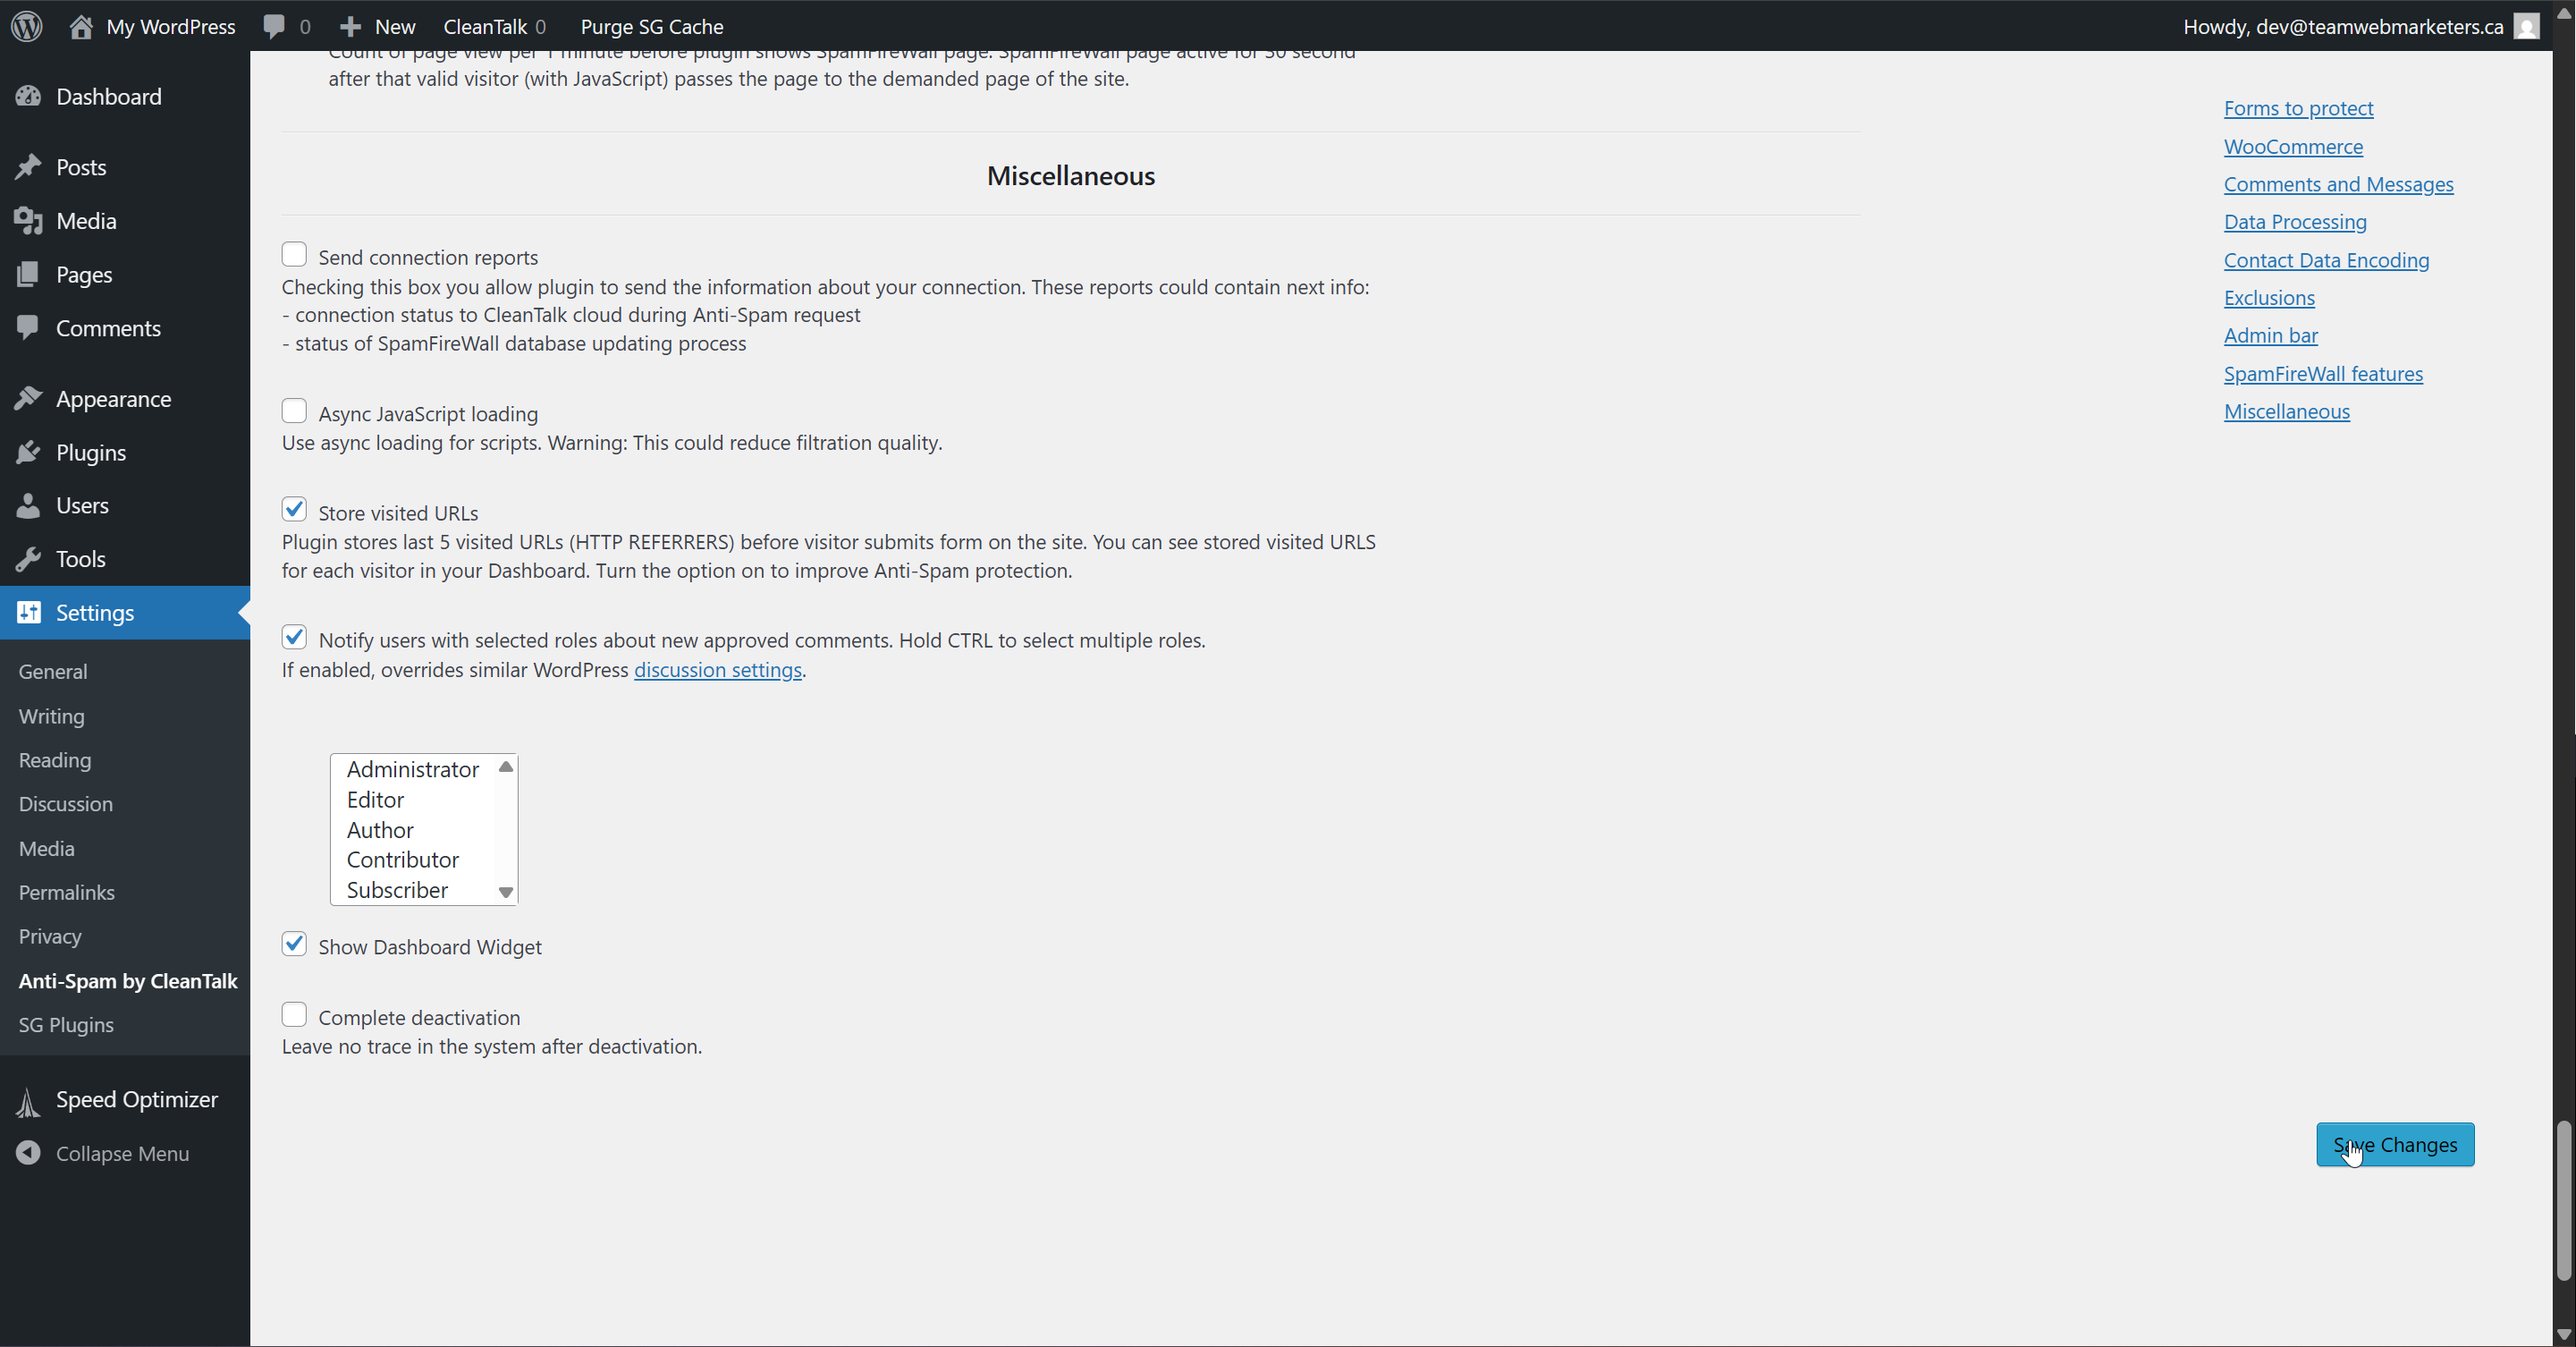
Click "Save Changes"
Speed Optimizer
What is Speed Optimizer?
The "Speed Optimizer" WordPress plugin by SiteGround is a free, all-in-one performance tool designed to dramatically improve website speed and user experience. It offers powerful caching, frontend and media optimizations, and real-time speed testing to boost SEO rankings and Core Web Vitals. With a user-friendly interface, it enables even non-technical users to apply advanced optimizations like minifying code and compressing images in just a few clicks.
We only use this for websites hosted on SiteGround, since it's required for the cache purge feature.
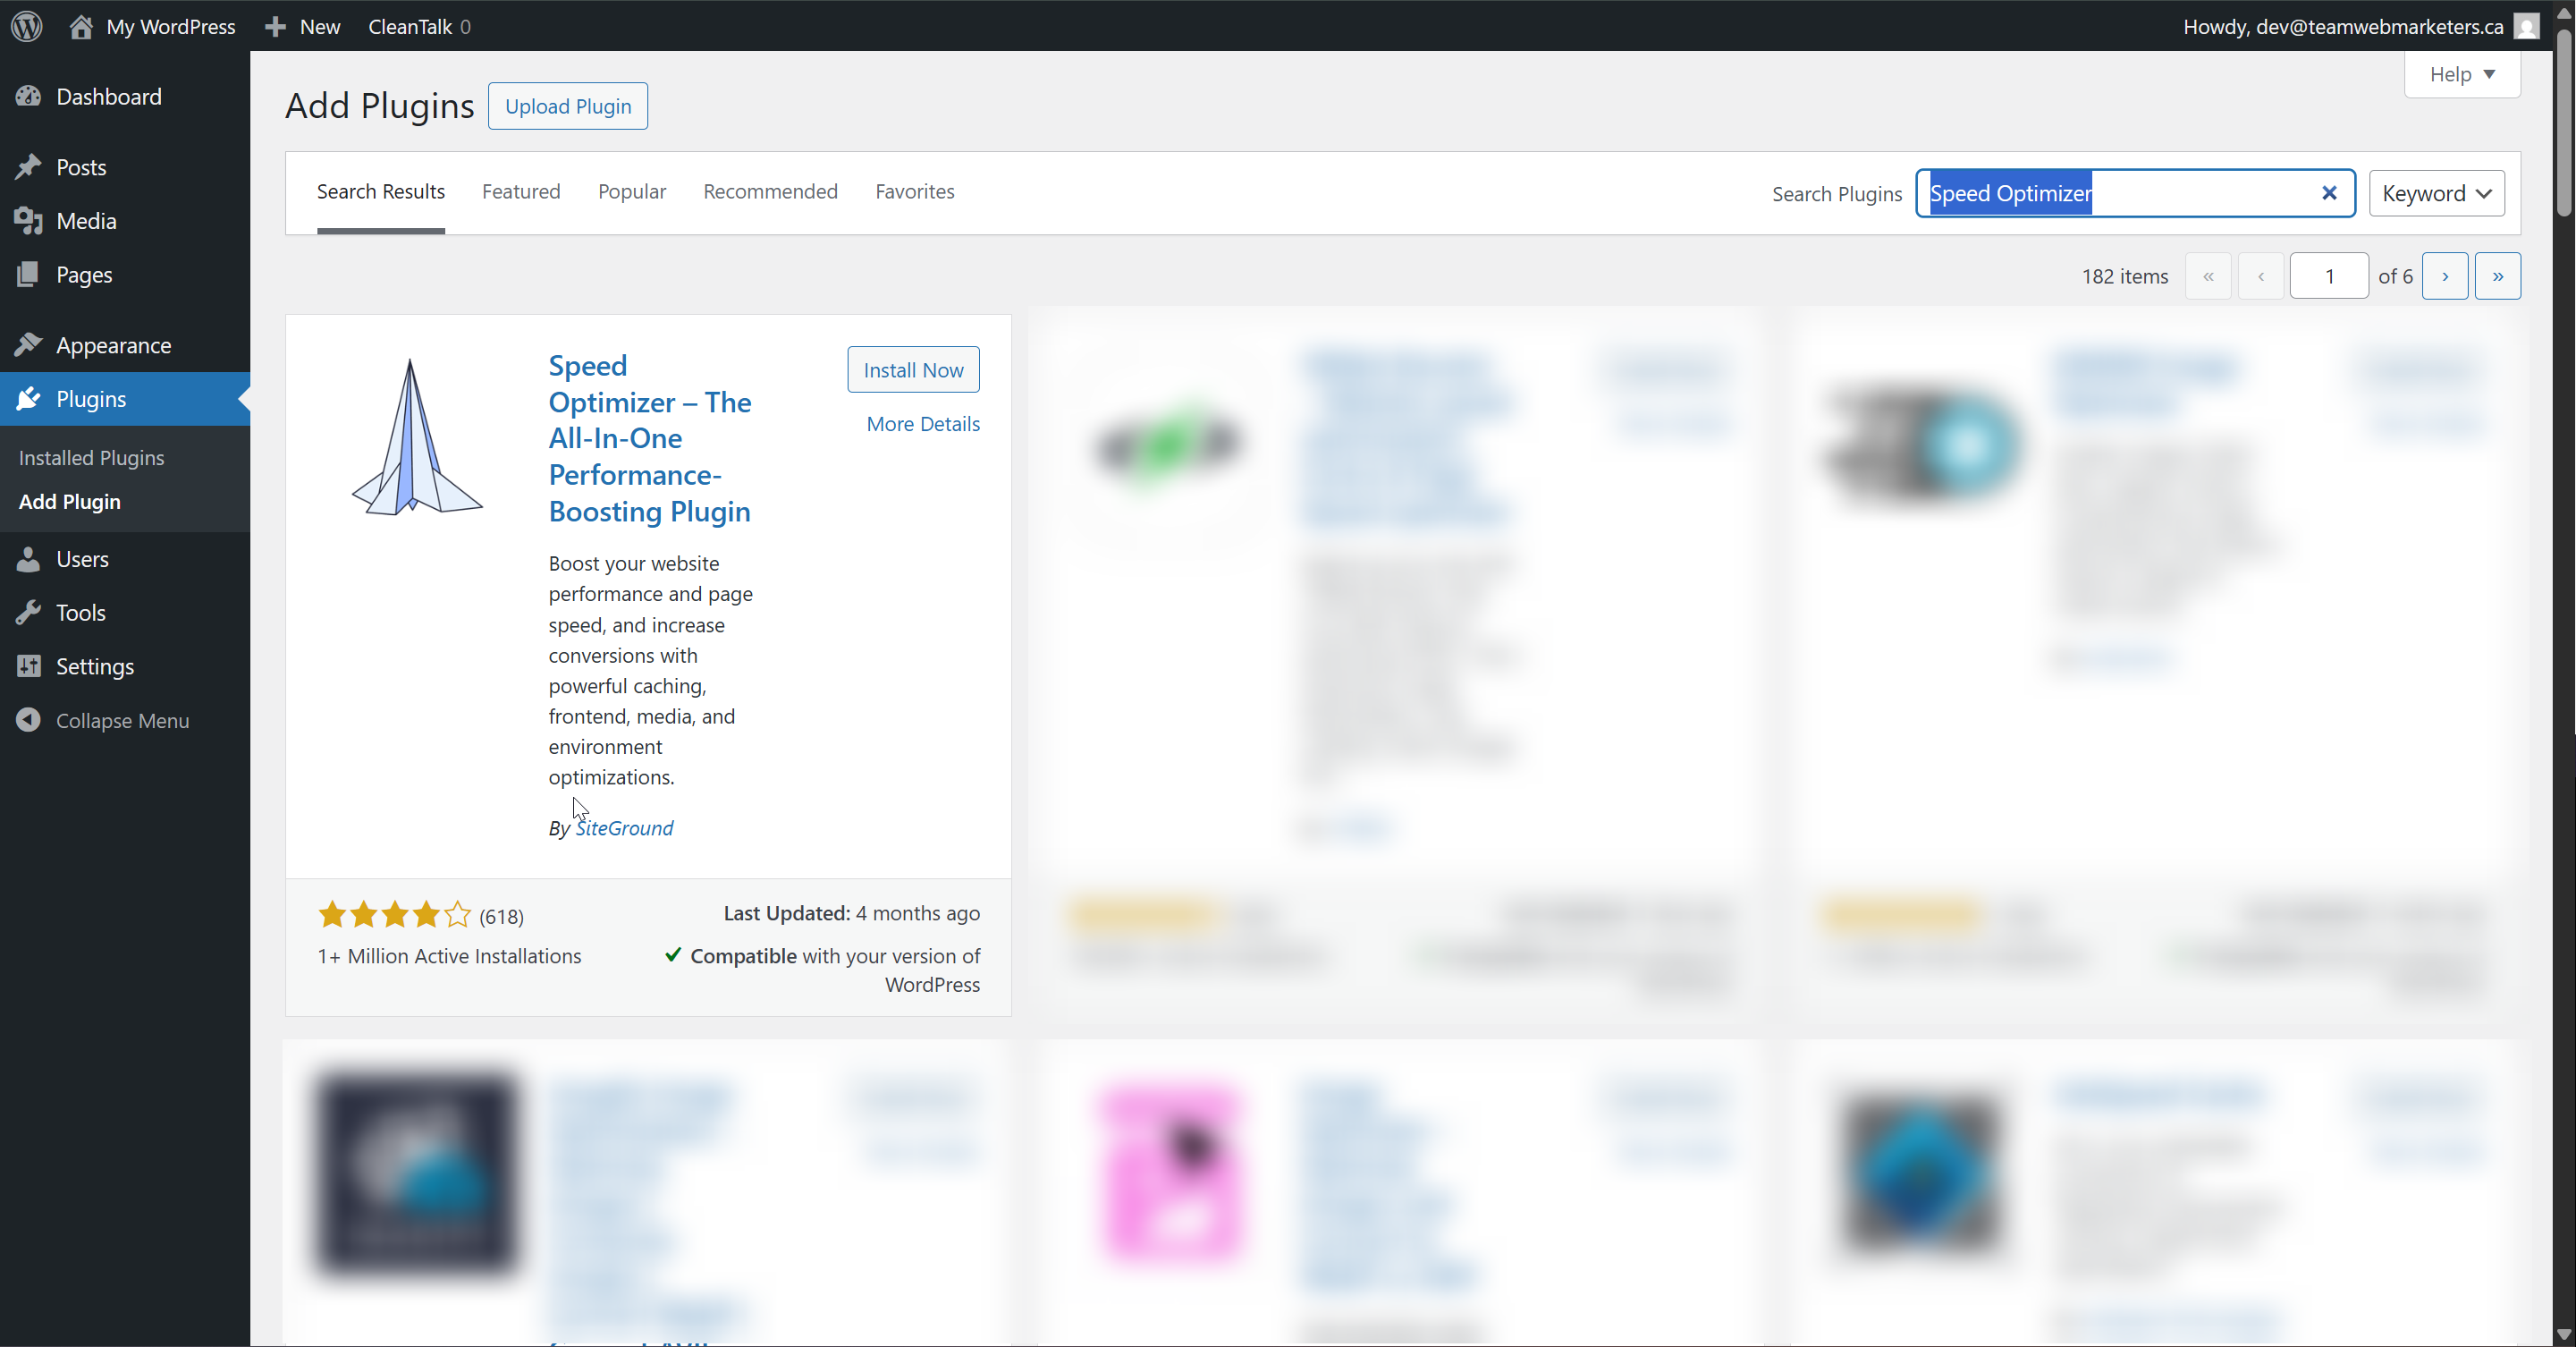
Install & Activate the plugin
Name: Speed Optimizer
Author: SiteGround
What can you optimize?
Just about everything! If you can see it on a website, you can optimize it. That includes CSS, JavaScript, HTML, images, videos, and even the WordPress environment. Using this tool can speed up a website significantly, saving your users seconds on each page load.
Here's how we configure the plugin:
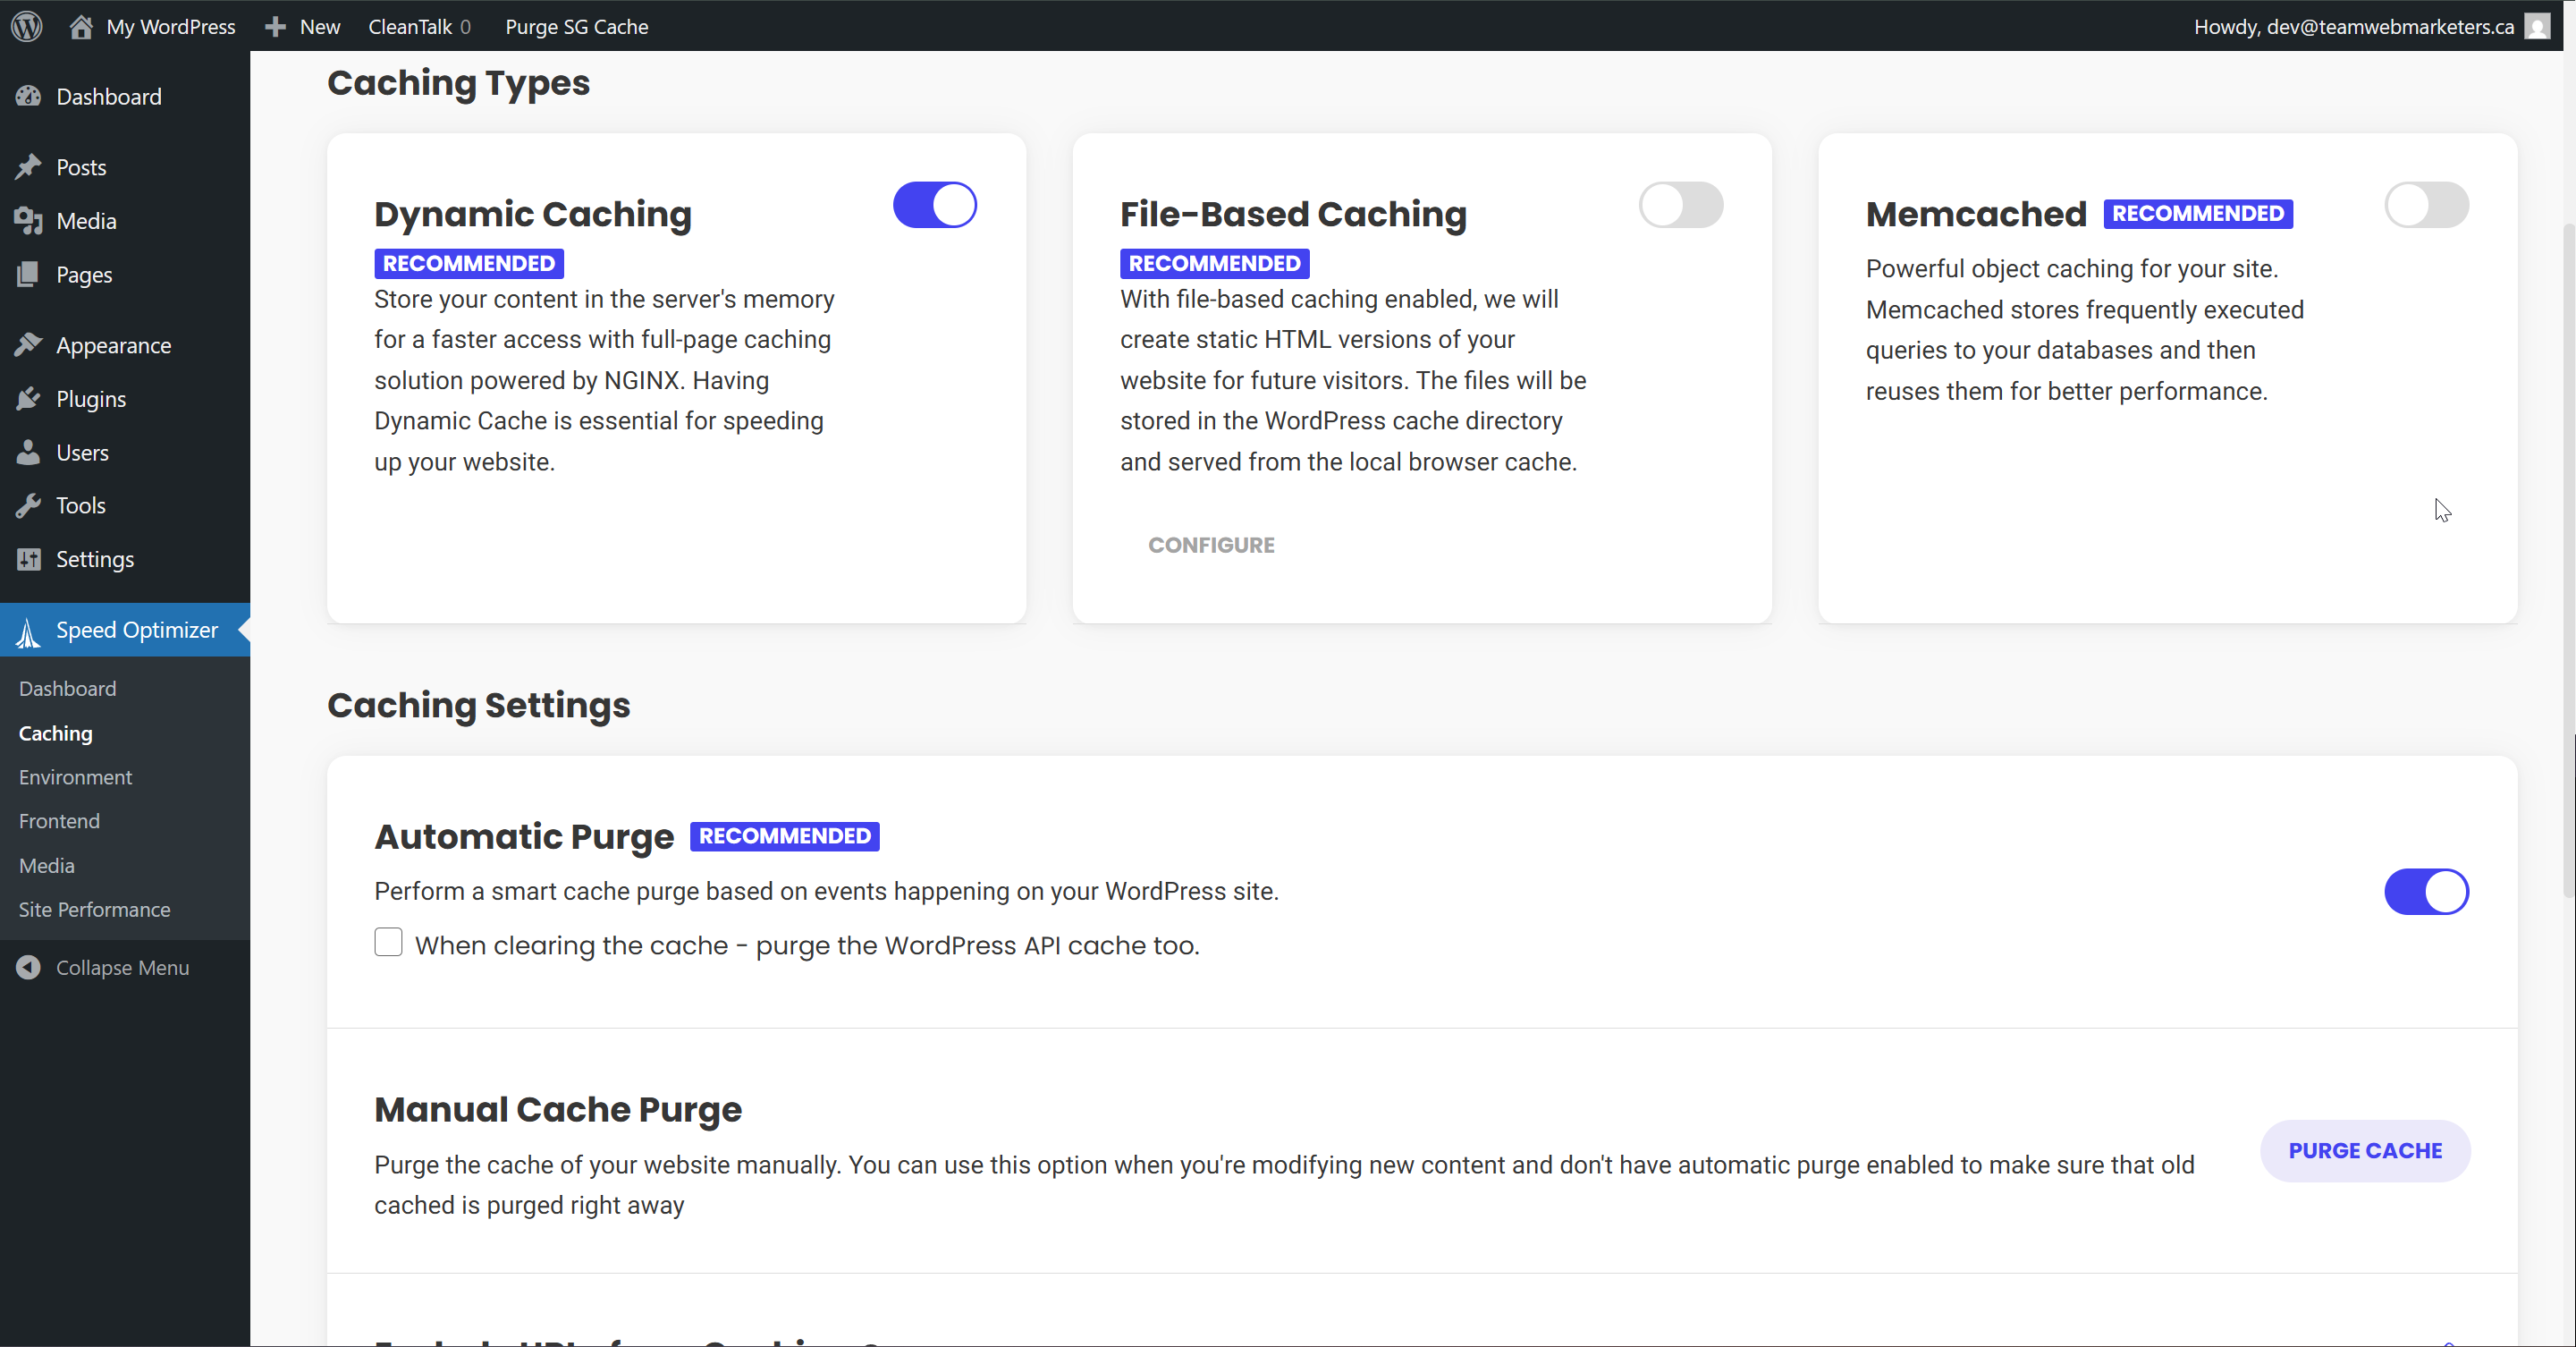
1. Caching
Dynamic Caching: Enabled
Automatic Purge: Enabled
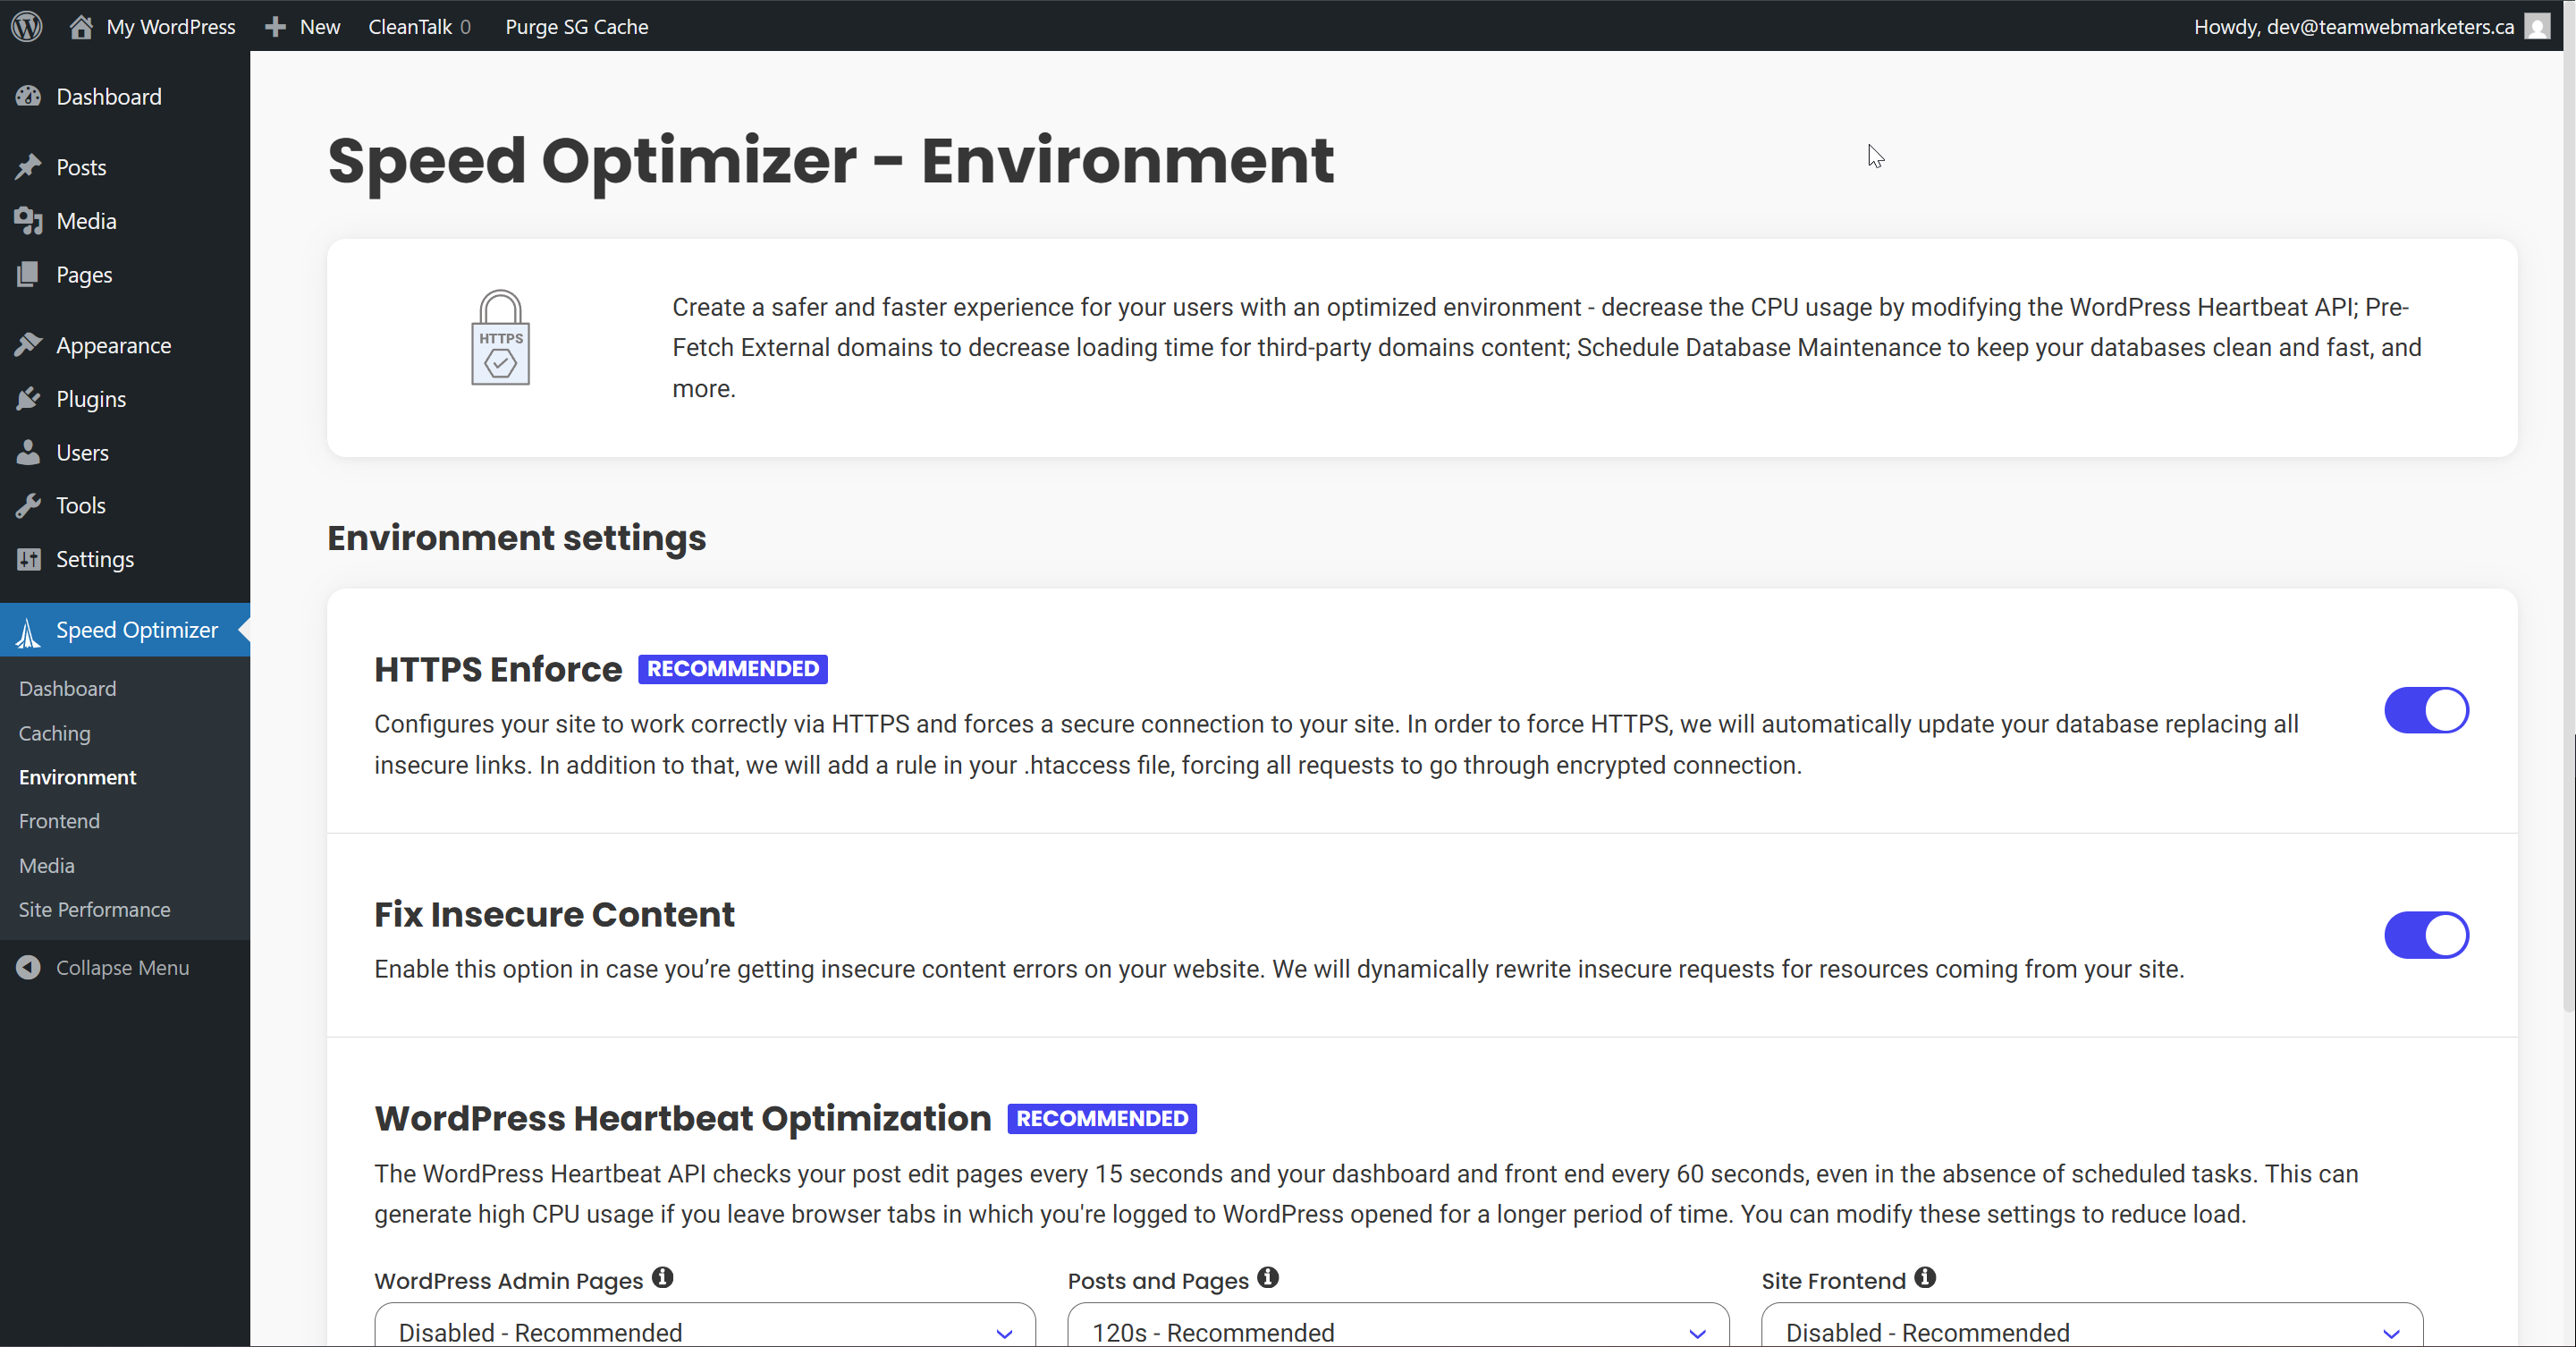
2. Environment
HTTPS Enforce: Enabled
Fix Insecure Content: Enabled
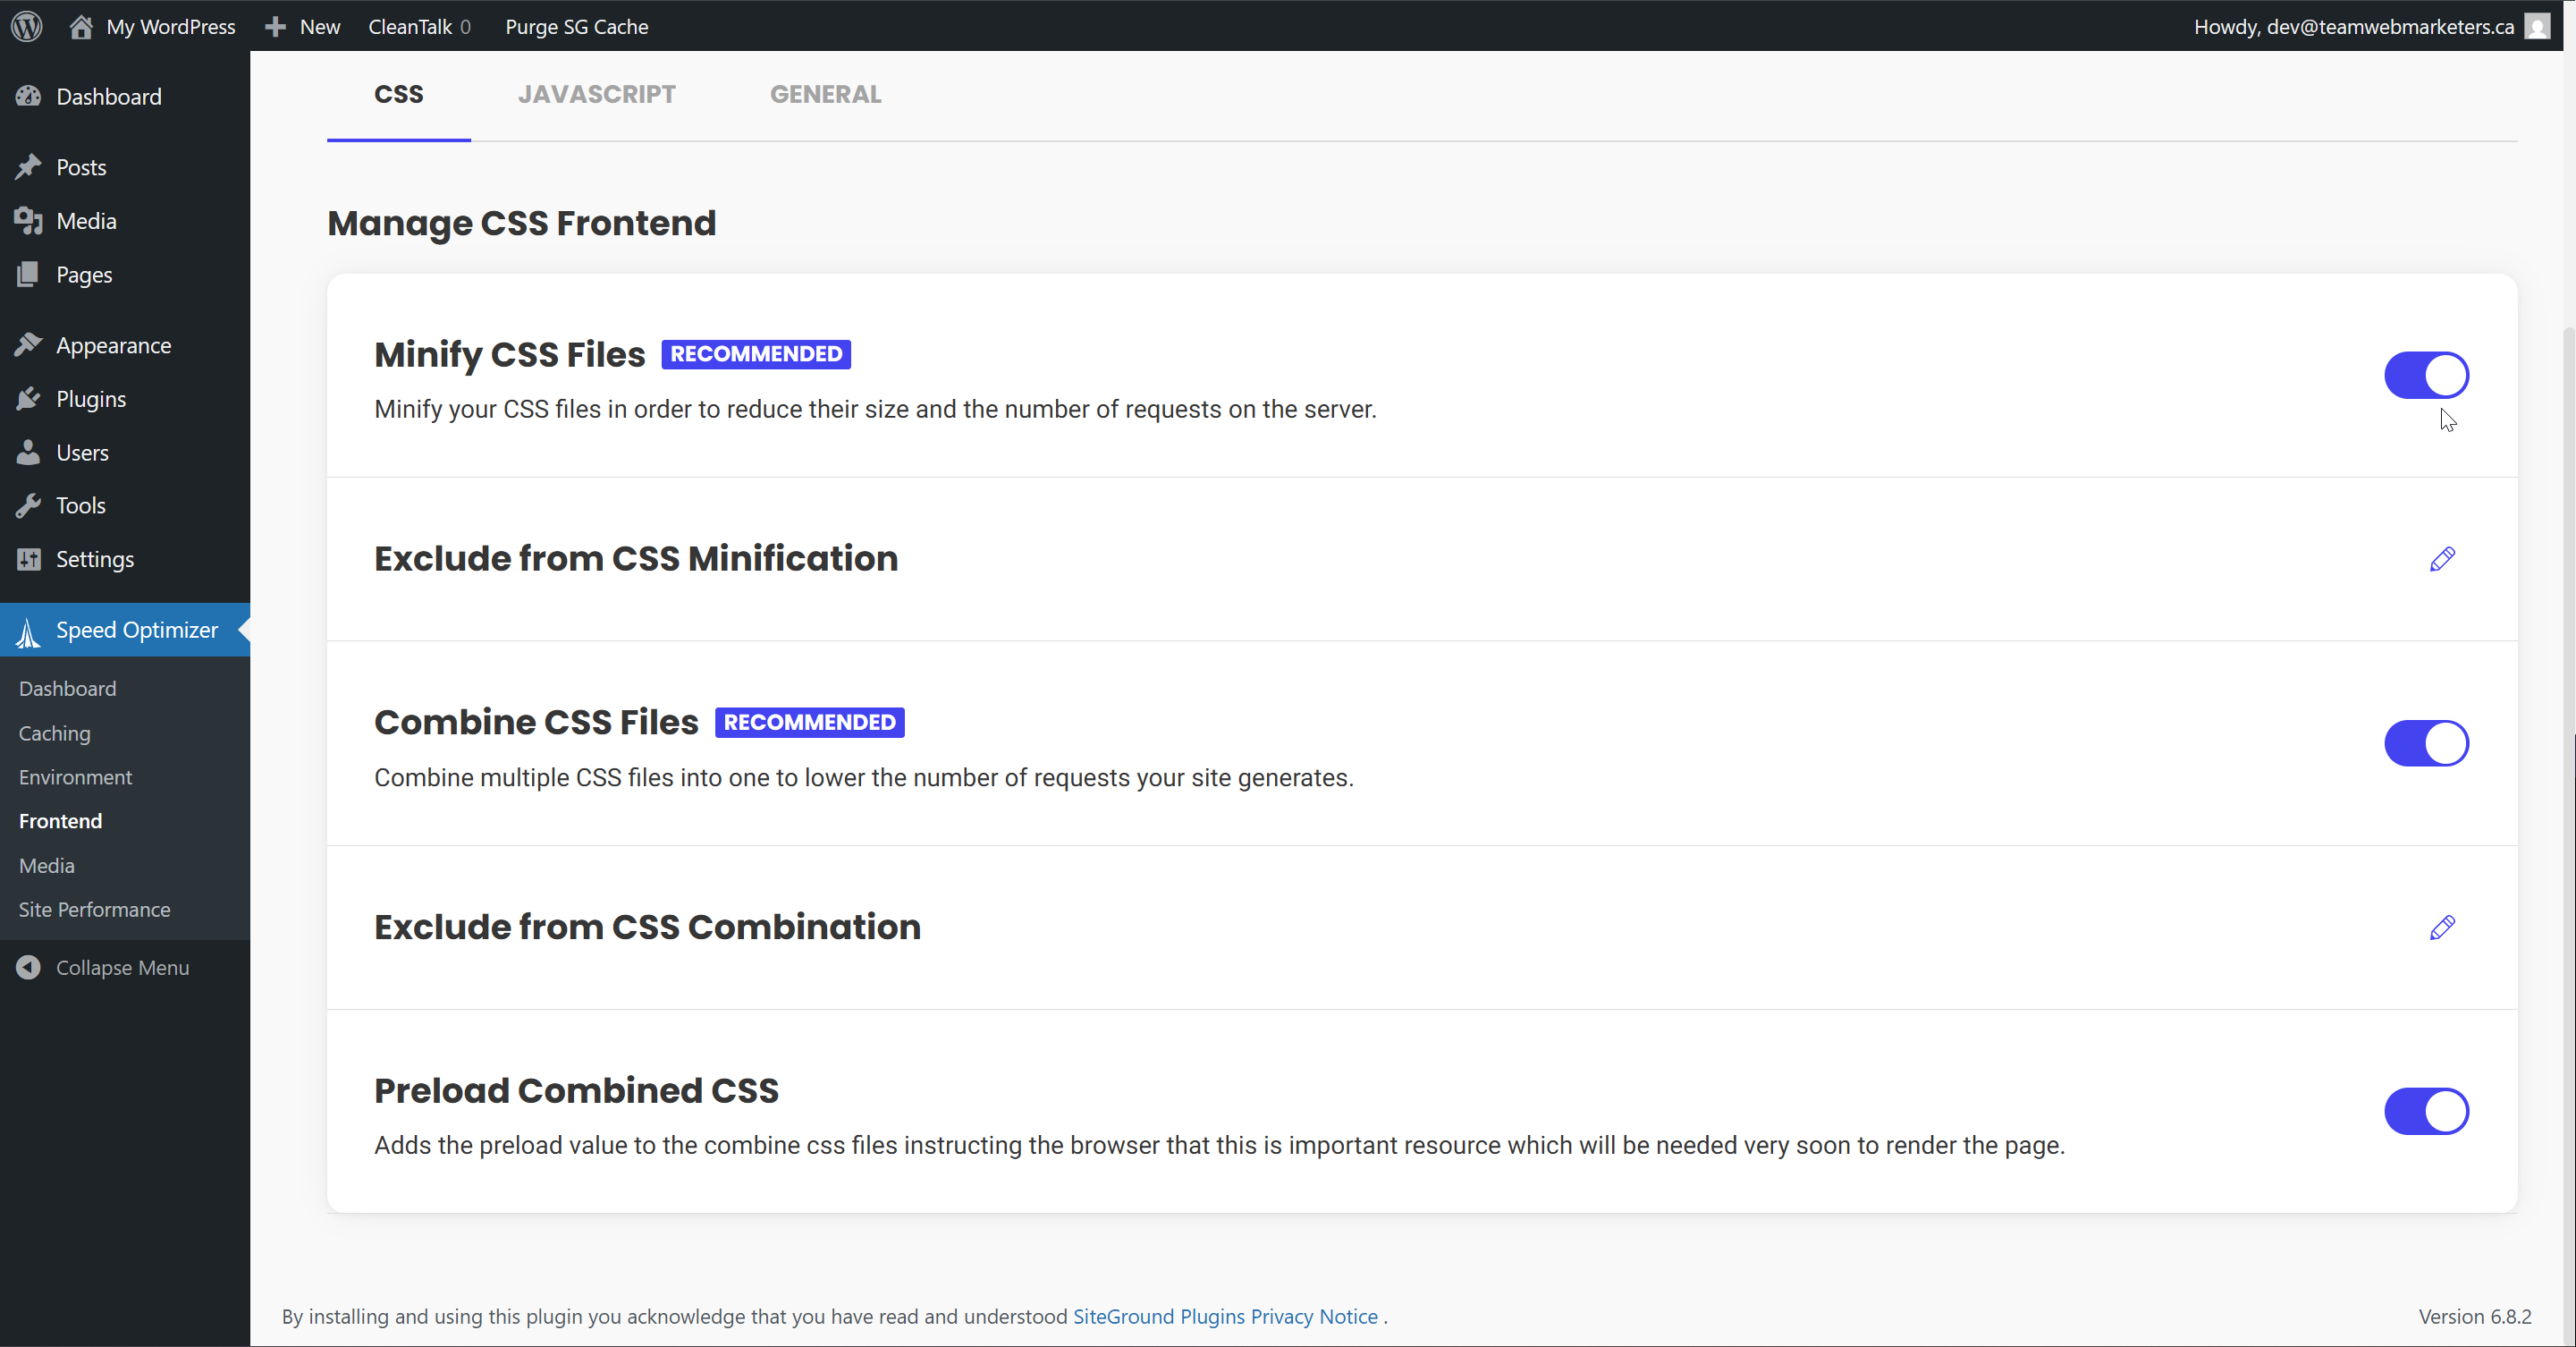
3. Frontend Optimization
CSS
Minify CSS Files: Enabled
Combine CSS Files: Enabled
Preload Combined CSS: Enabled
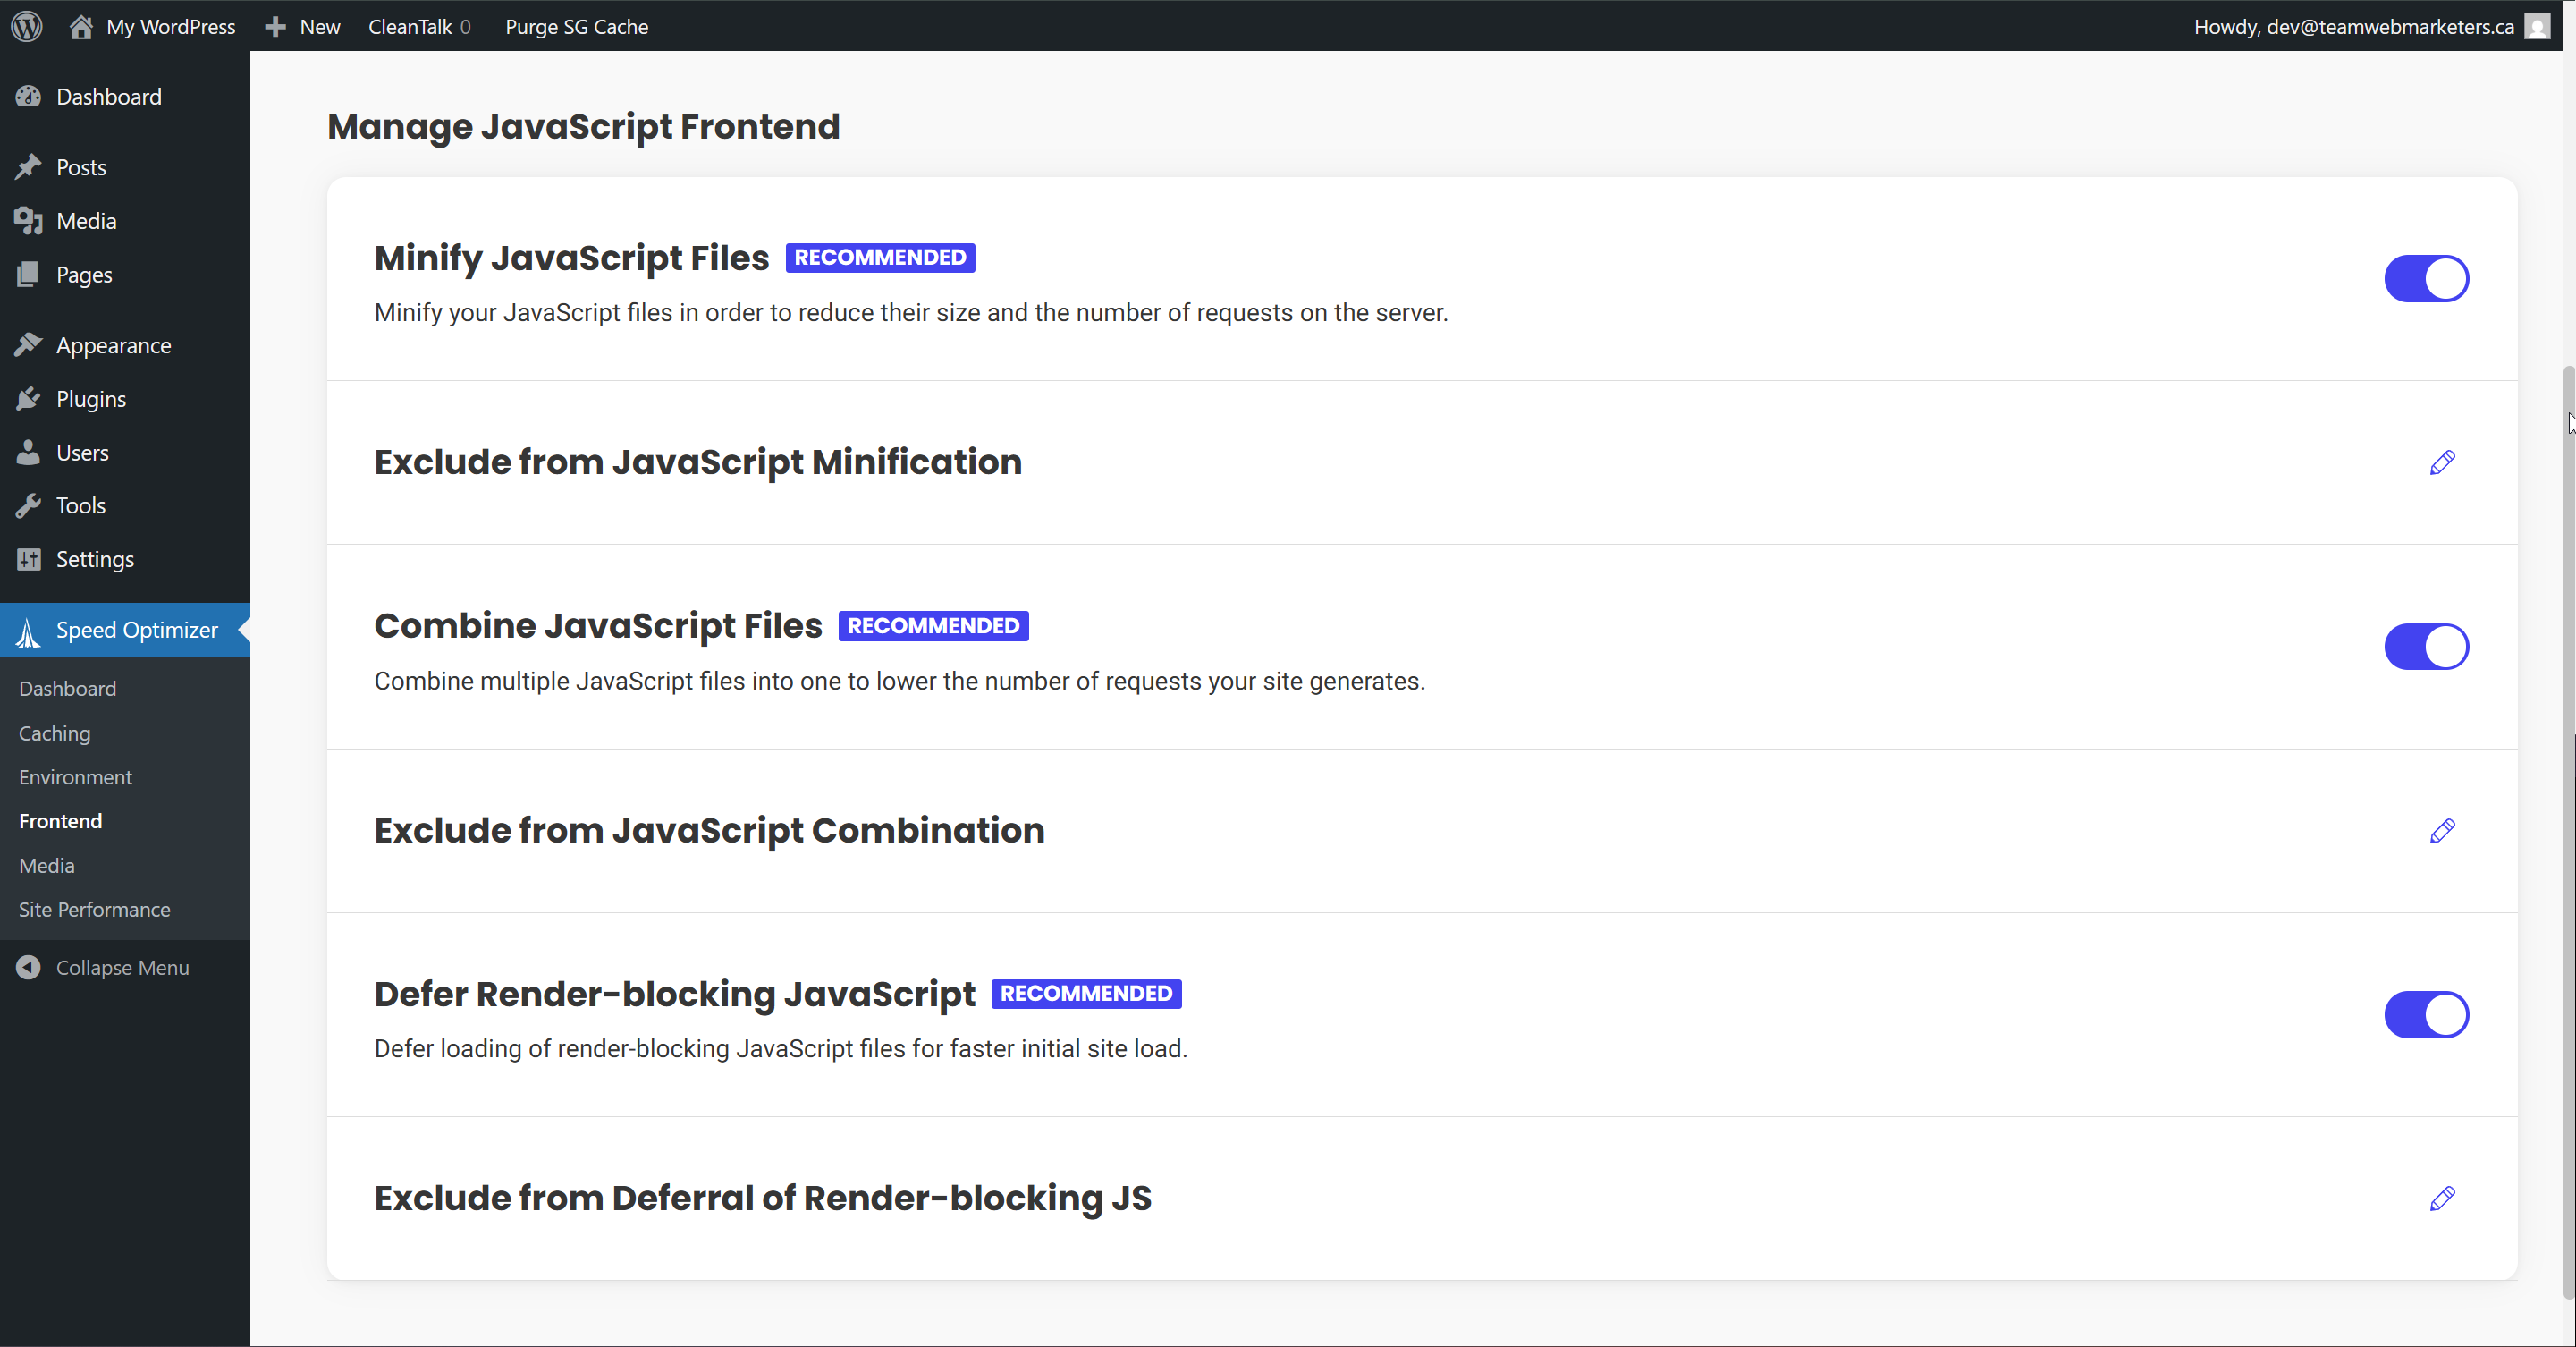
JavaScript
Minify JavaScript Files: Enabled
Combine JavaScript Files: Enabled
Defer Render-blocking JavaScript: Enabled
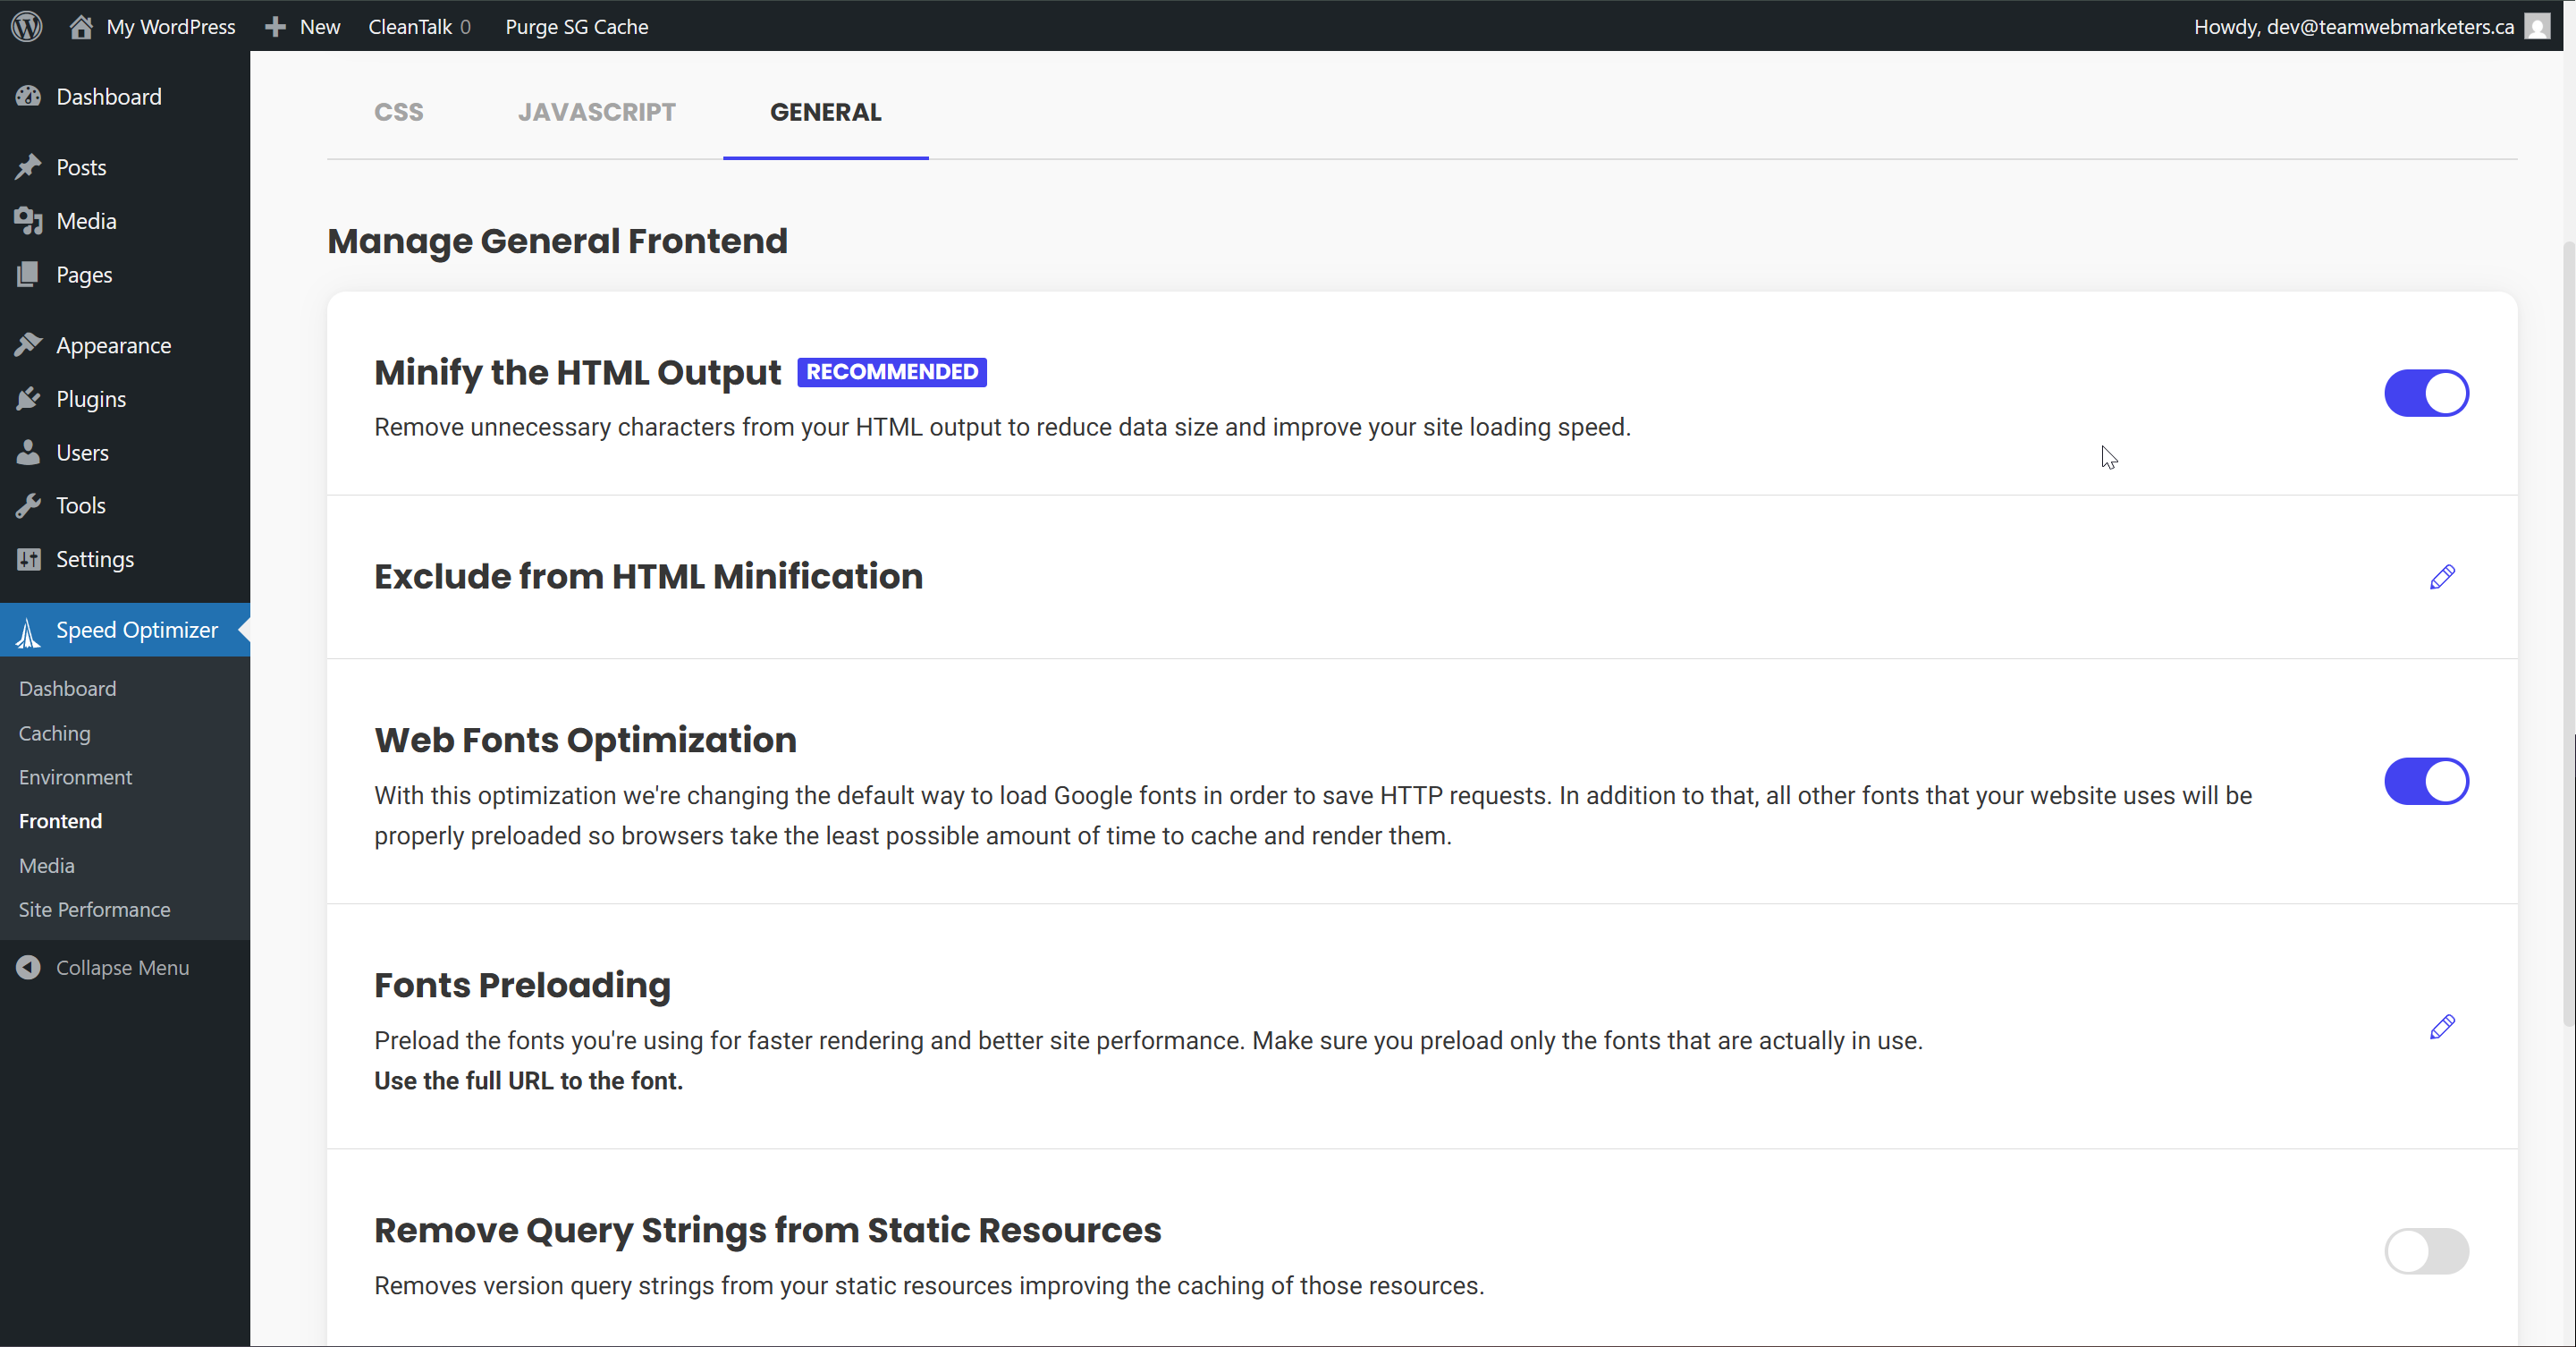
General
Minify the HTML Output: Enabled
Web Fonts Optimization: Enabled
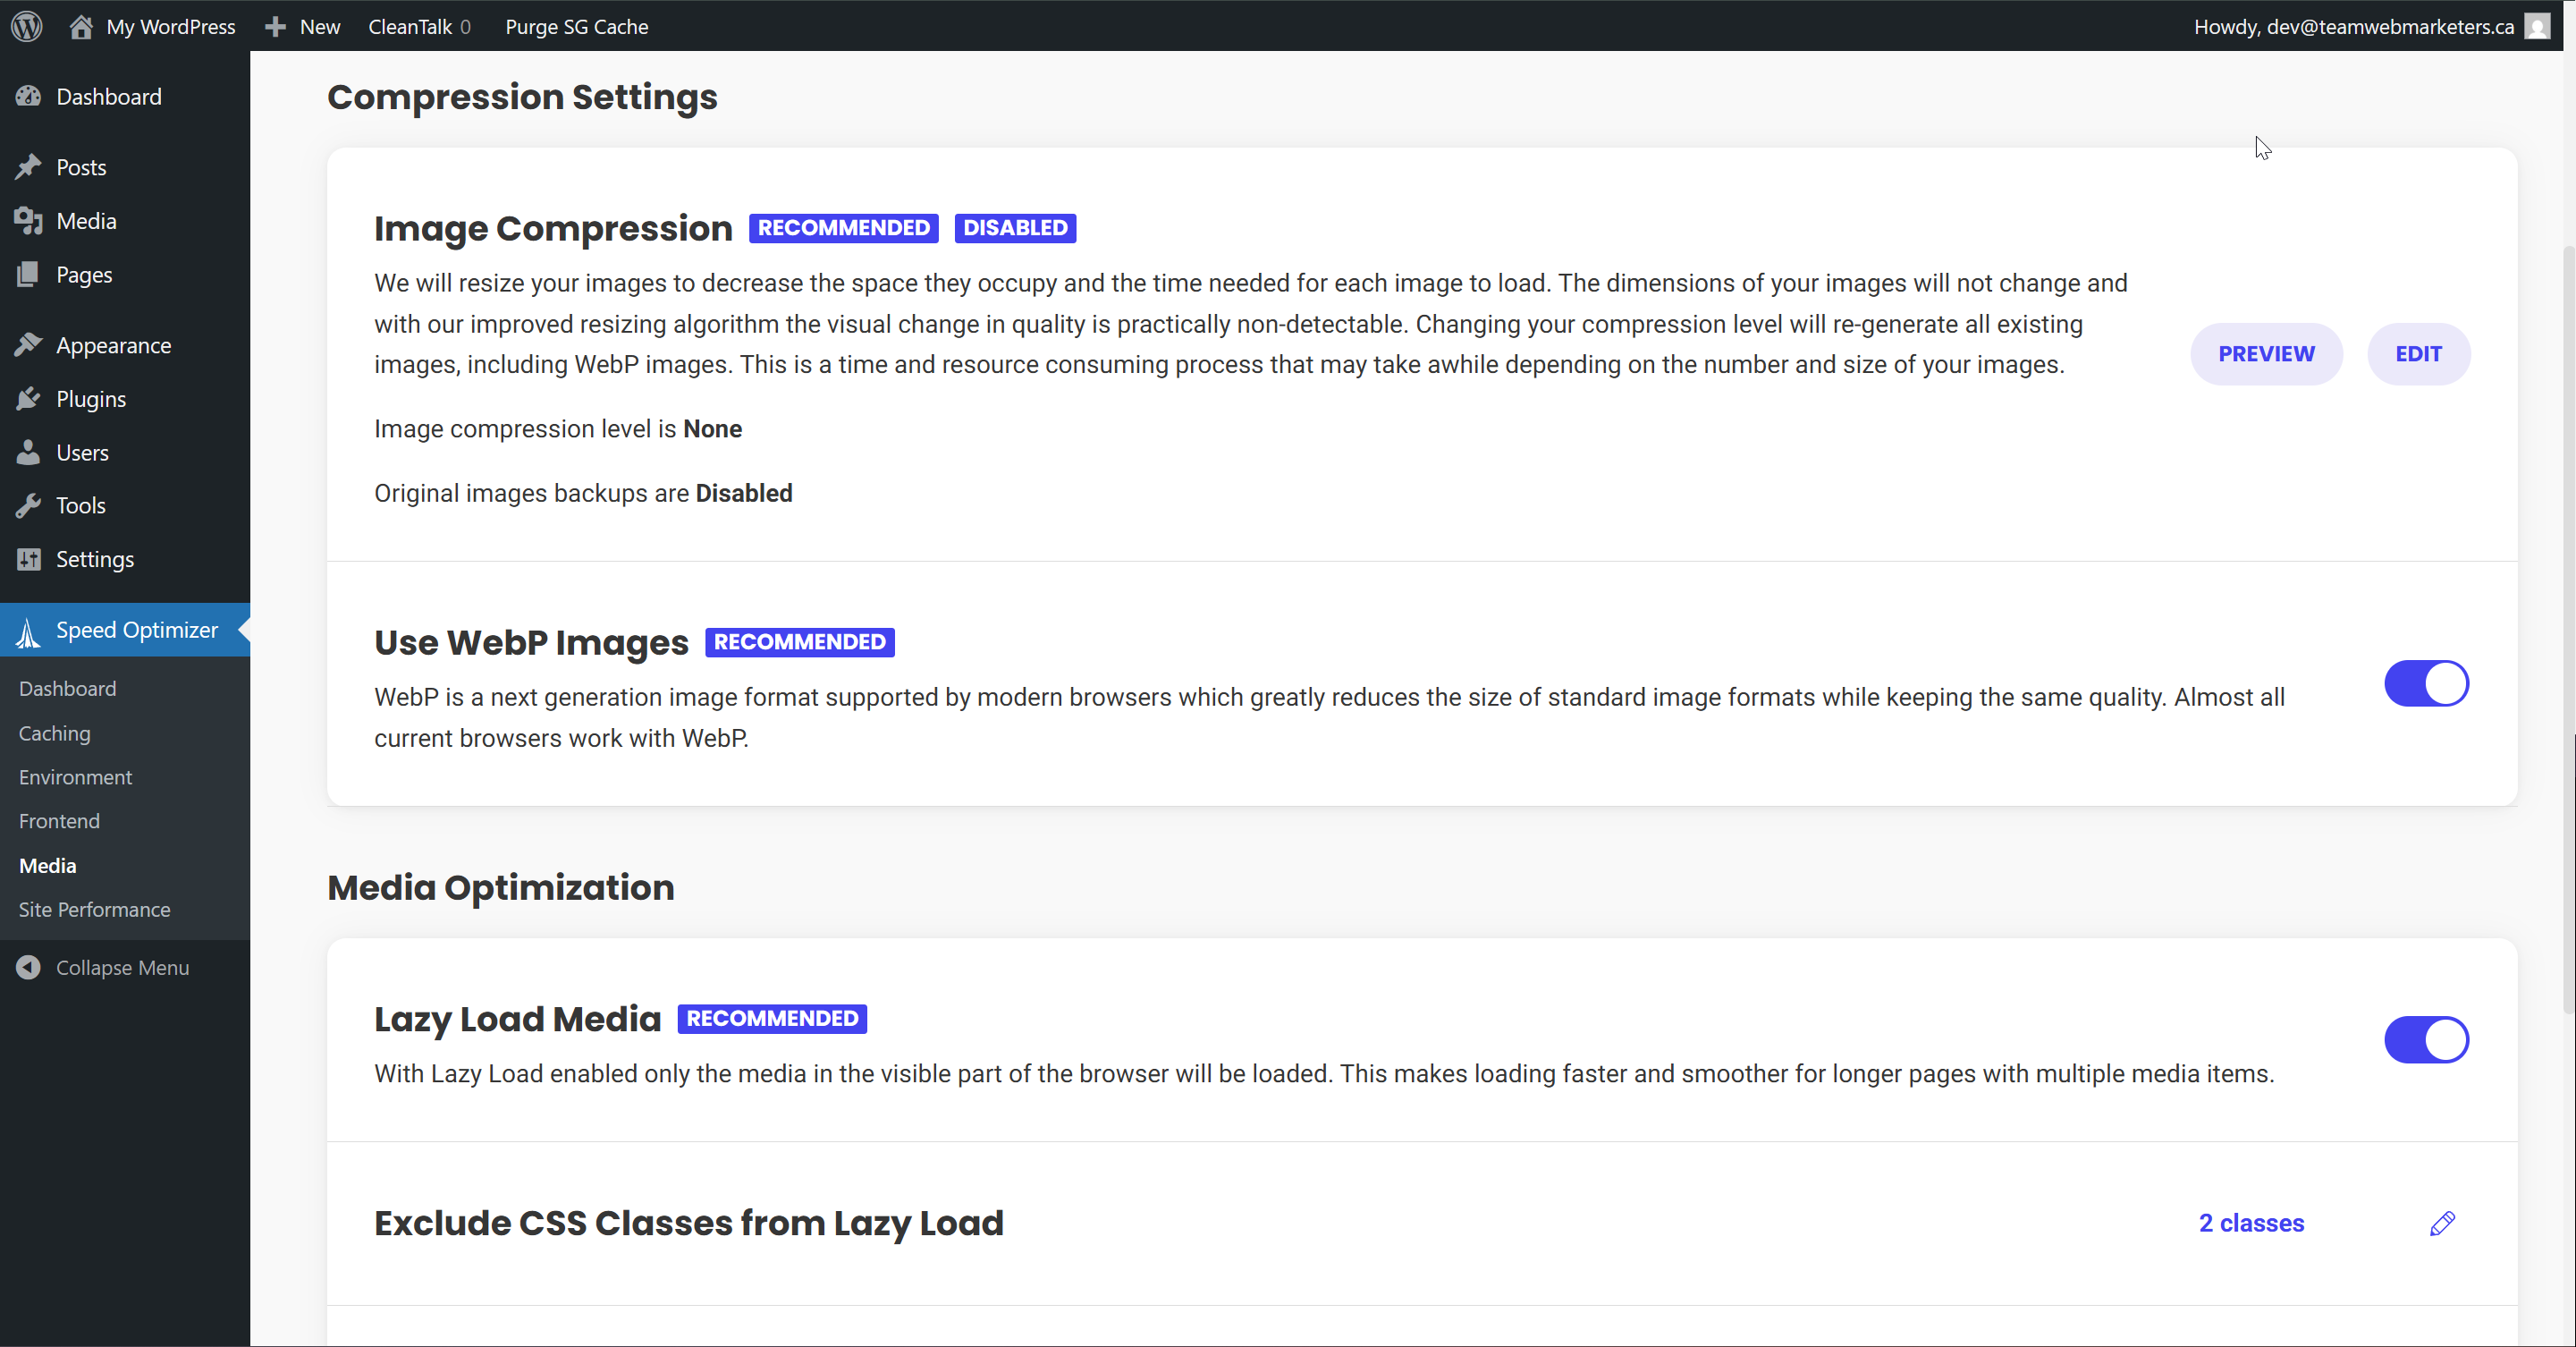
4. Media
Compression Settings
Use WebP Images: Enabled
WebP Compression may take up to 30 minutes if the website has a lot of images that need to be converted to WebP. Usually, expect it to take 5 minutes or less.
Media Optimization
Lazy Load Media: Enabled
This can occasionally cause issues, if you find an image/video isn't showing up, or loads too slowly, try turning this off. It's an optional setting but usually improves performance.
LightSpeed Cache (LS Cache)
What is LightSpeed Cache?
LiteSpeed Cache is a free, all-in-one WordPress optimization plugin that delivers powerful server-level caching and performance enhancements. It includes features like image optimization, CSS/JS minification, lazy loading, and support for QUIC.cloud CDN, making it ideal for boosting page speed and Core Web Vitals. While it works best with LiteSpeed Web Server, many of its tools are compatible with other servers like Apache and NGINX.
We only use this for websites hosted on WHC. However, it works well elsewhere too.
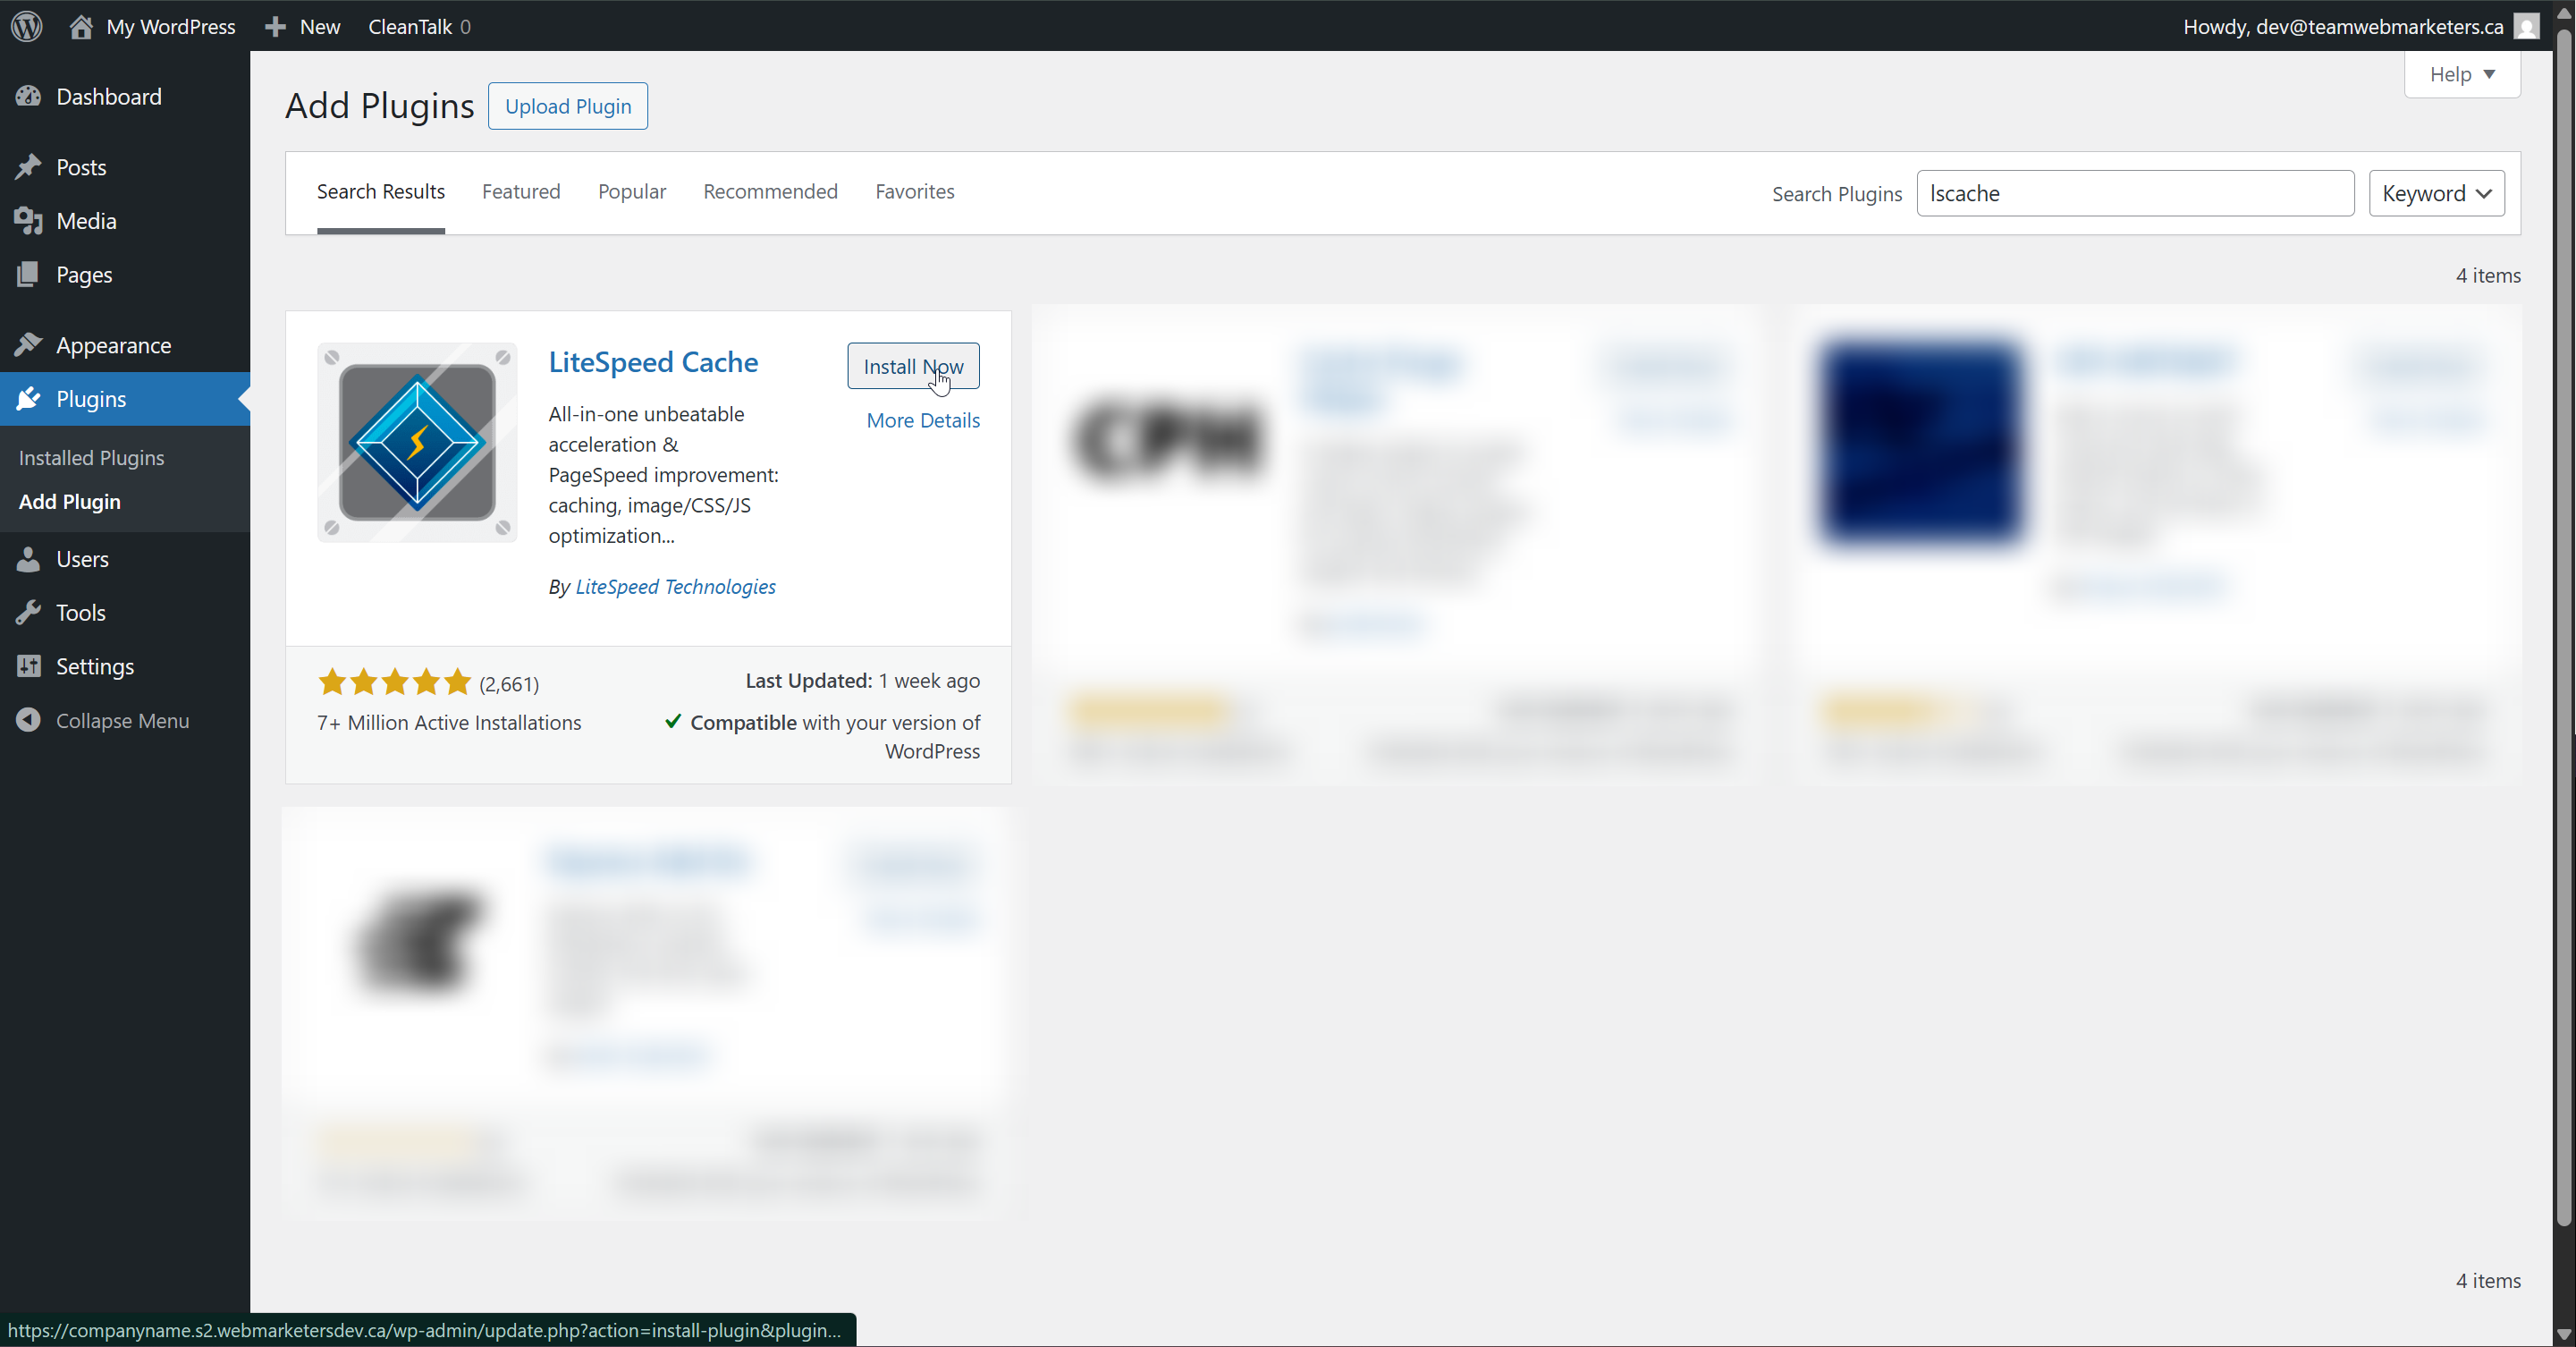
Install & Activate the plugin
Name: LiteSpeed Cache
Author: LiteSpeed Technologies
Here's how we configure the plugin:
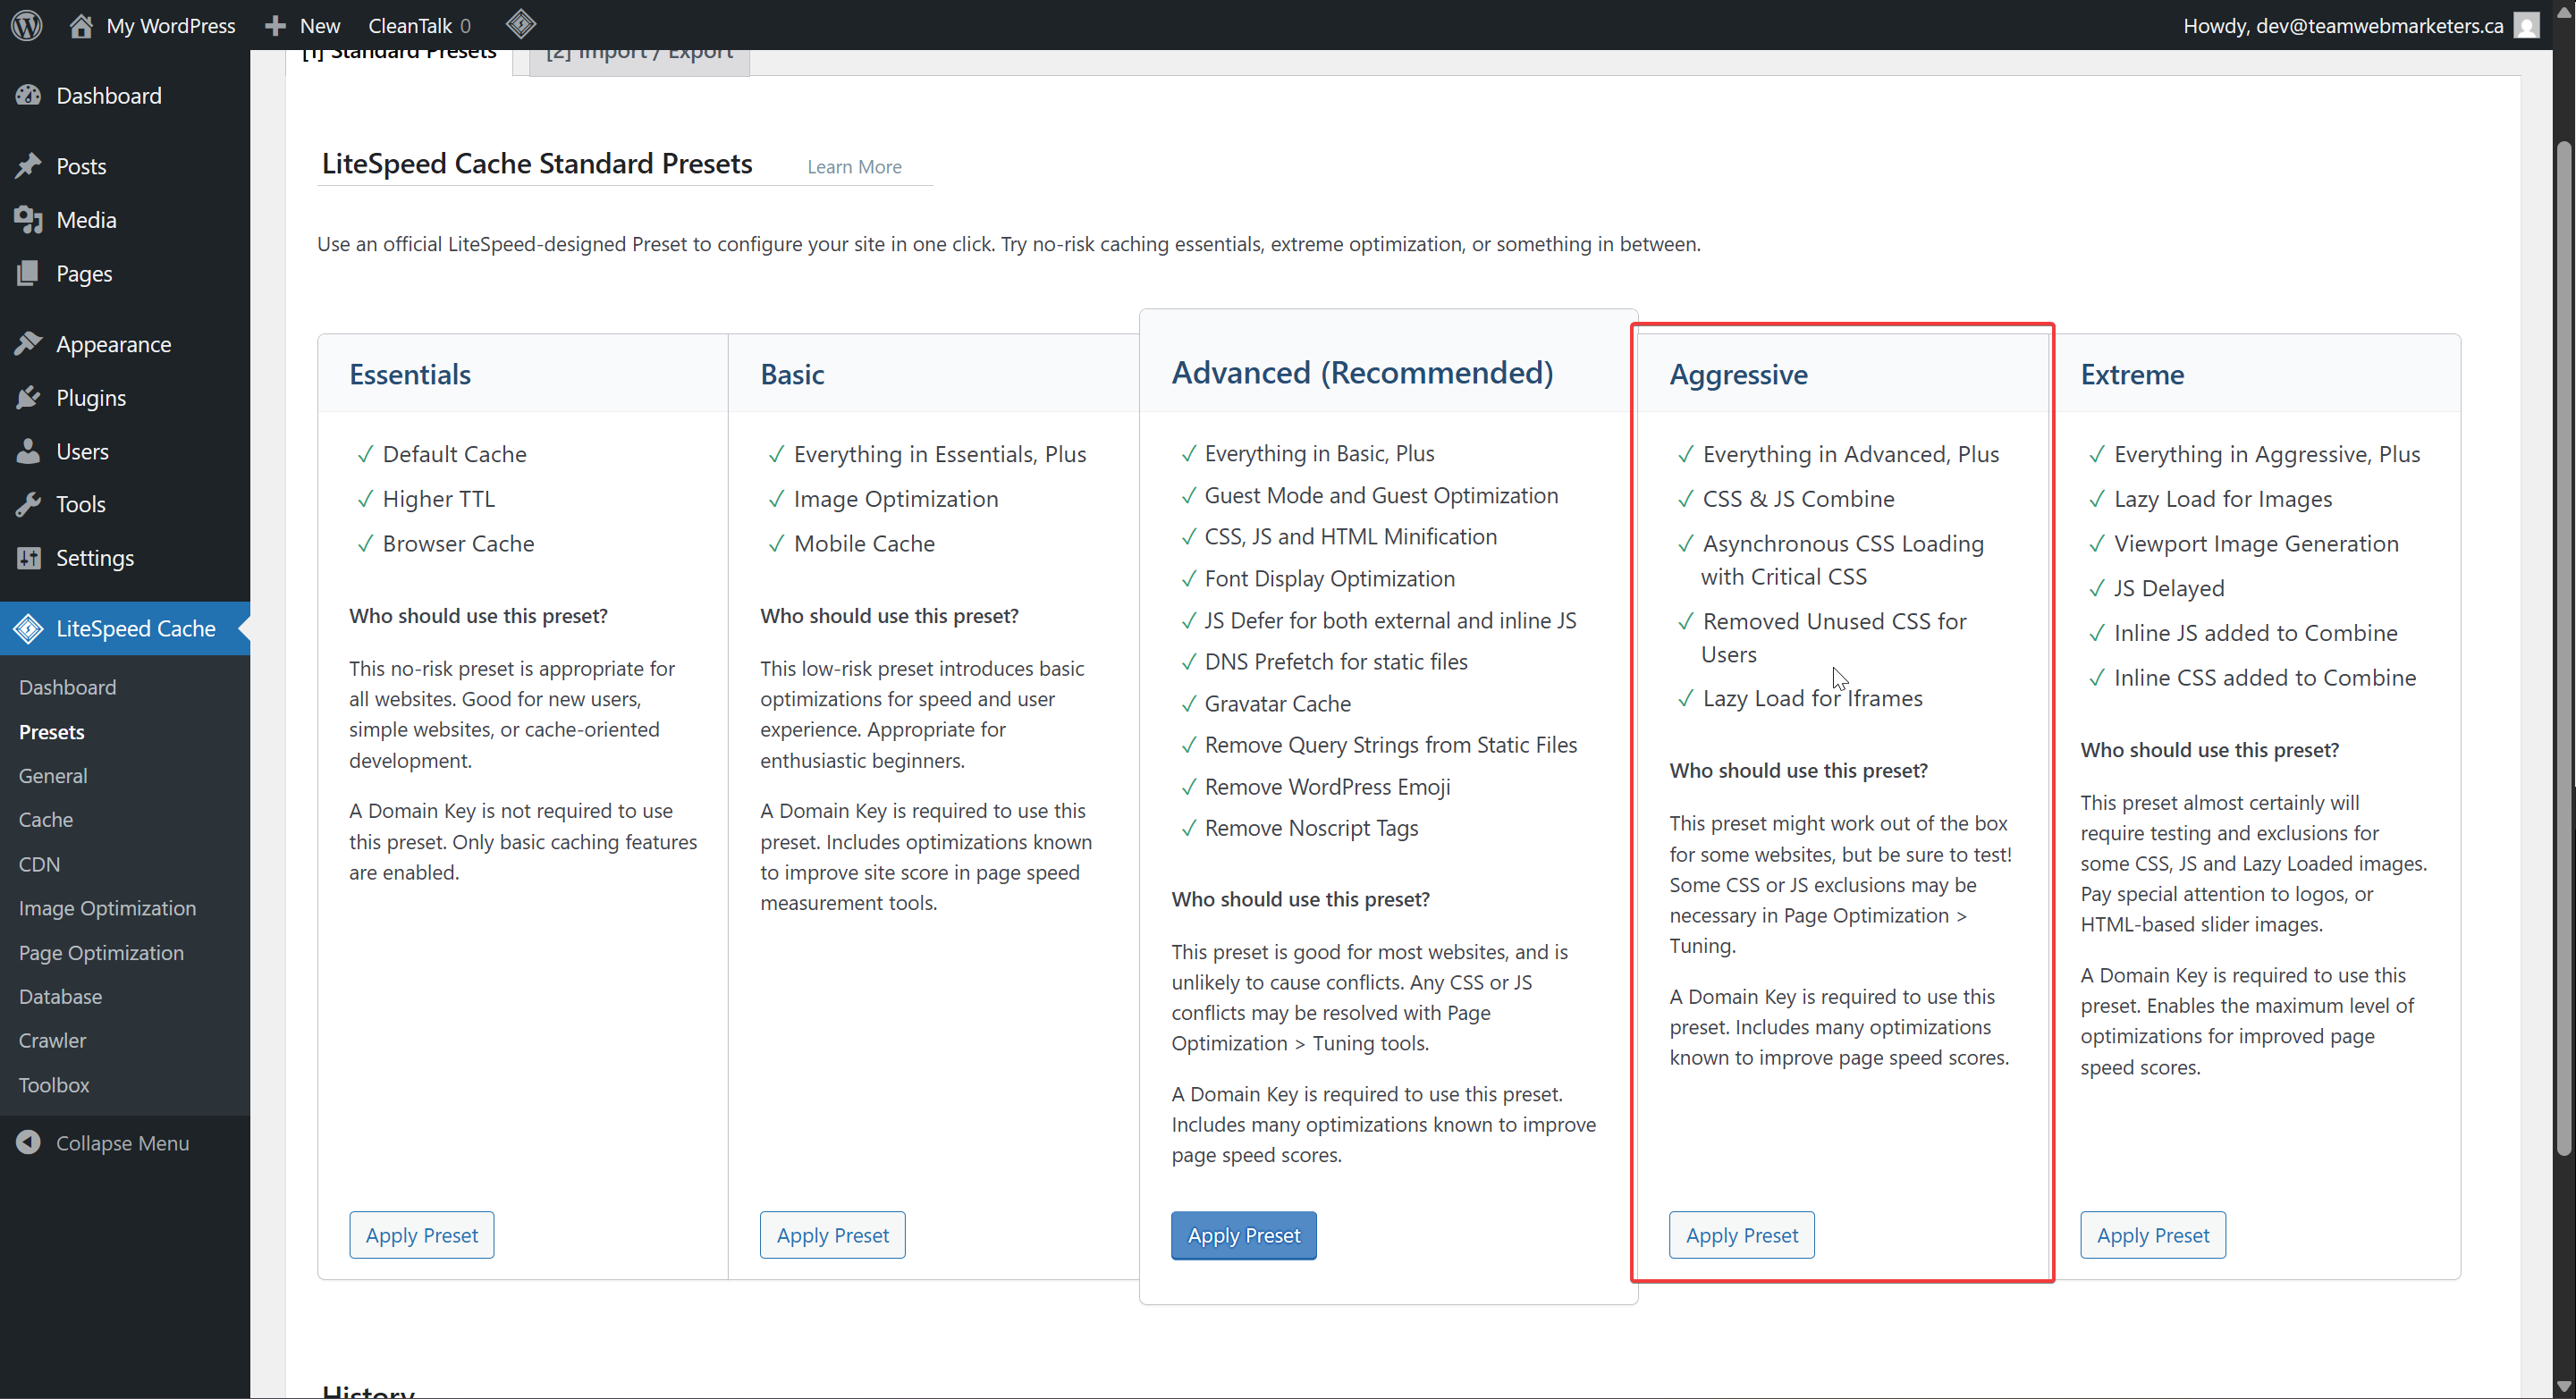
The easiest way to configure the plugin is to head over to the "Presets" tab in the plugin, where you can apply a preset configuration that might suit your needs.
The Aggressive preset is closest to how we would usually configure an optimization plugin. It minifies and combines both CSS & JS, optimizes static files, optimizes images and has a good caching configuration.
If you'd prefer manually setting fewer features, continue scrolling below...
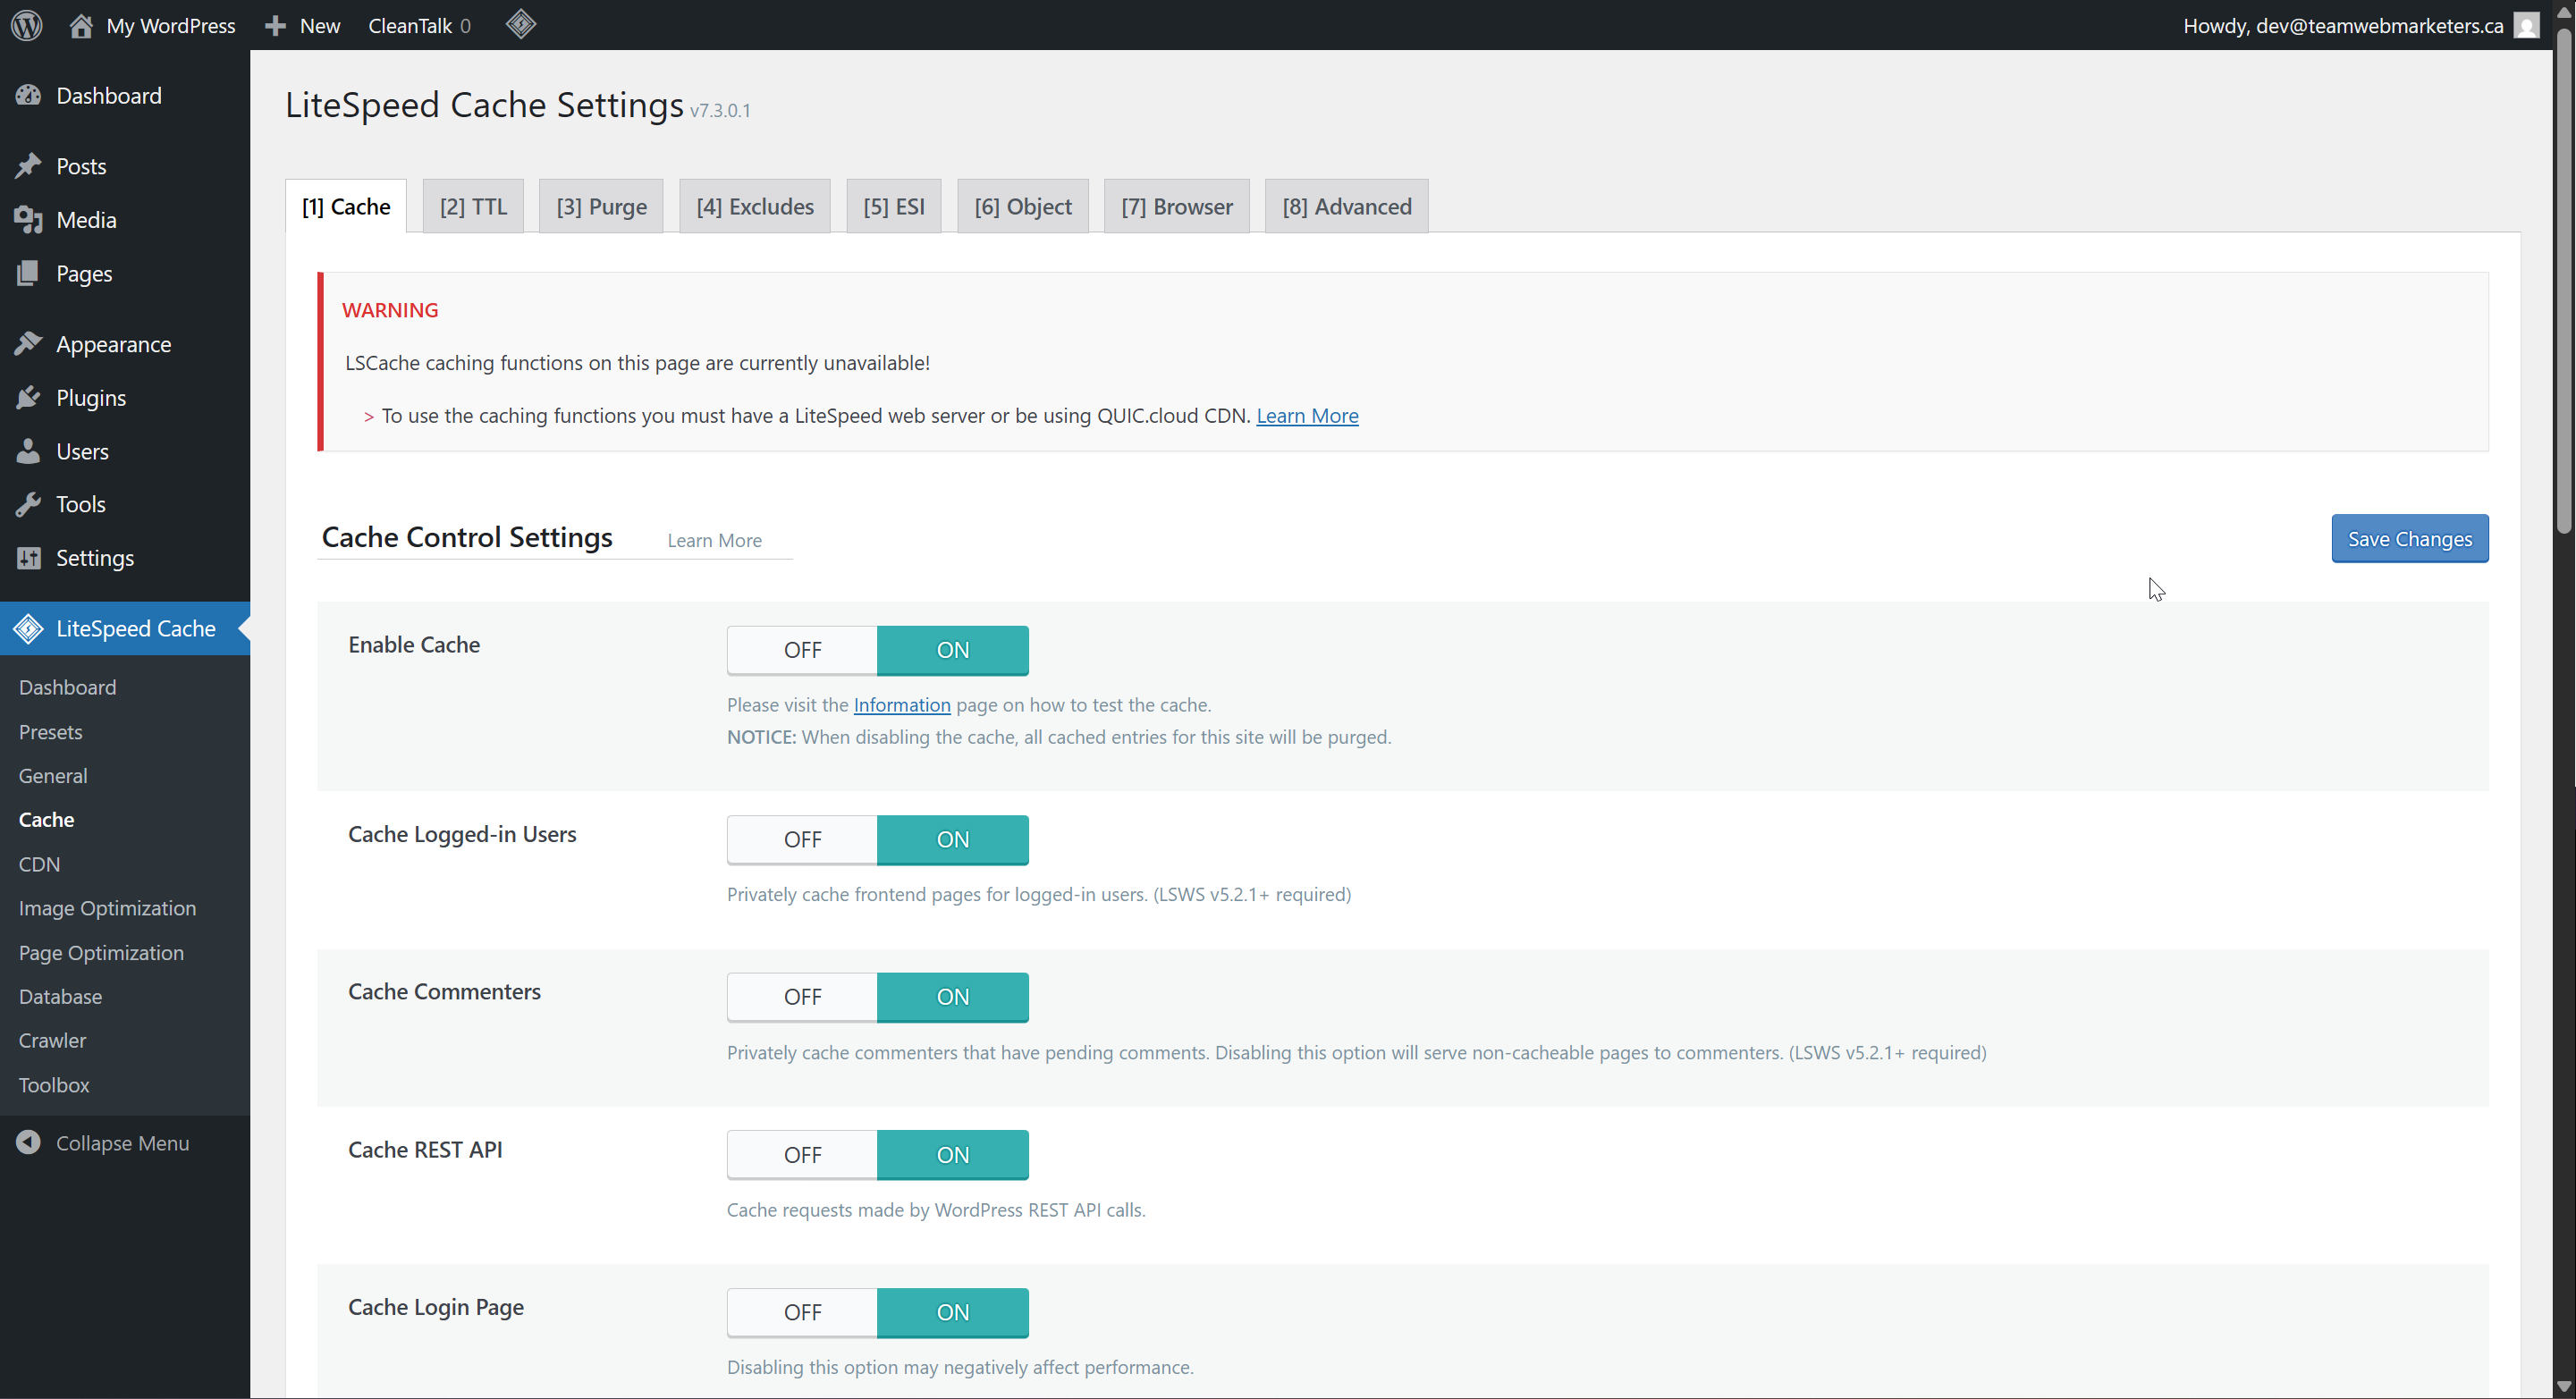
1. Cache
Enable Cache: ON
2. CDN
We don't use this CDN tool. It could be useful, especially with the Cloudflare option, but its not something you need to turn on.
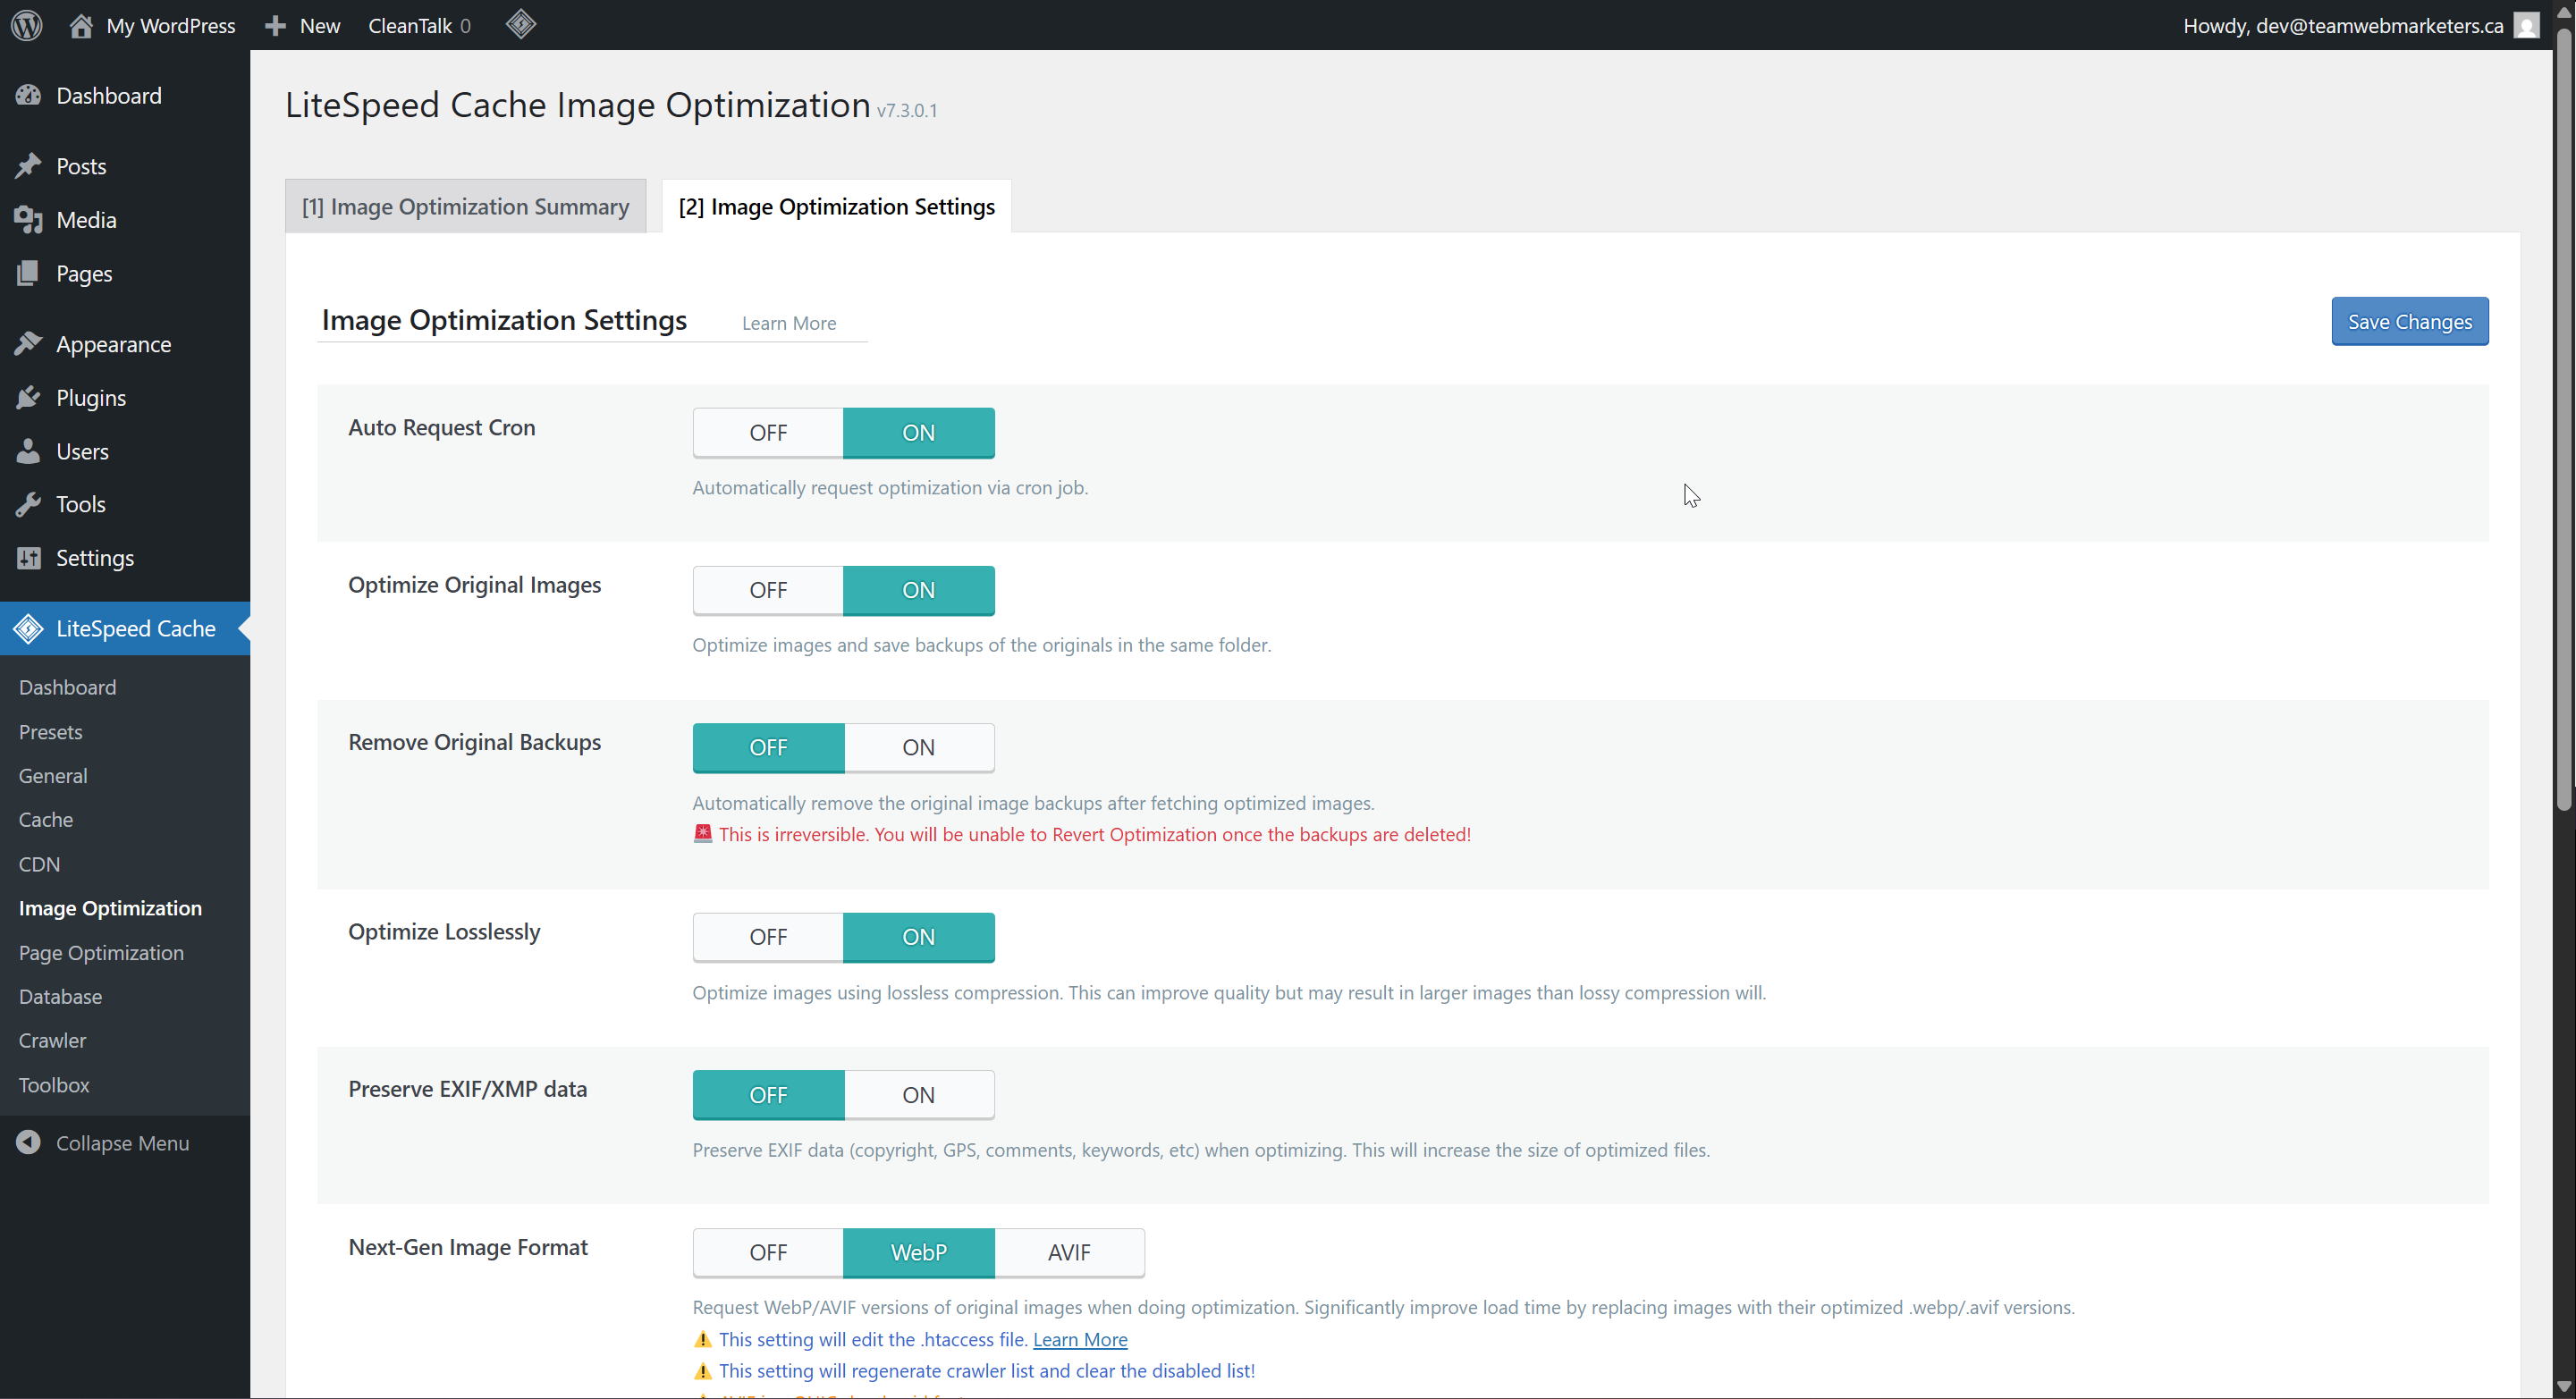
3. Image Optimization
Remove Original Backups: OFF
Optimize Losslessly: ON
Next-Gen Image Format: WebP
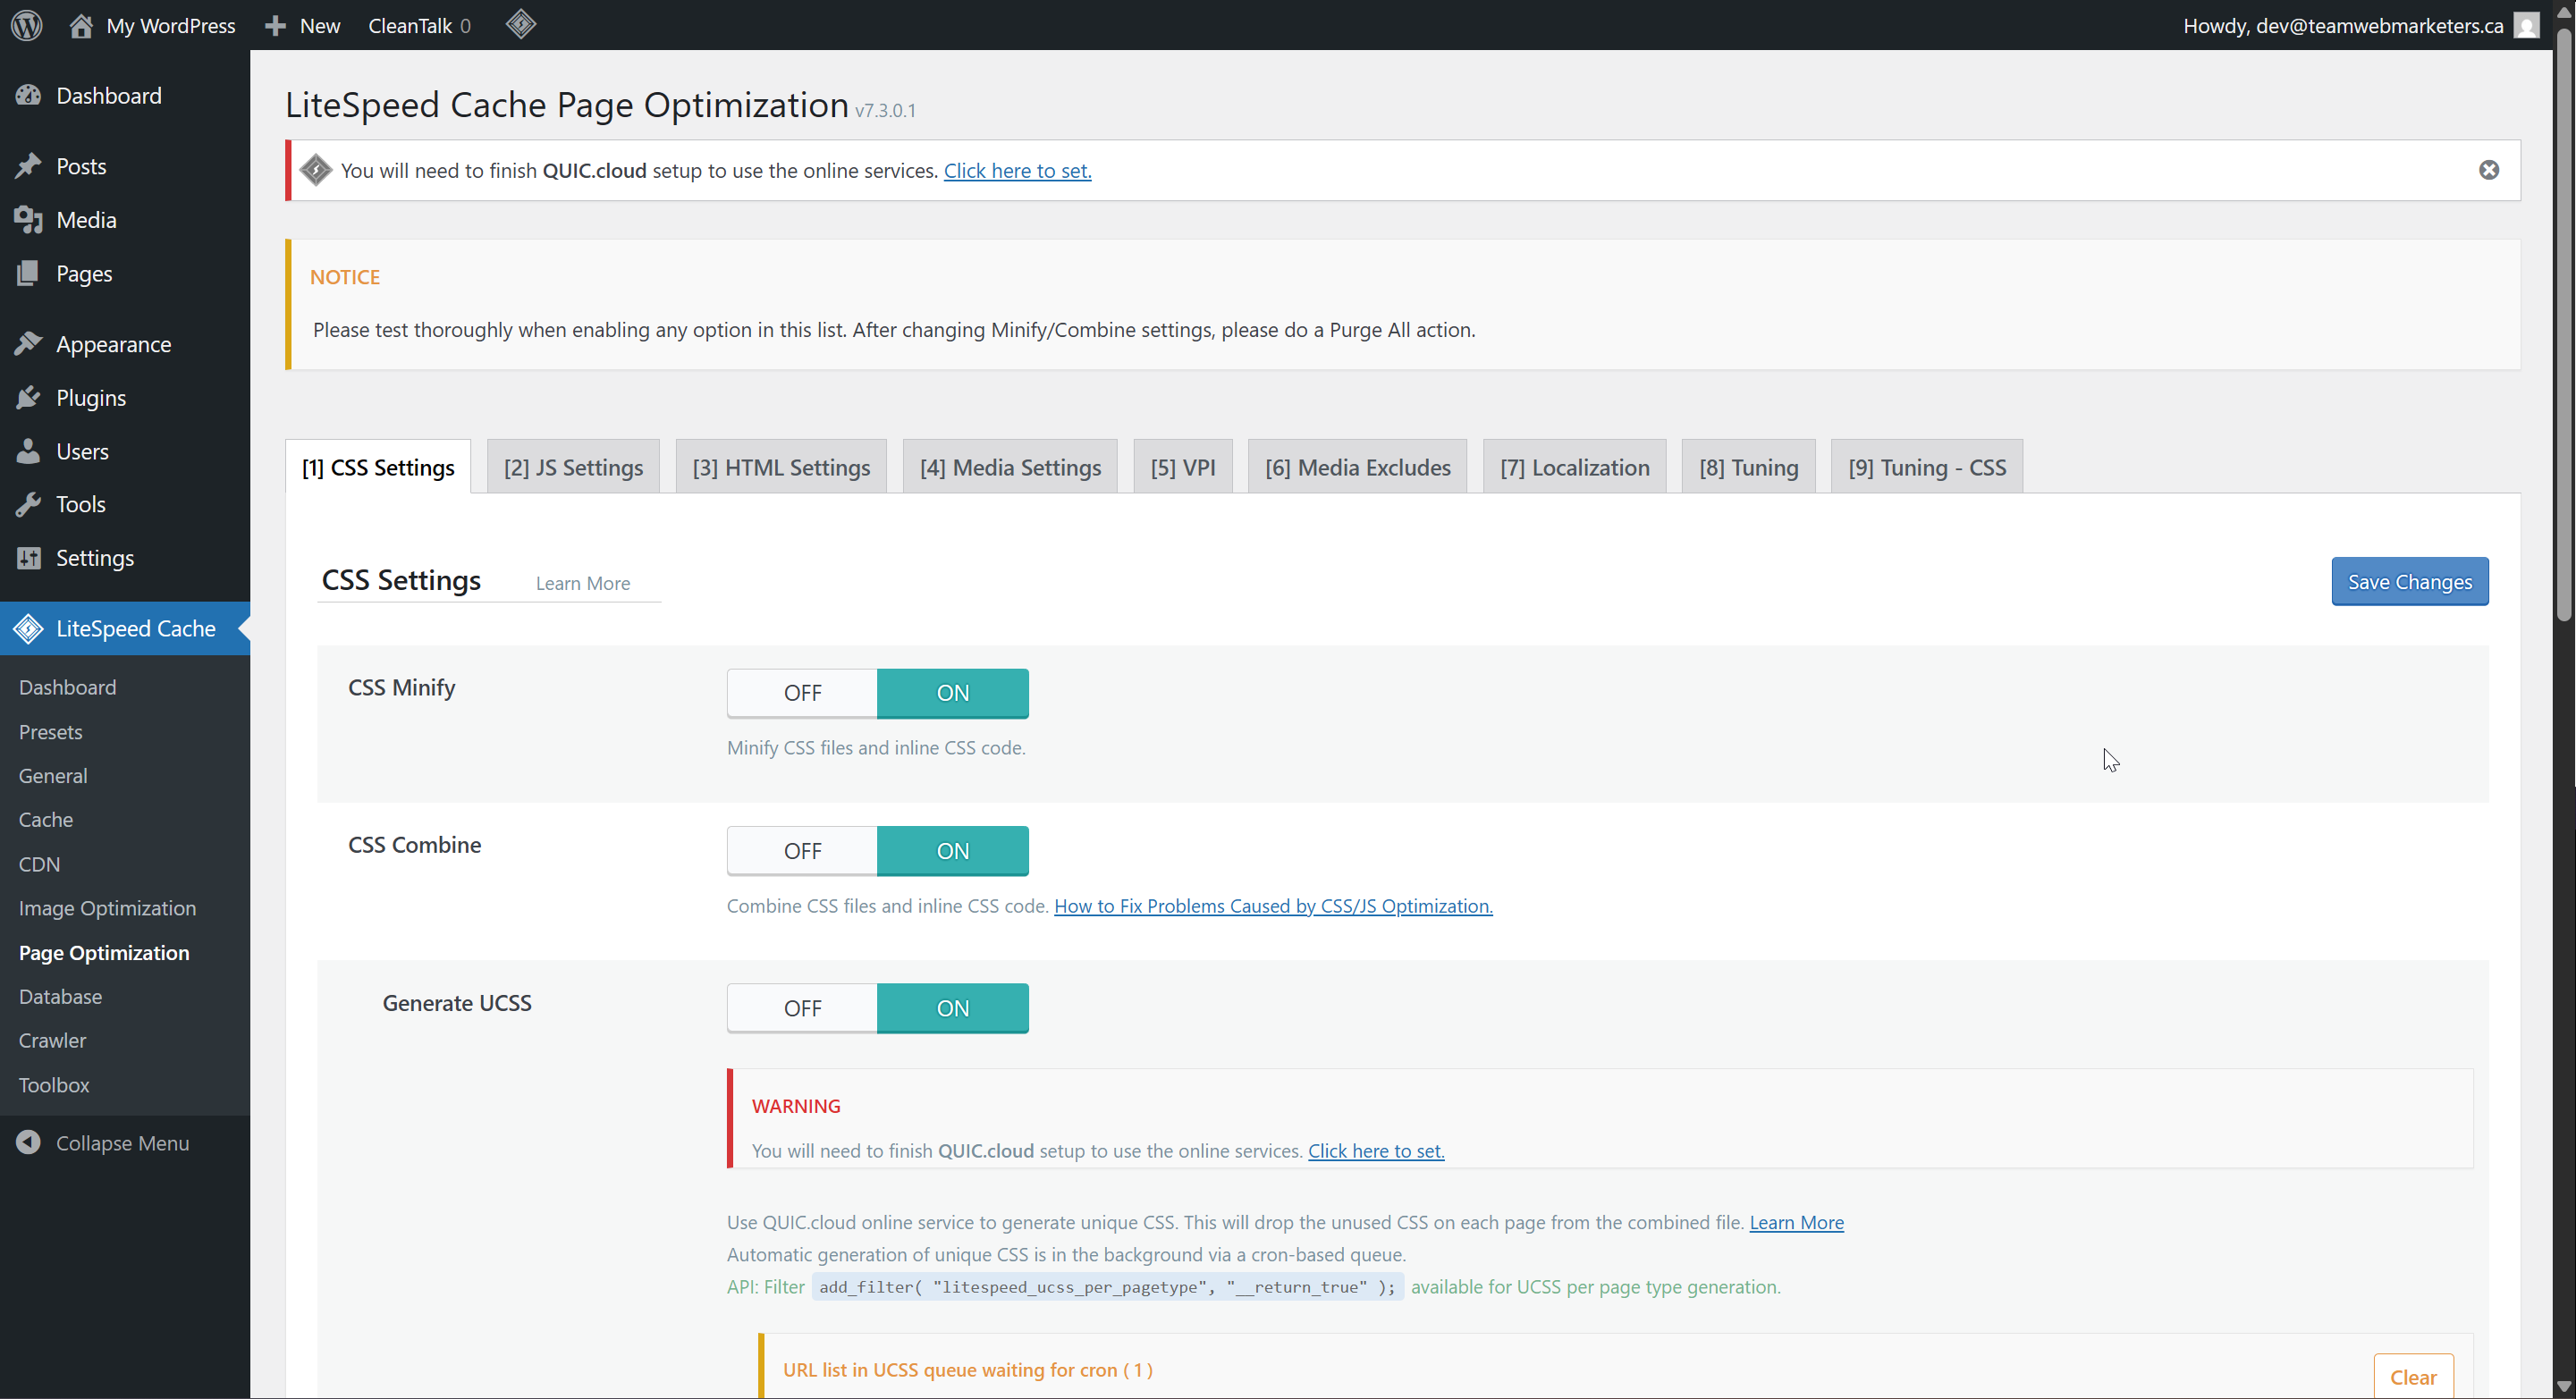
4. Page Optimization
CSS Settings:
CSS Minify: ON
CSS Combine: ON
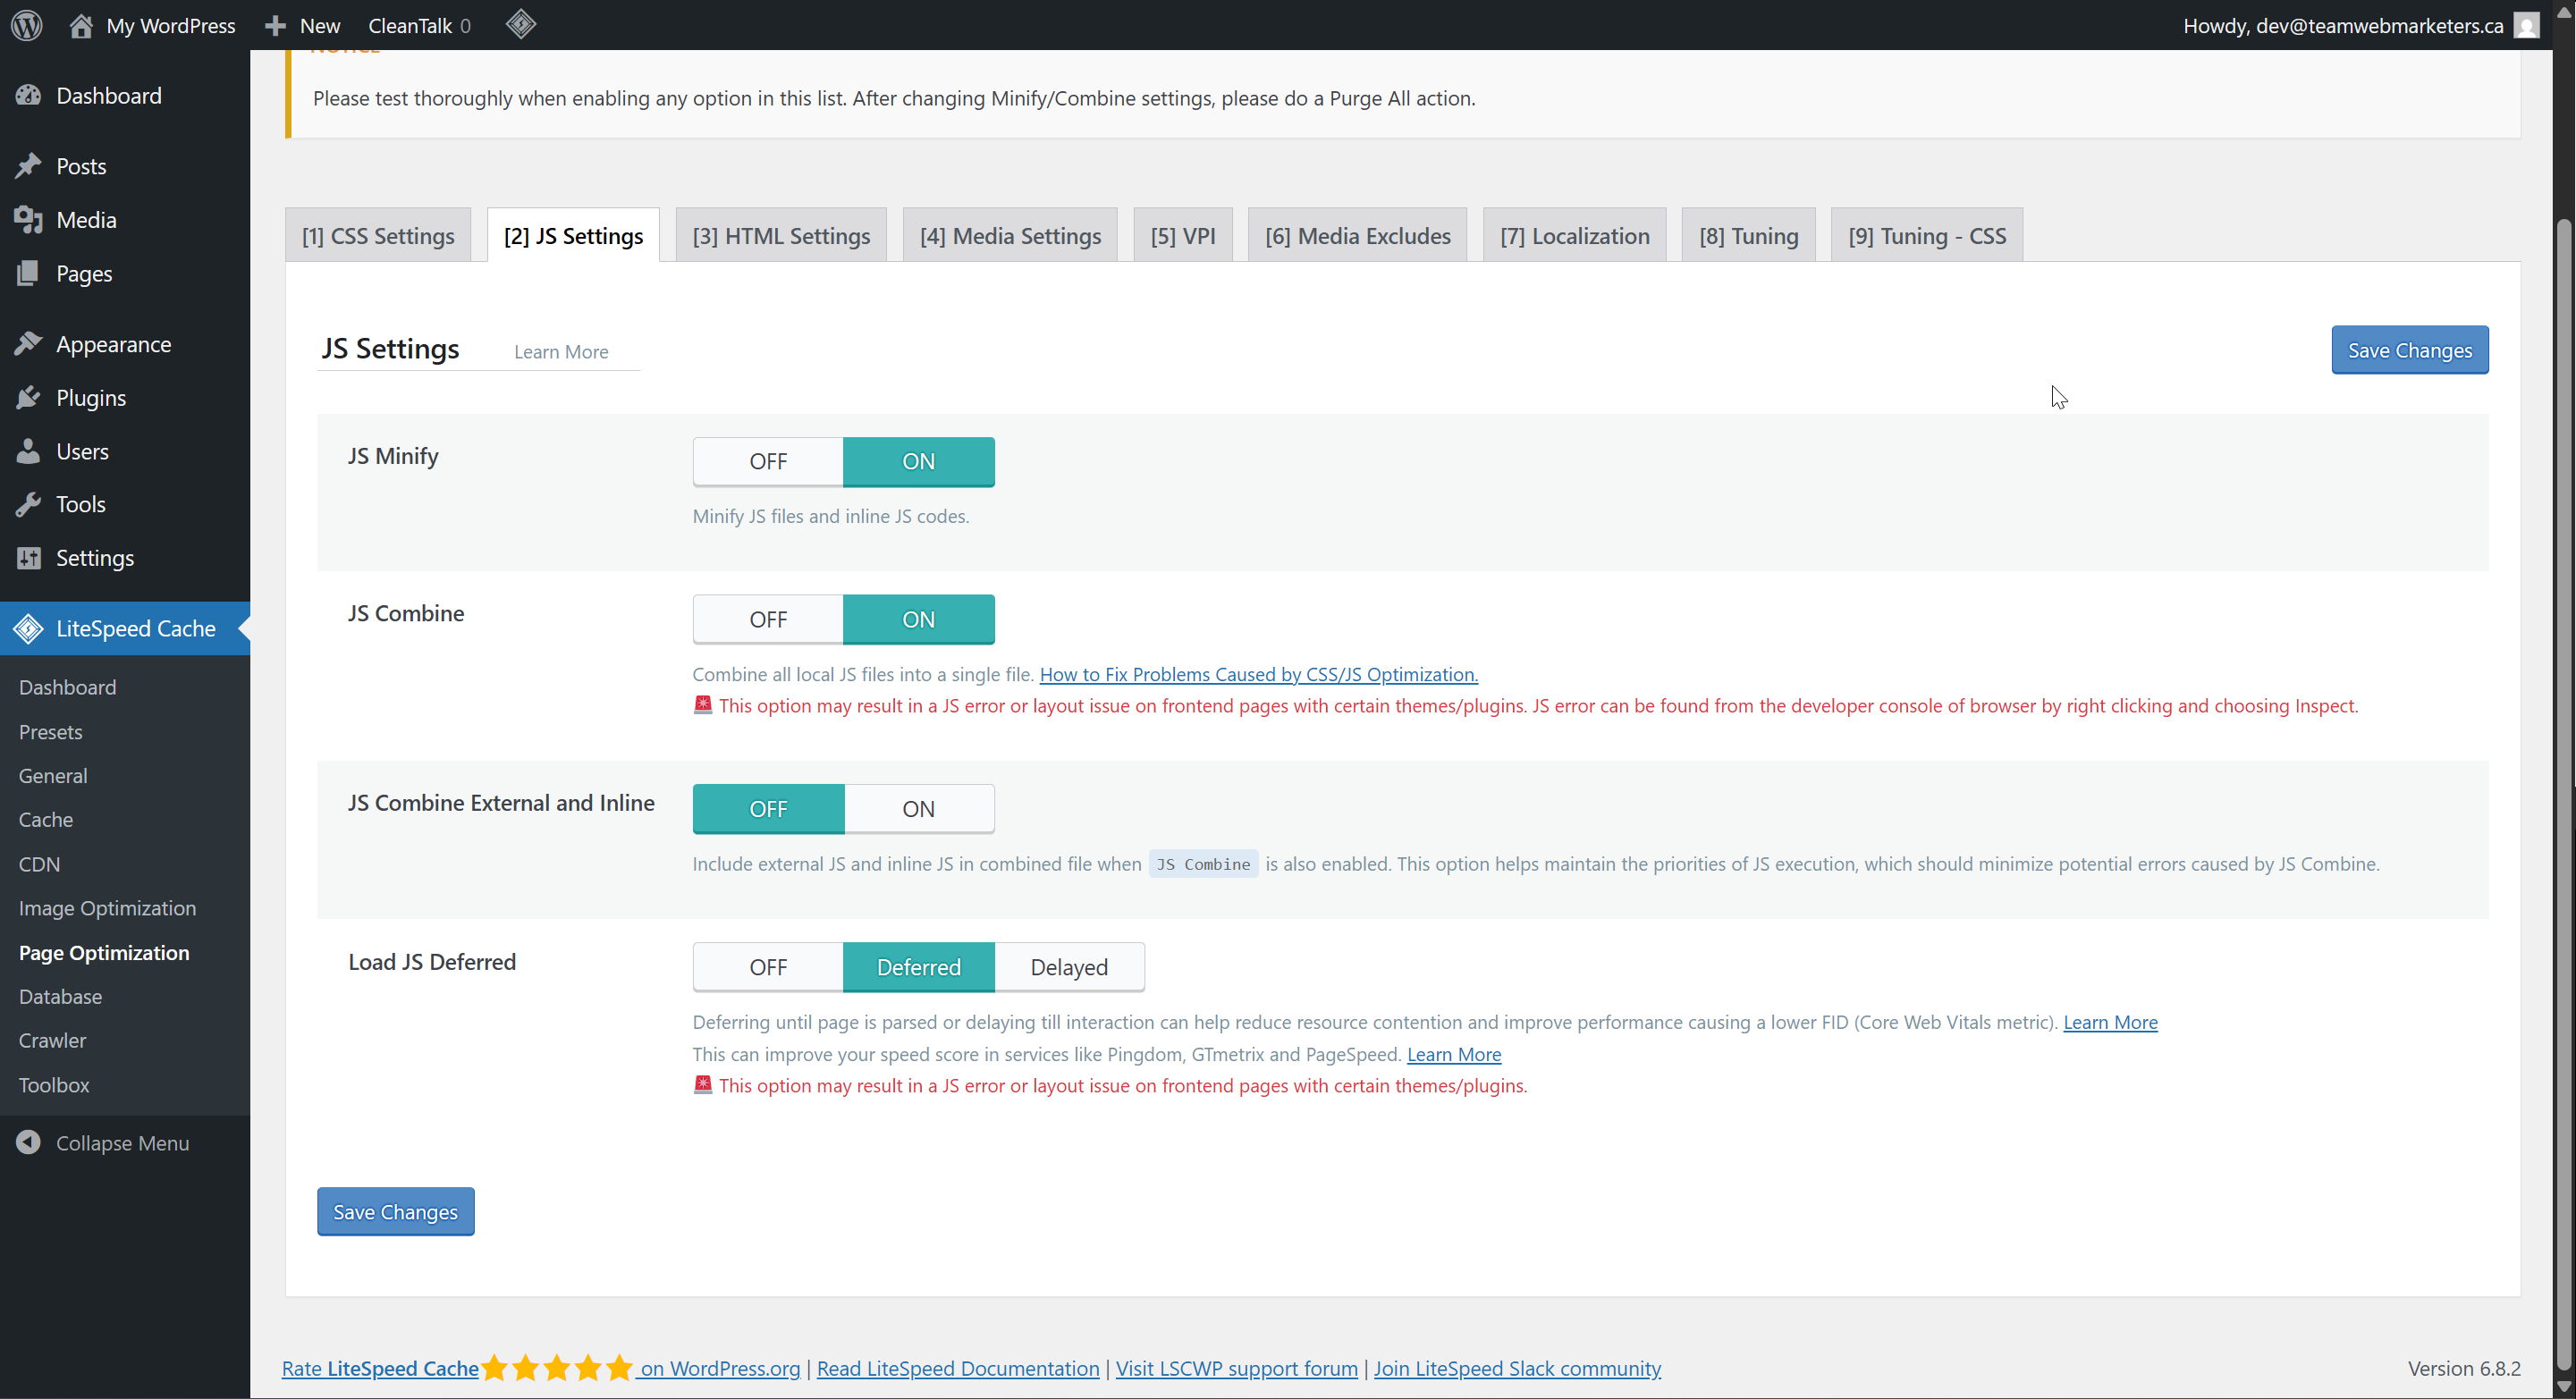
JS Settings:
JS Minify: ON
JS Combine: ON
Load JS Deferred: Deferred
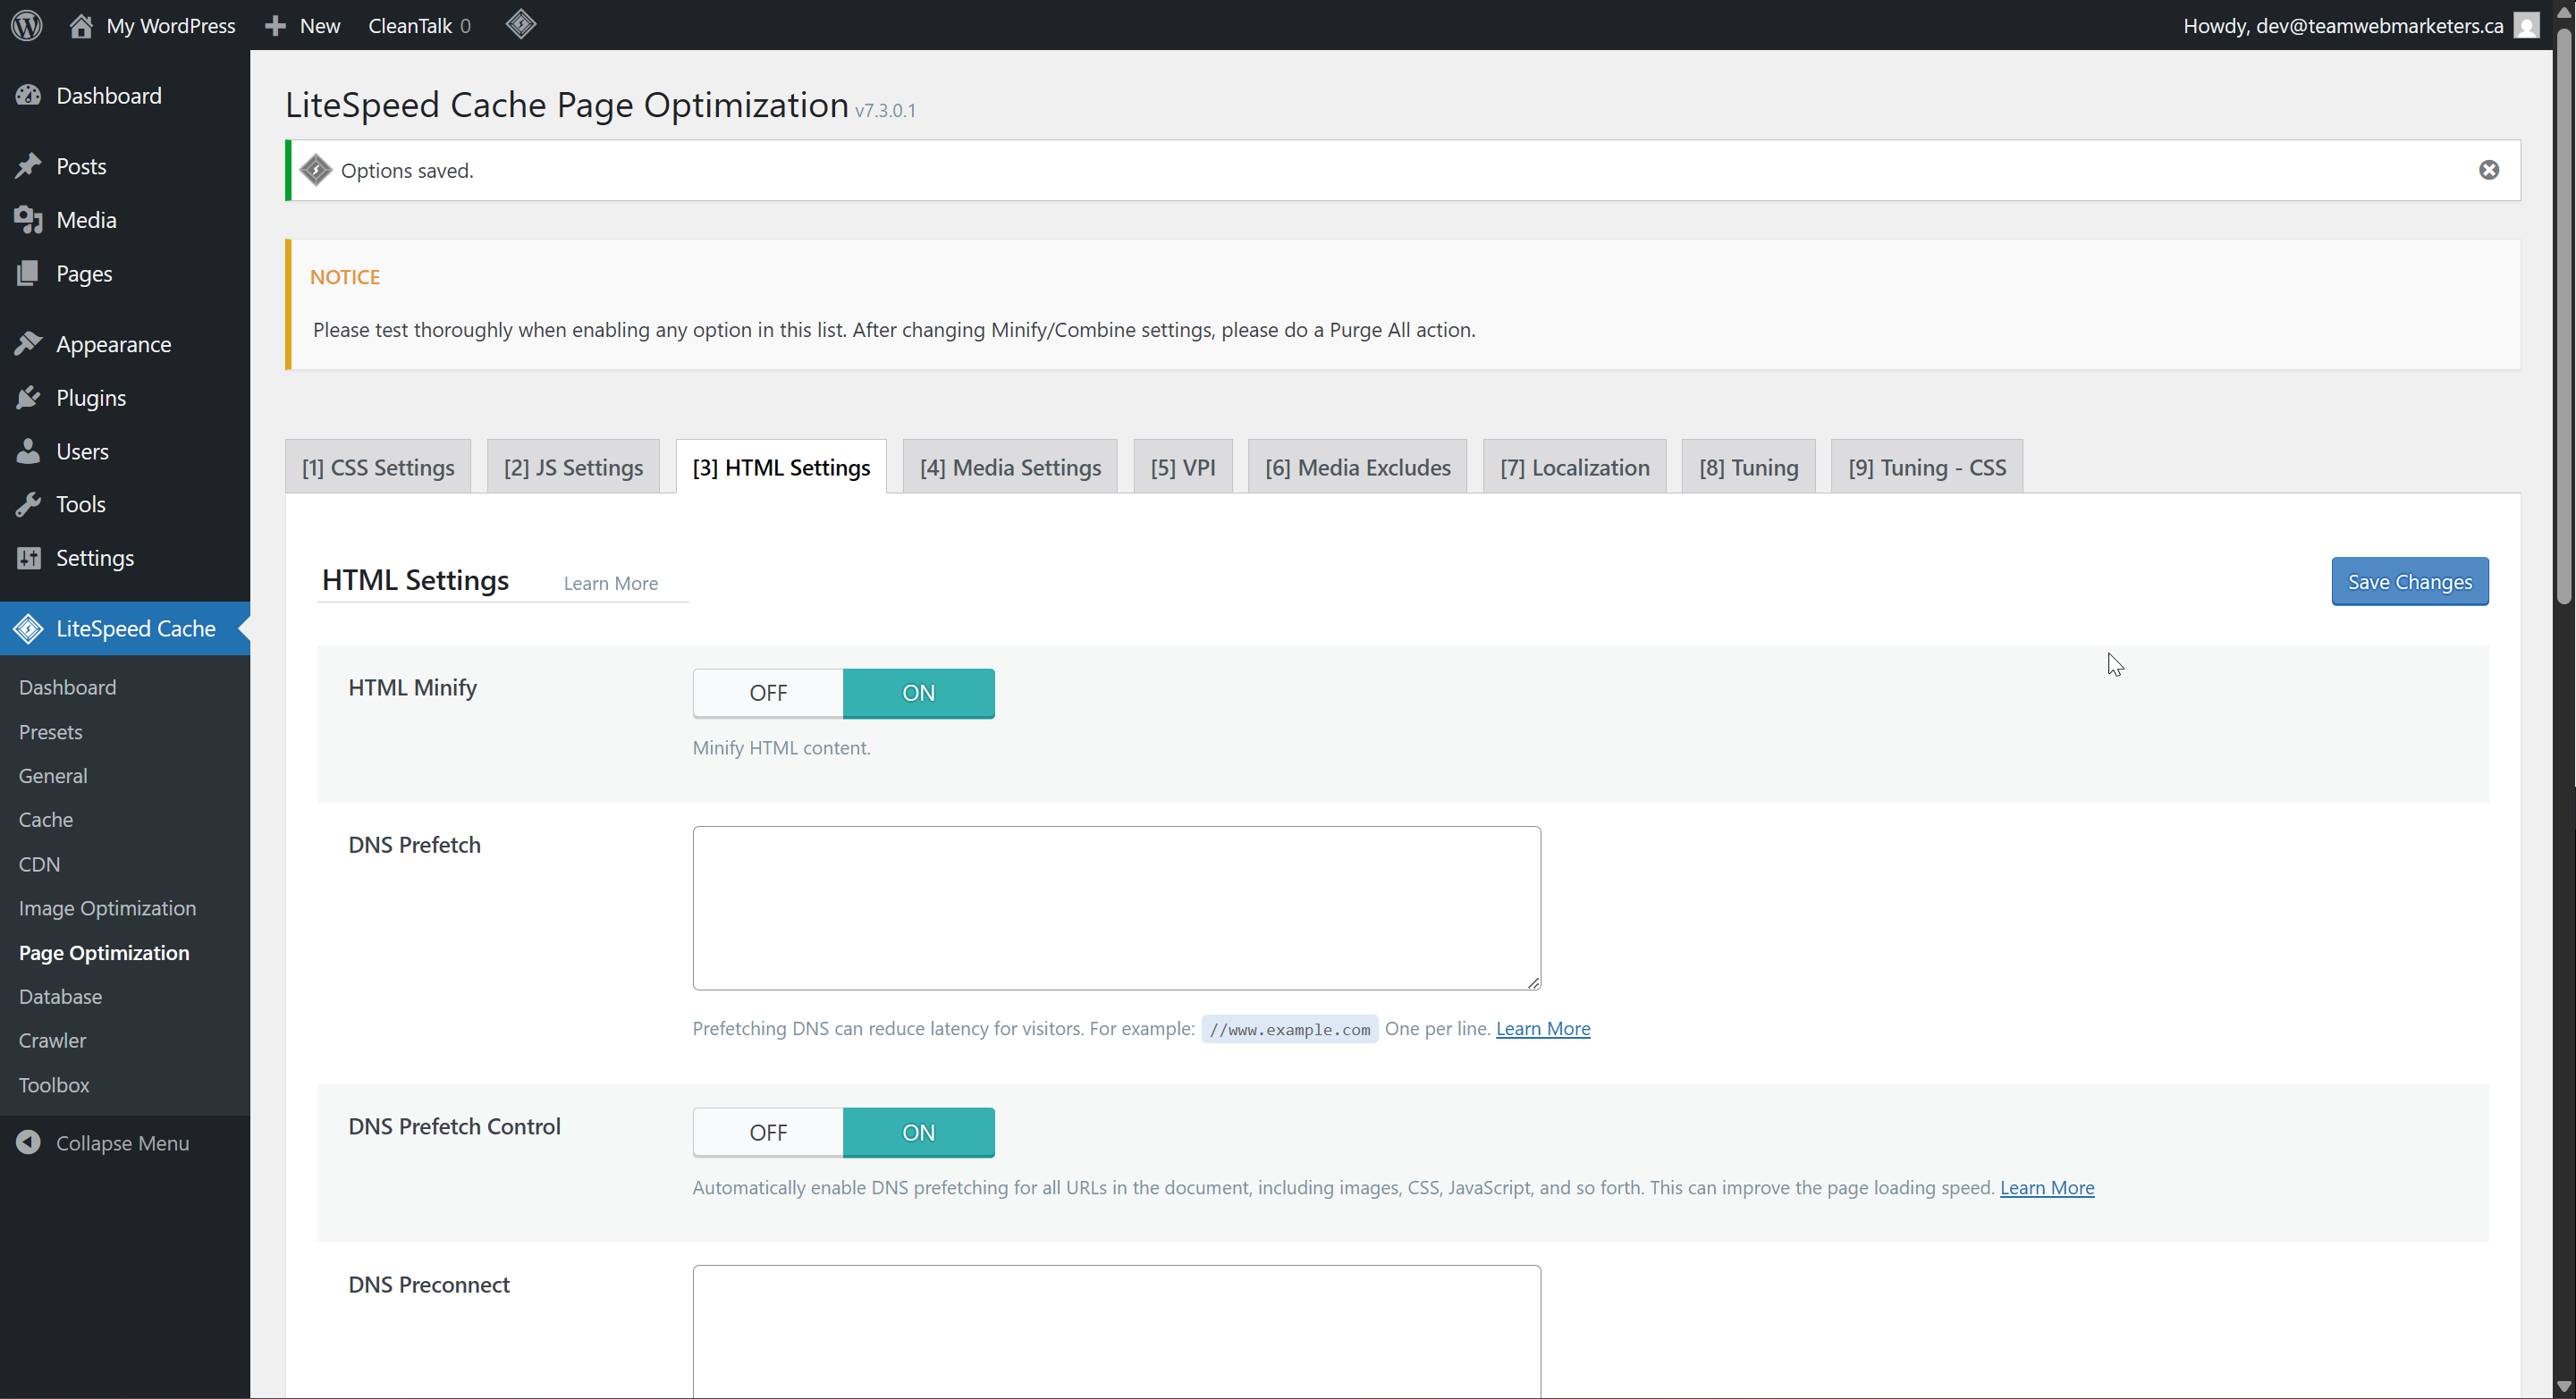
HTML Settings:
HTML Minify: ON
Remove Query Strings: ON
DNS Prefetch Control: ON
Remove Noscript Tags: OFF
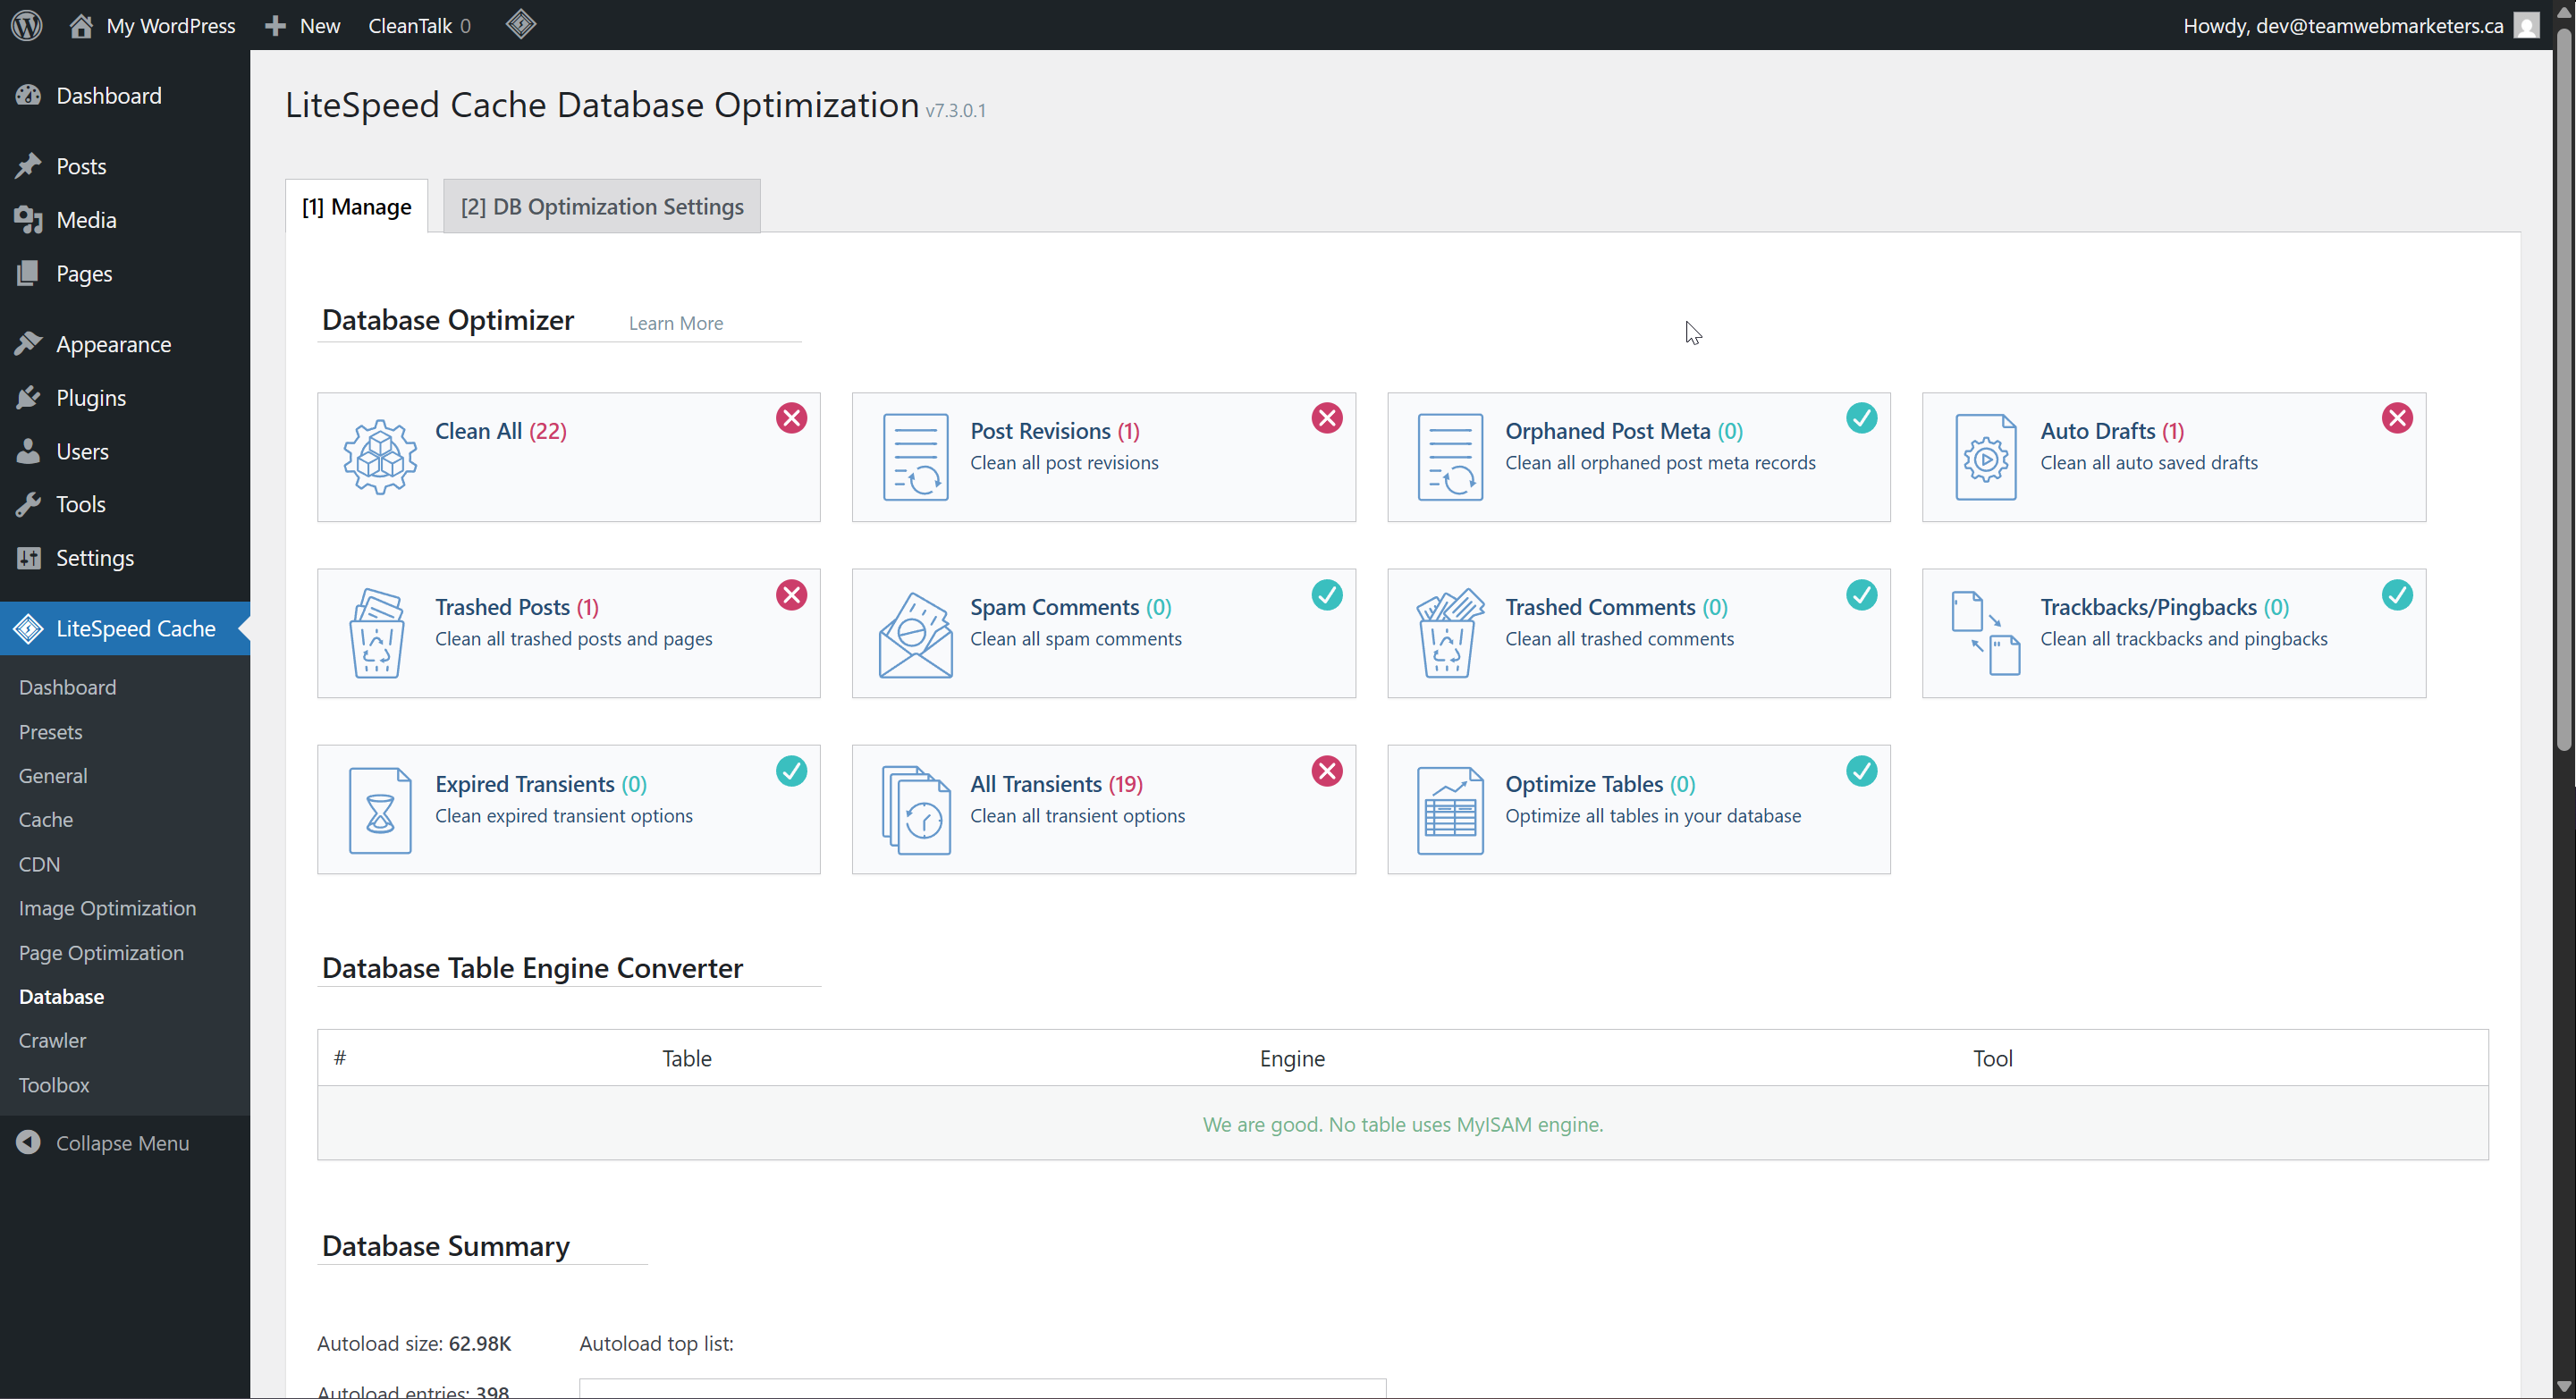
5. Database
Manage
The database options are mostly for reactively cleaning databases once they're bloated. If you ever need to do one-time database cleanup, this is a great tool.
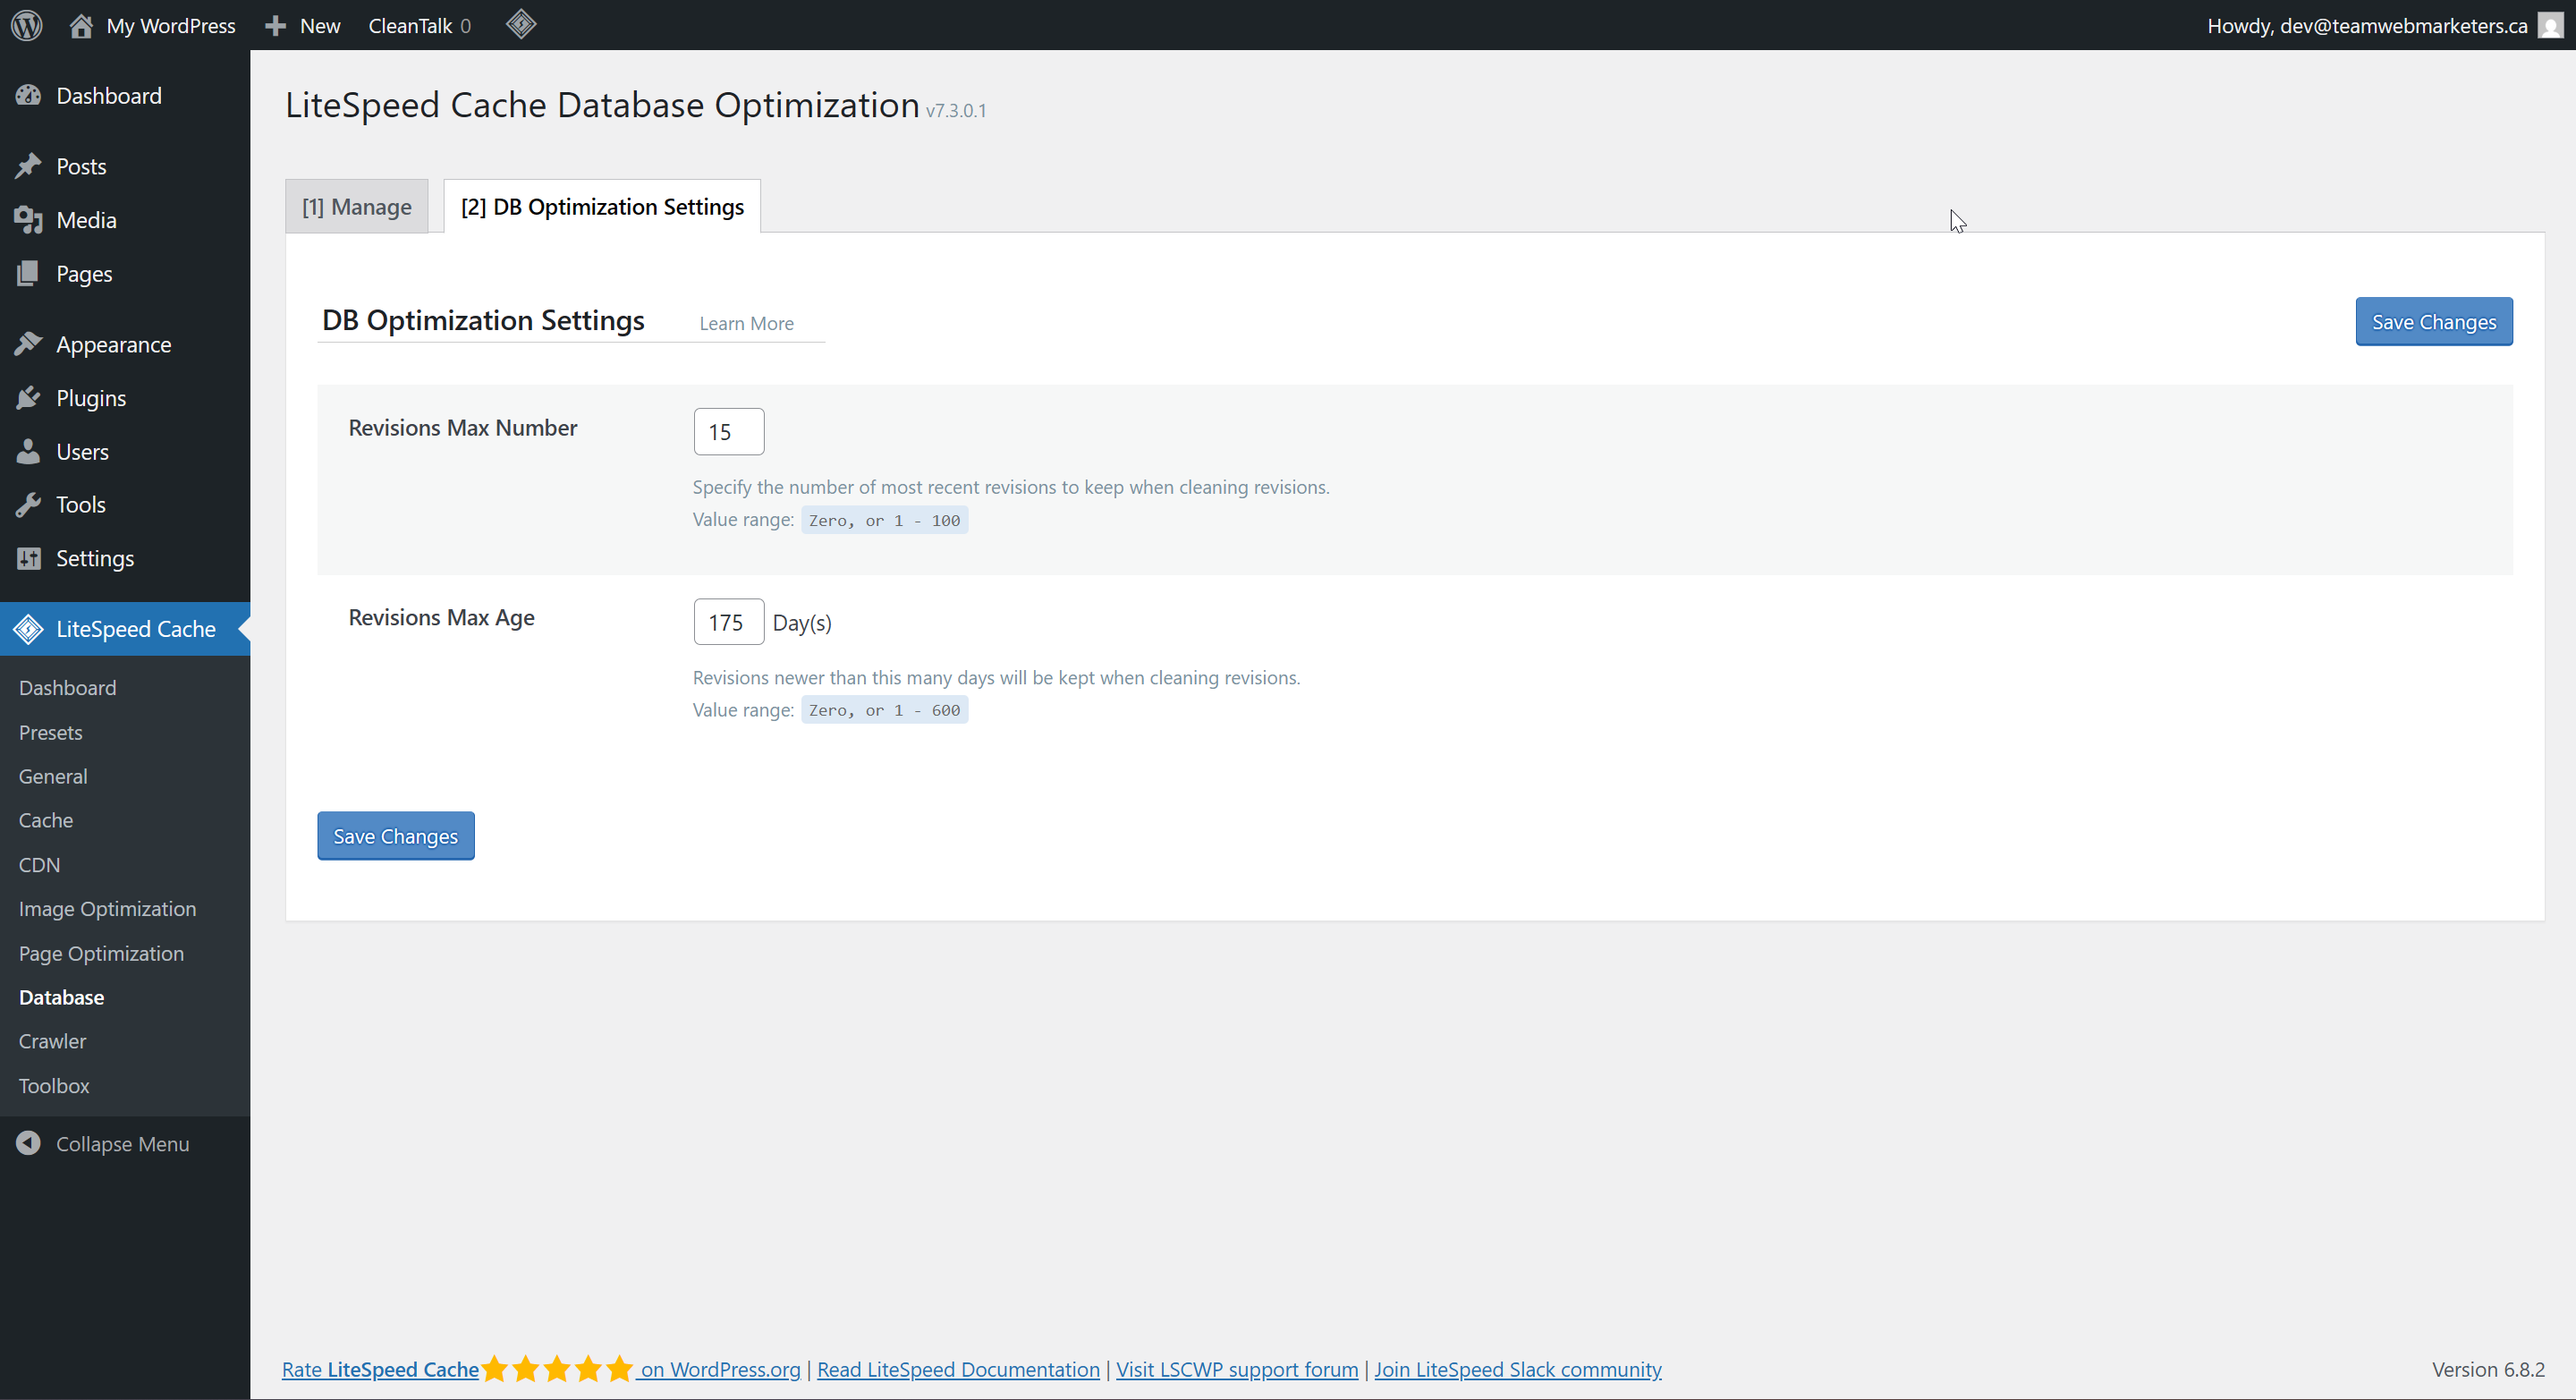
Optimization Settings
Revisions Max Number: 15
Revisions Max Age: 175 Days
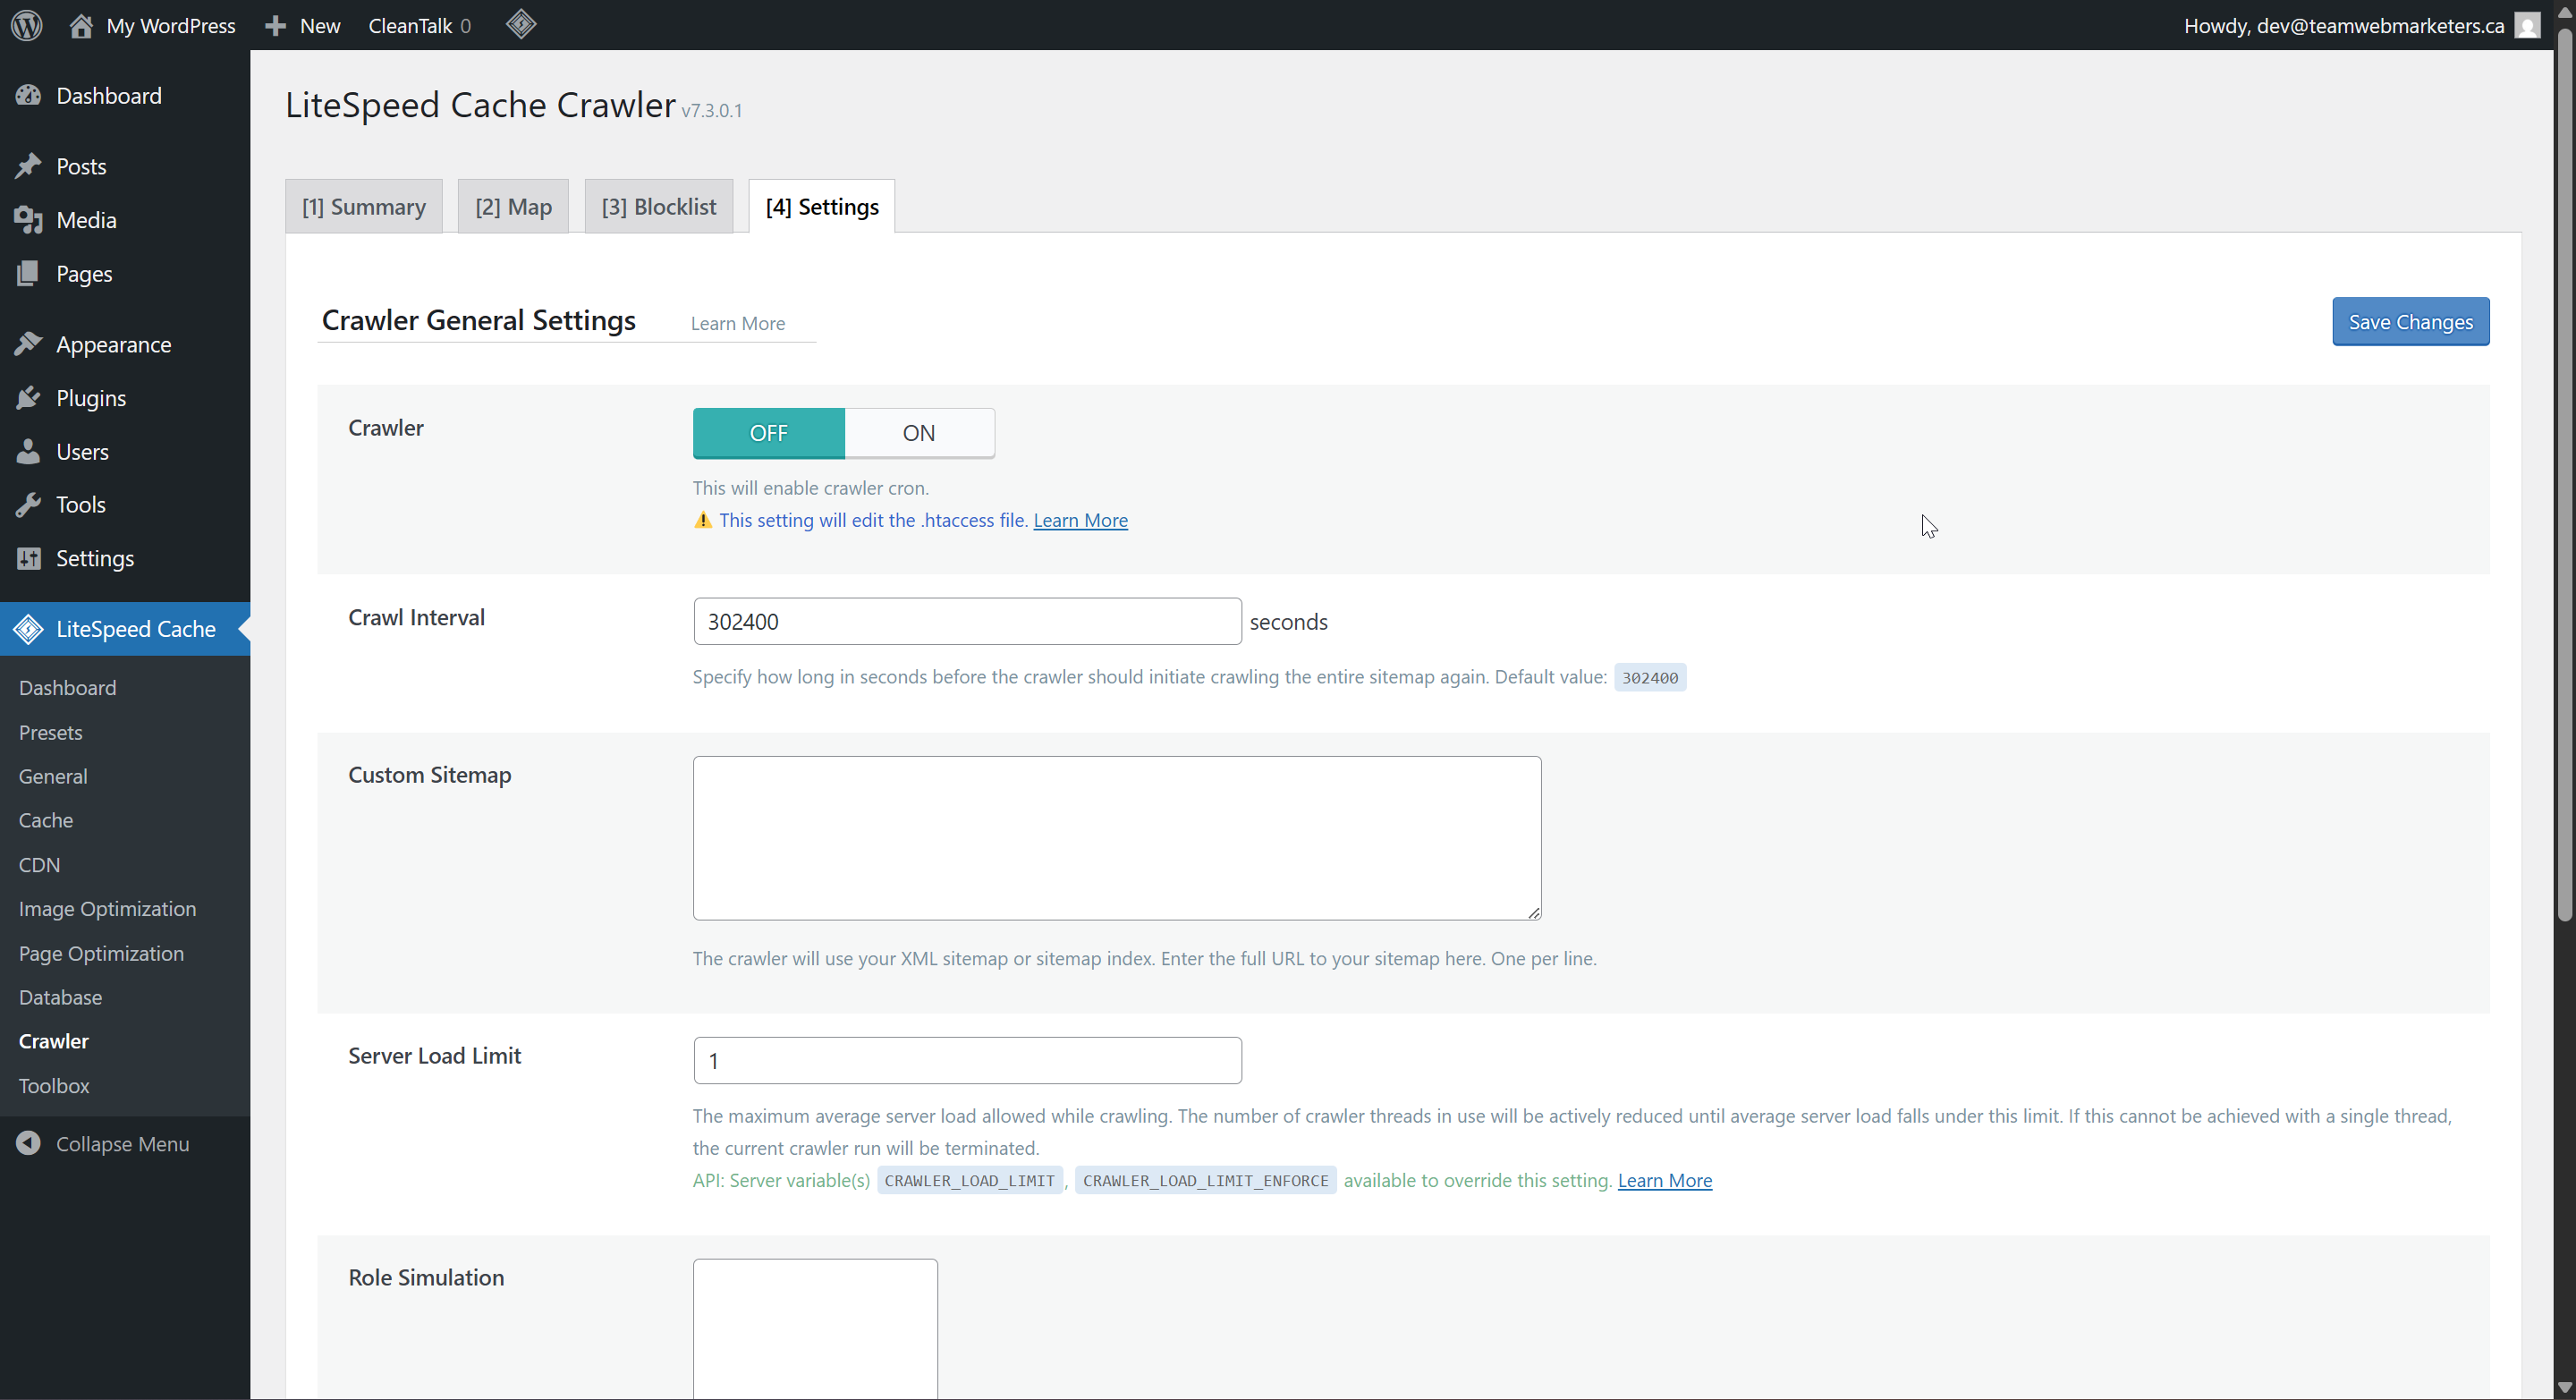
6. Crawler
We can set limits on crawl bots set by search engines in this tool. No default settings need to be set. If you have an e-commerce site that seems to be running slowly, I recommend setting limits. We've seen issues before with WooCommerce sites crashing when they're getting crawled.