Setting up a DNS Zone in Cloudflare
1. Domain setup in Cloudflare
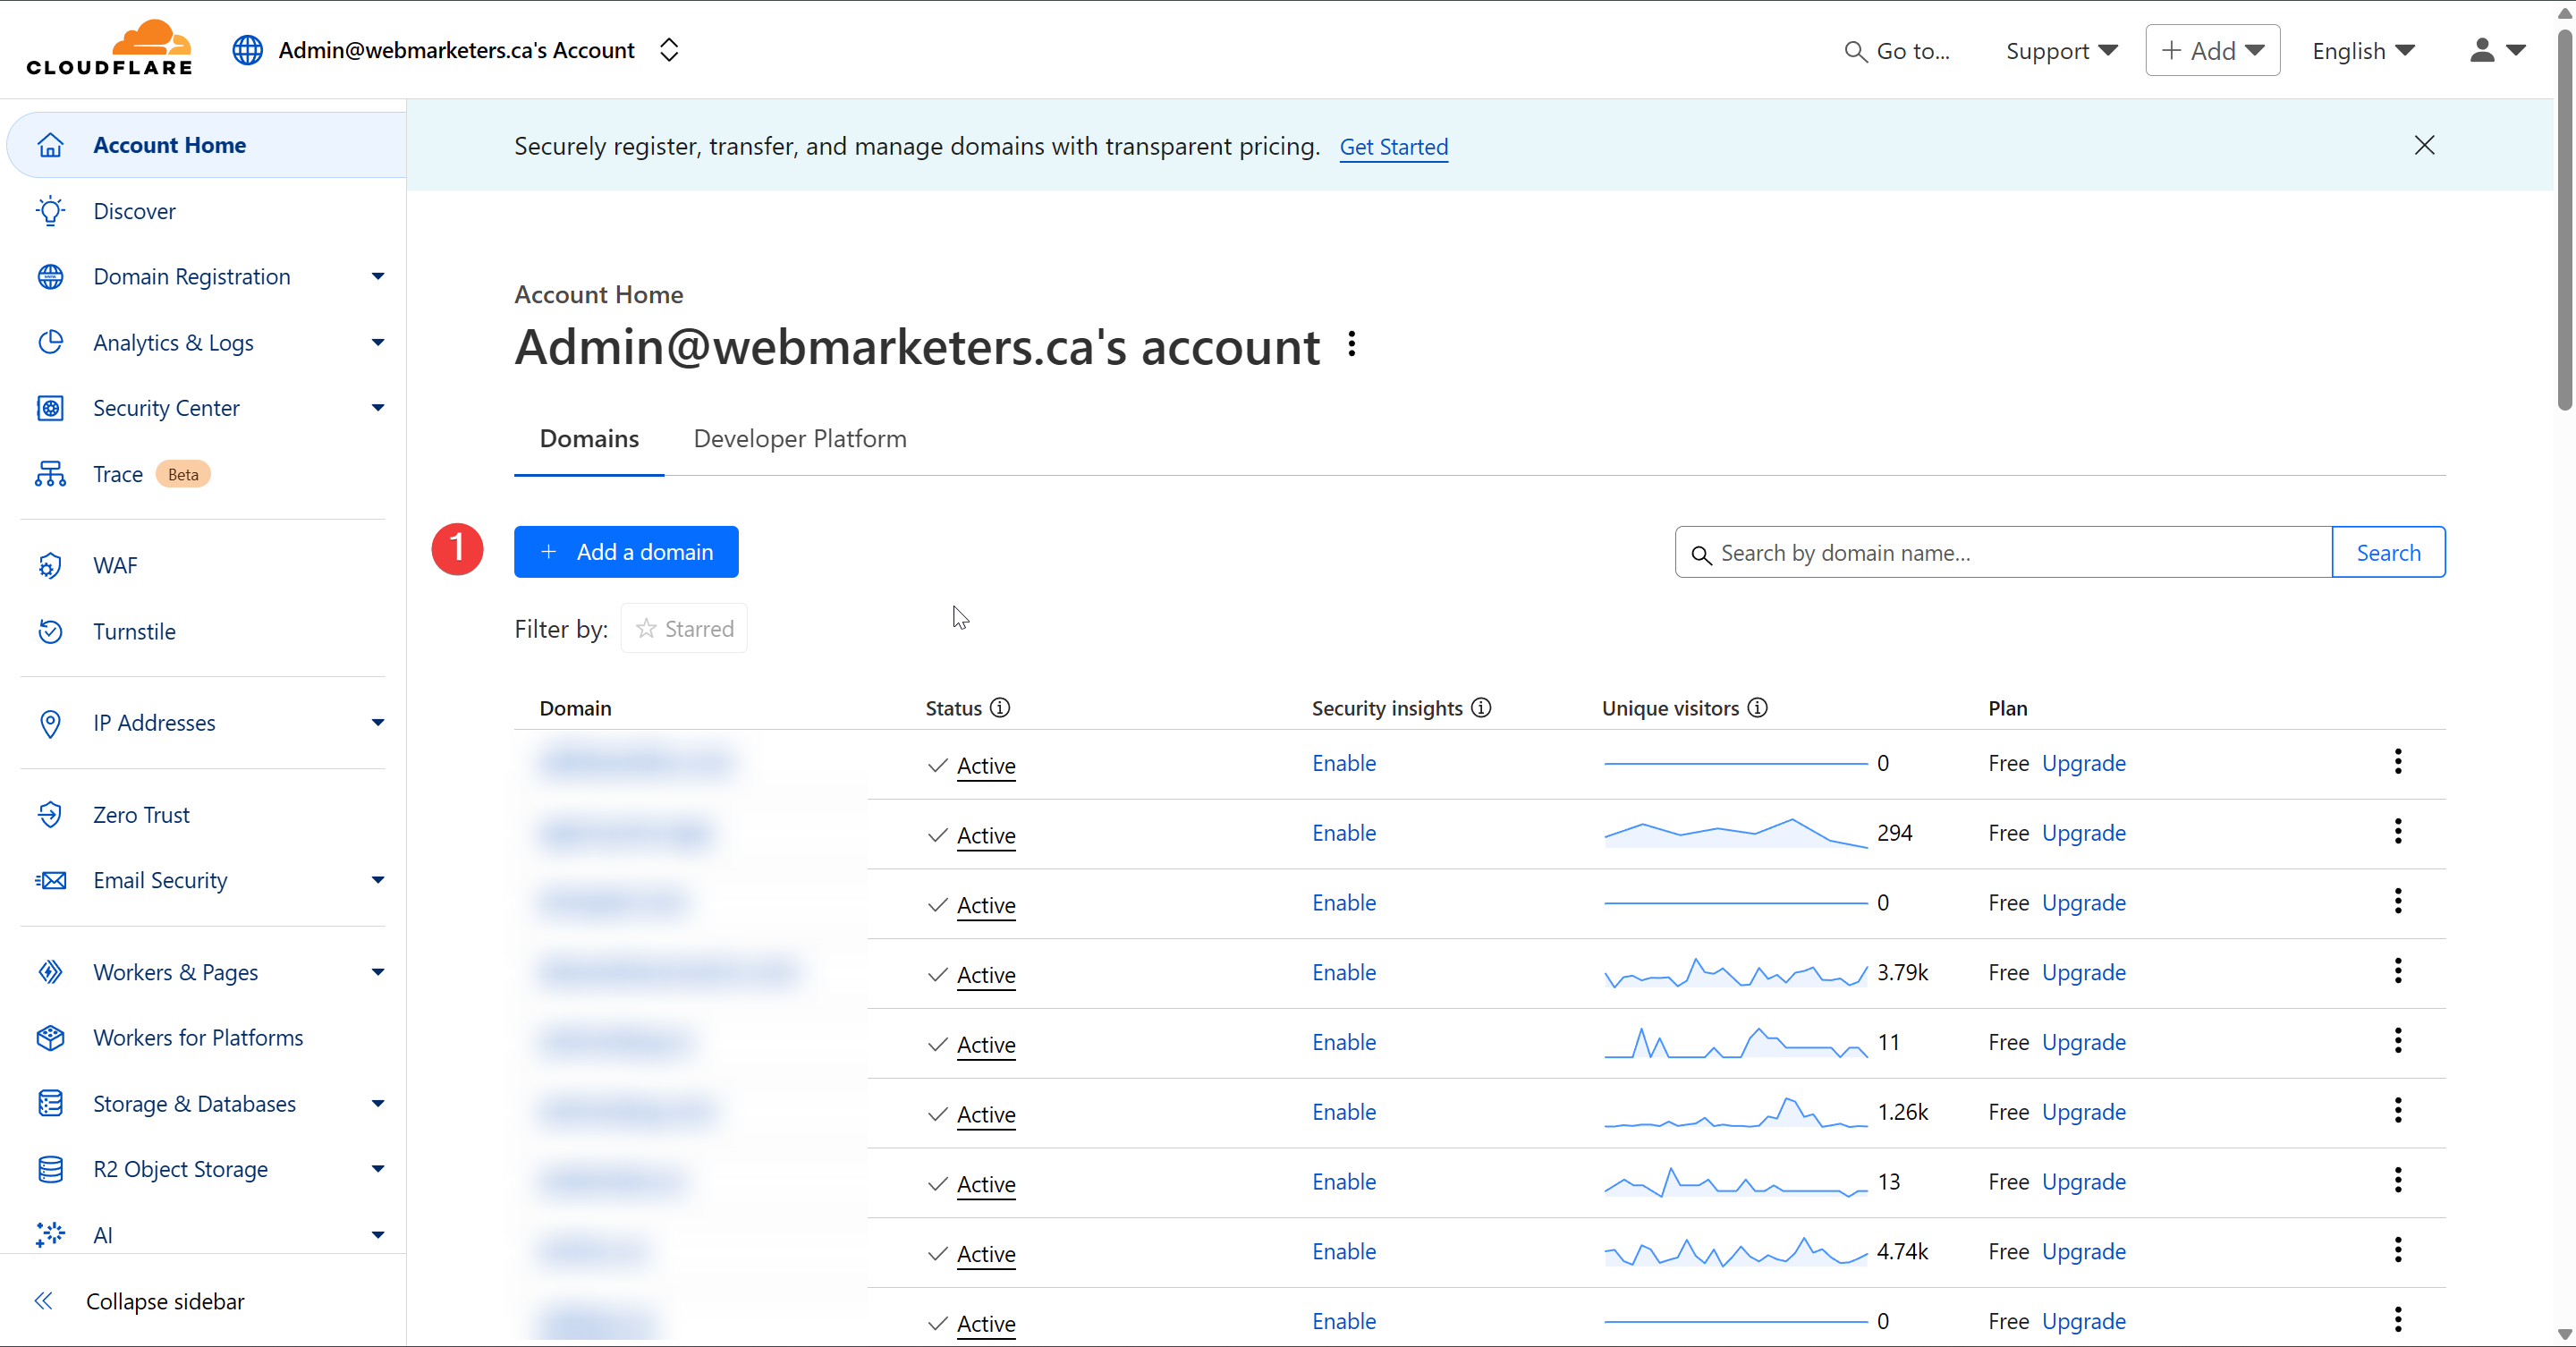
First, head over to our Cloudflare Dashboard and click "Add a domain".
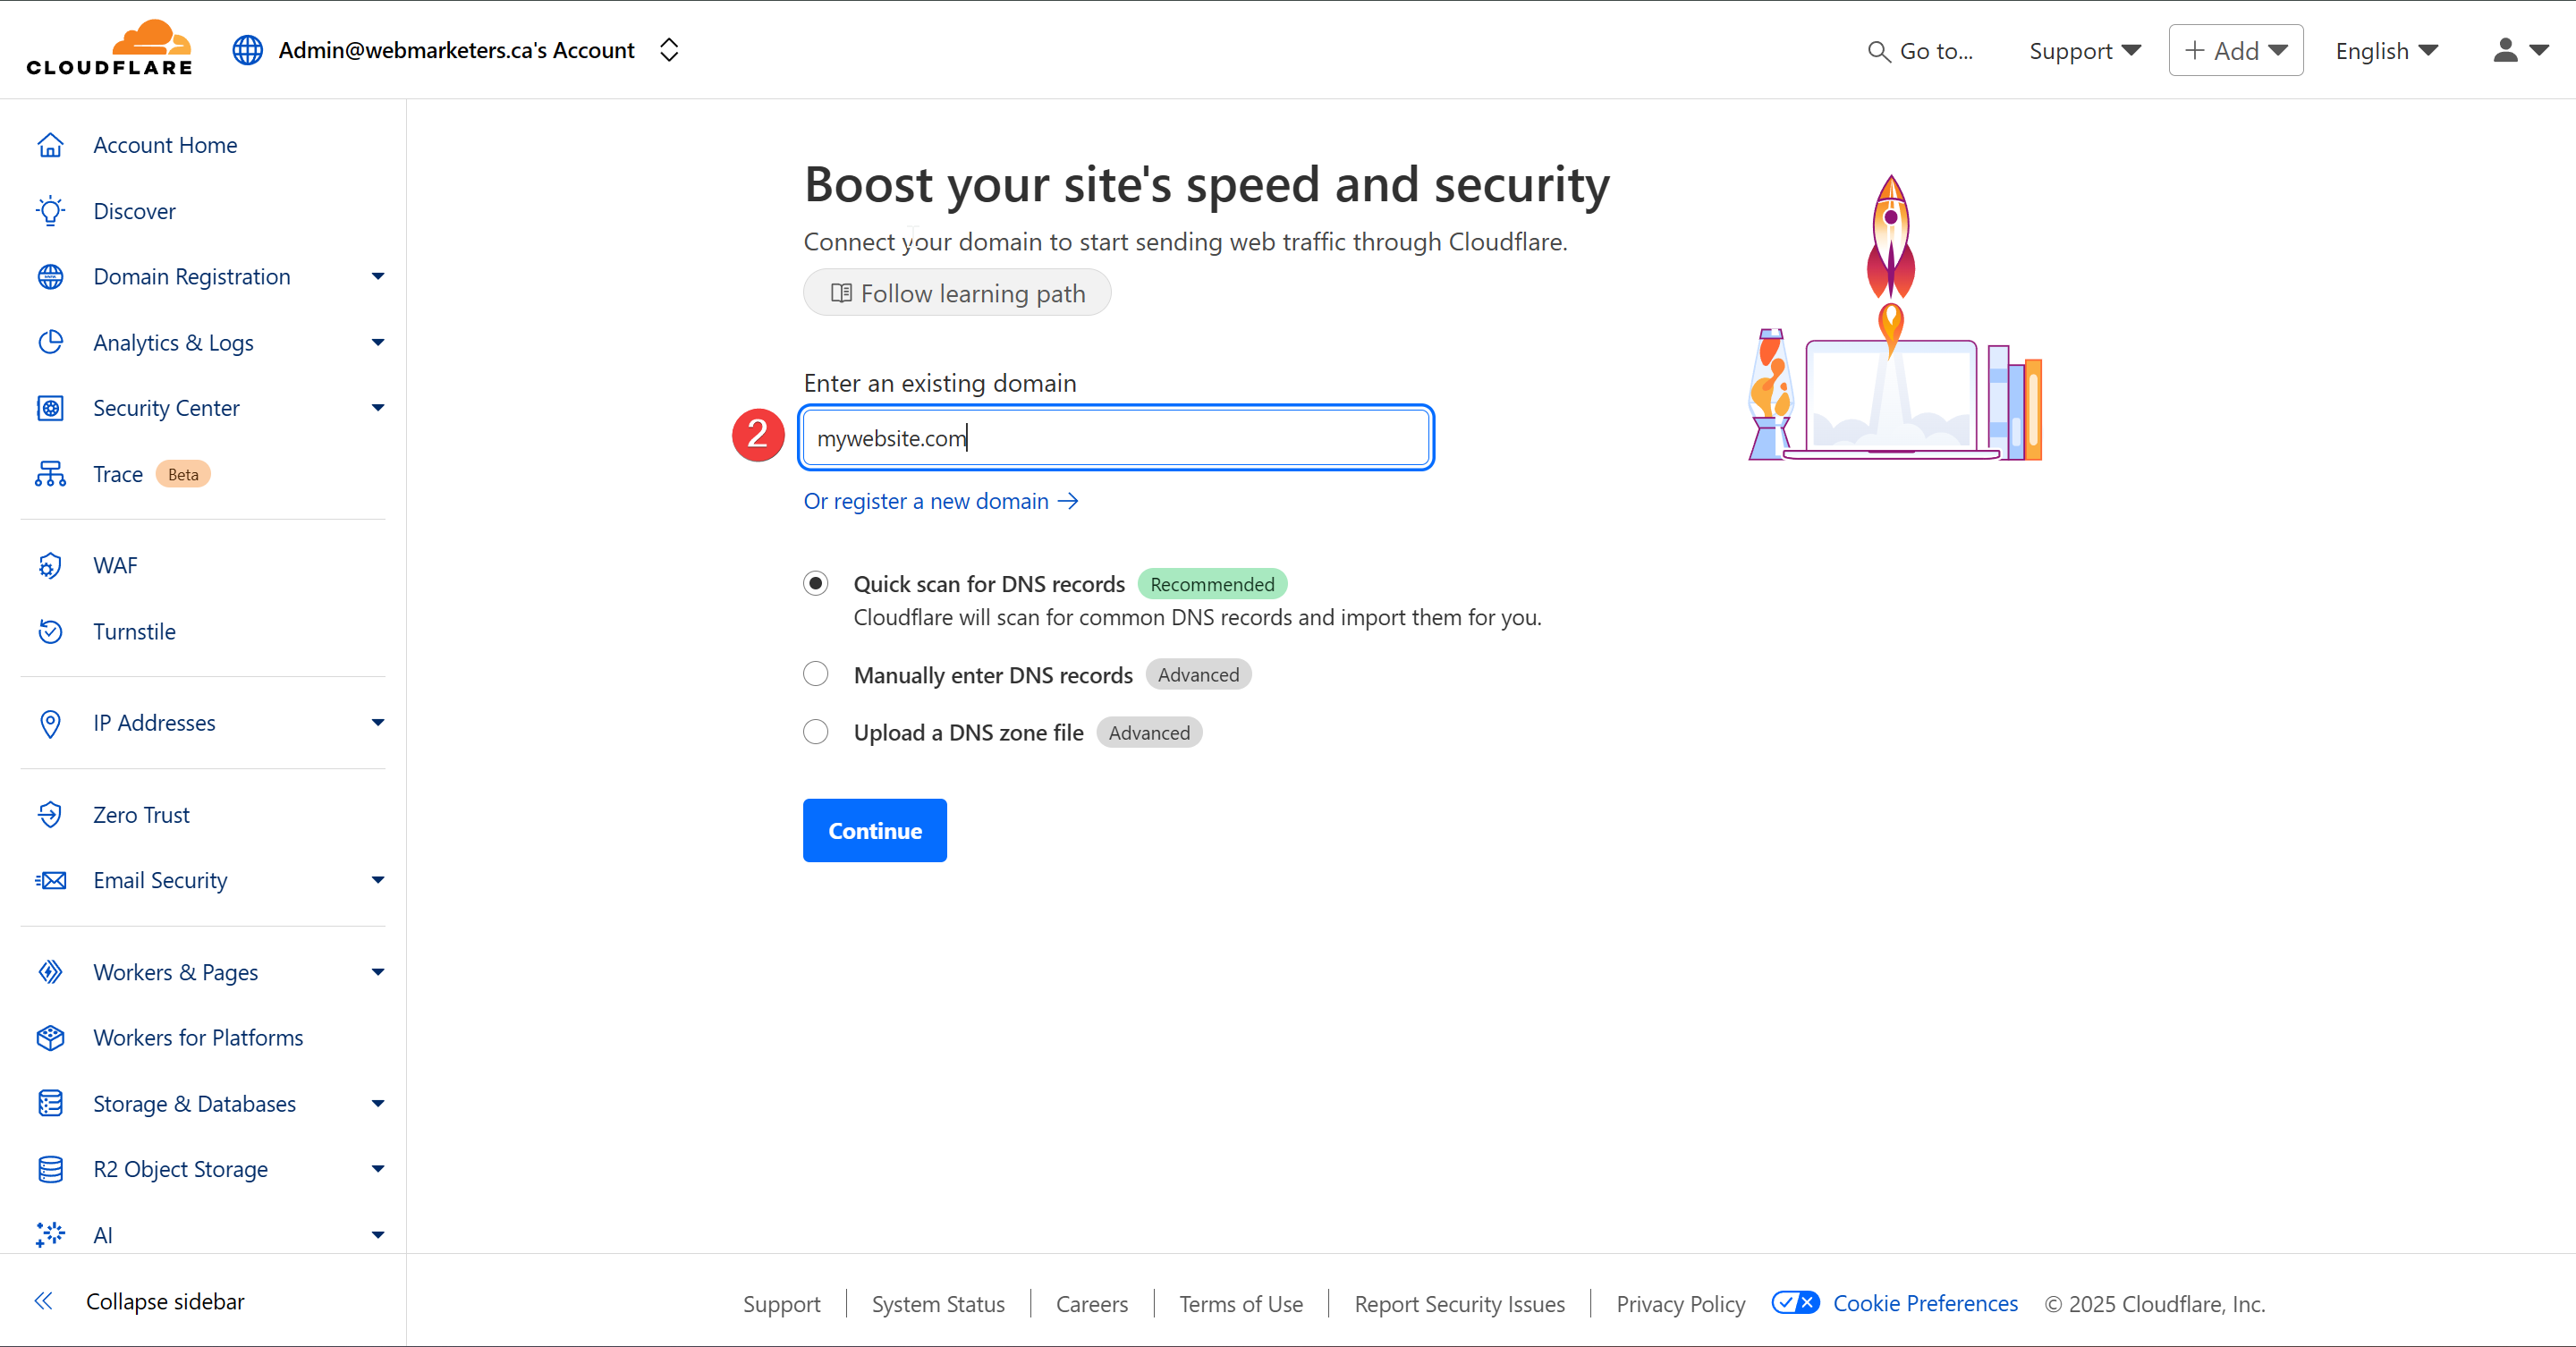
Then, paste or add the domain name and confirm that "Quick scan for DNS records" is selected.
Once that's confirmed, click "Continue".
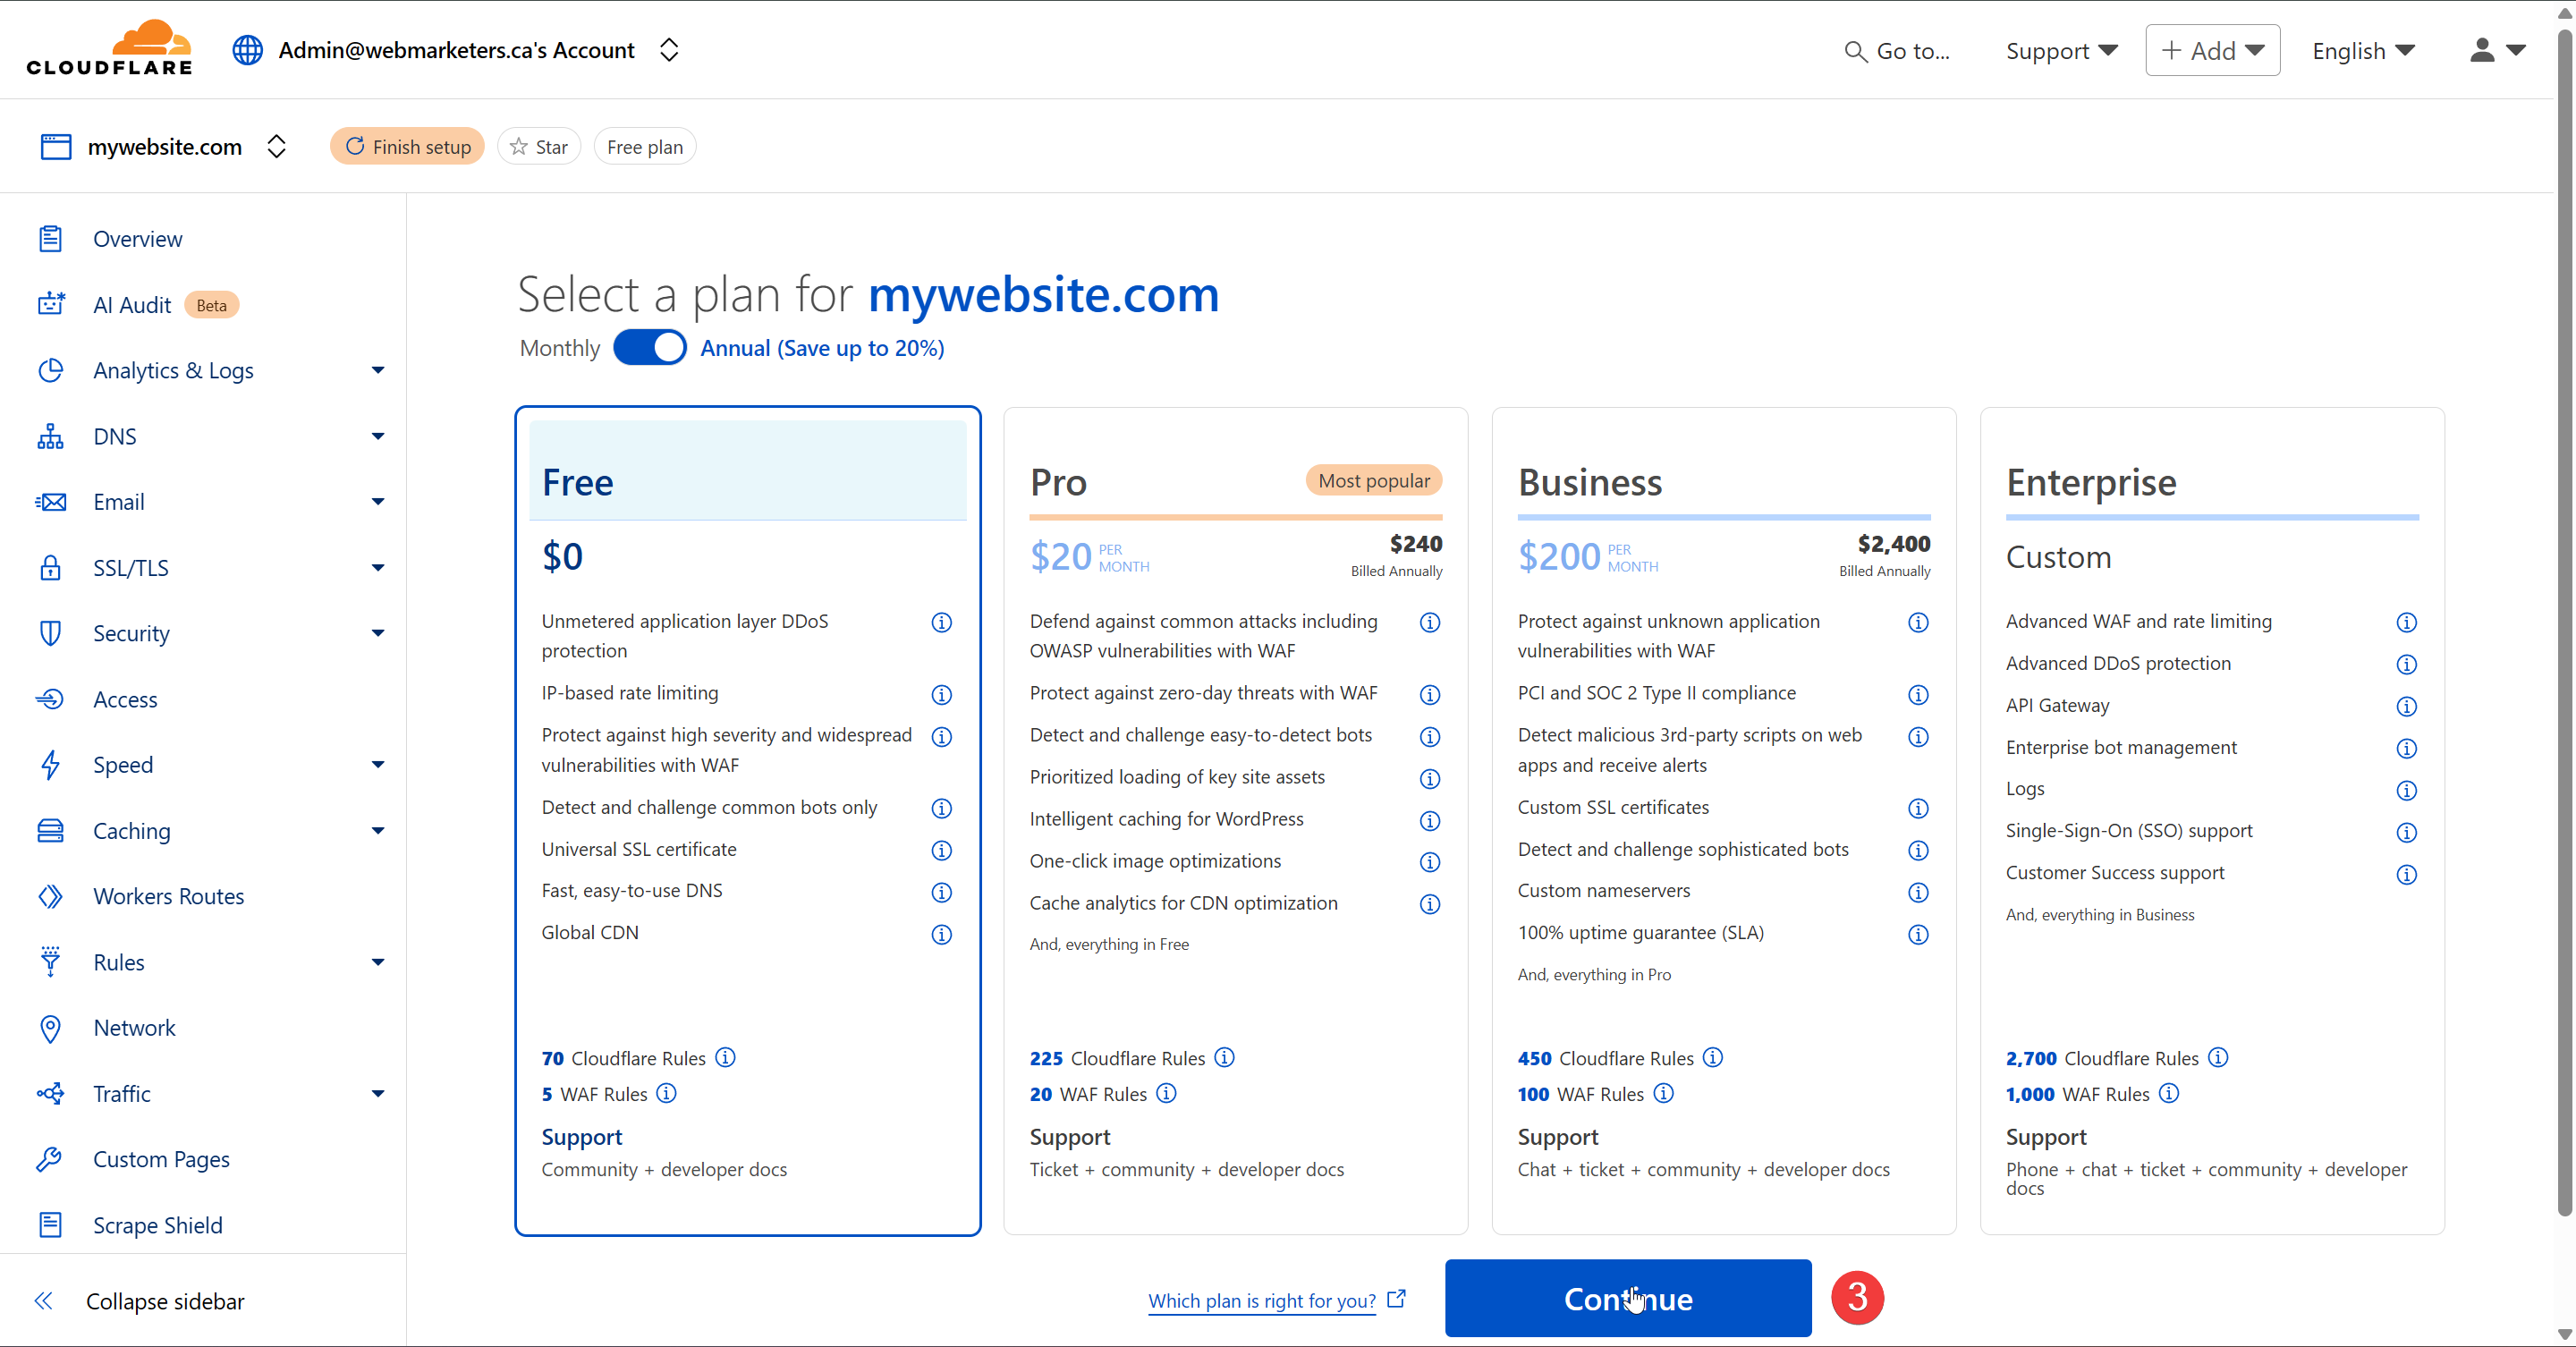
Confirm that the Free plan is selected and click "Continue".
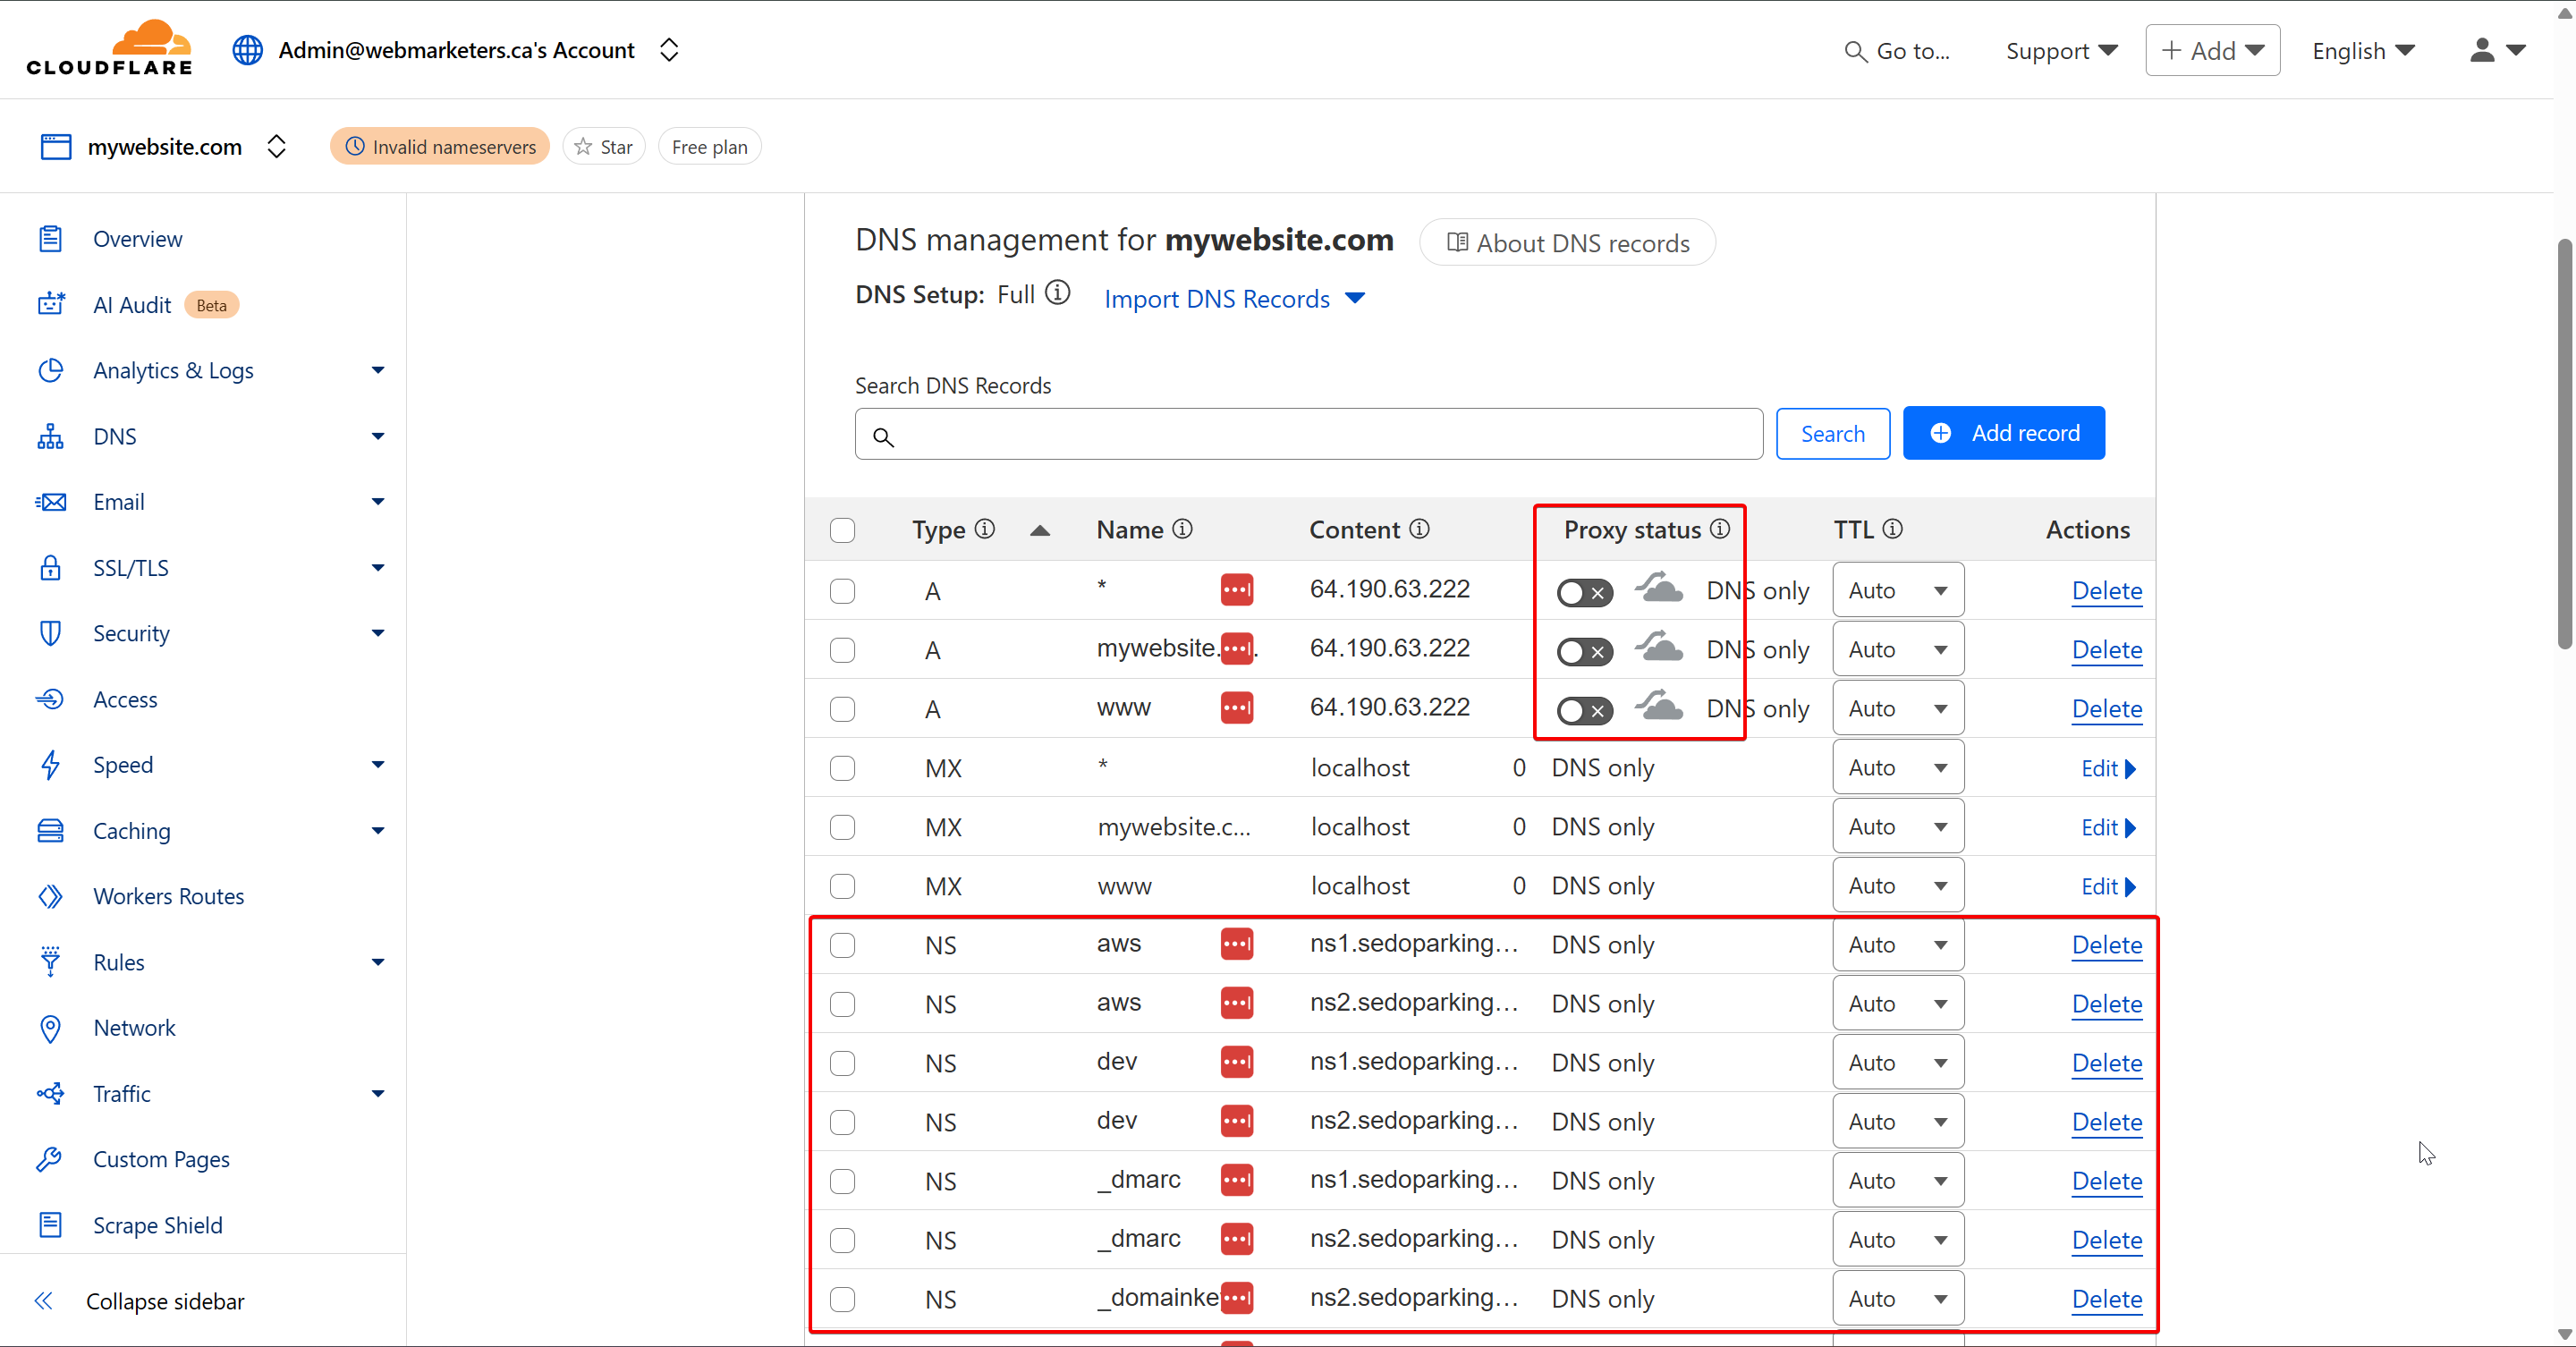
Verify that the DNS records match what you currently have set on the registrar. It's especially important that you confirm that the A, CNAME, MX and TXT Records match existing records.
Cloudflare can be used purely for their DNS Zone. Although they offer a variety of other services, we mainly use it for the DNS Zone, since it allows us to easily see or modify any DNS Records, as well as share access to it with clients.
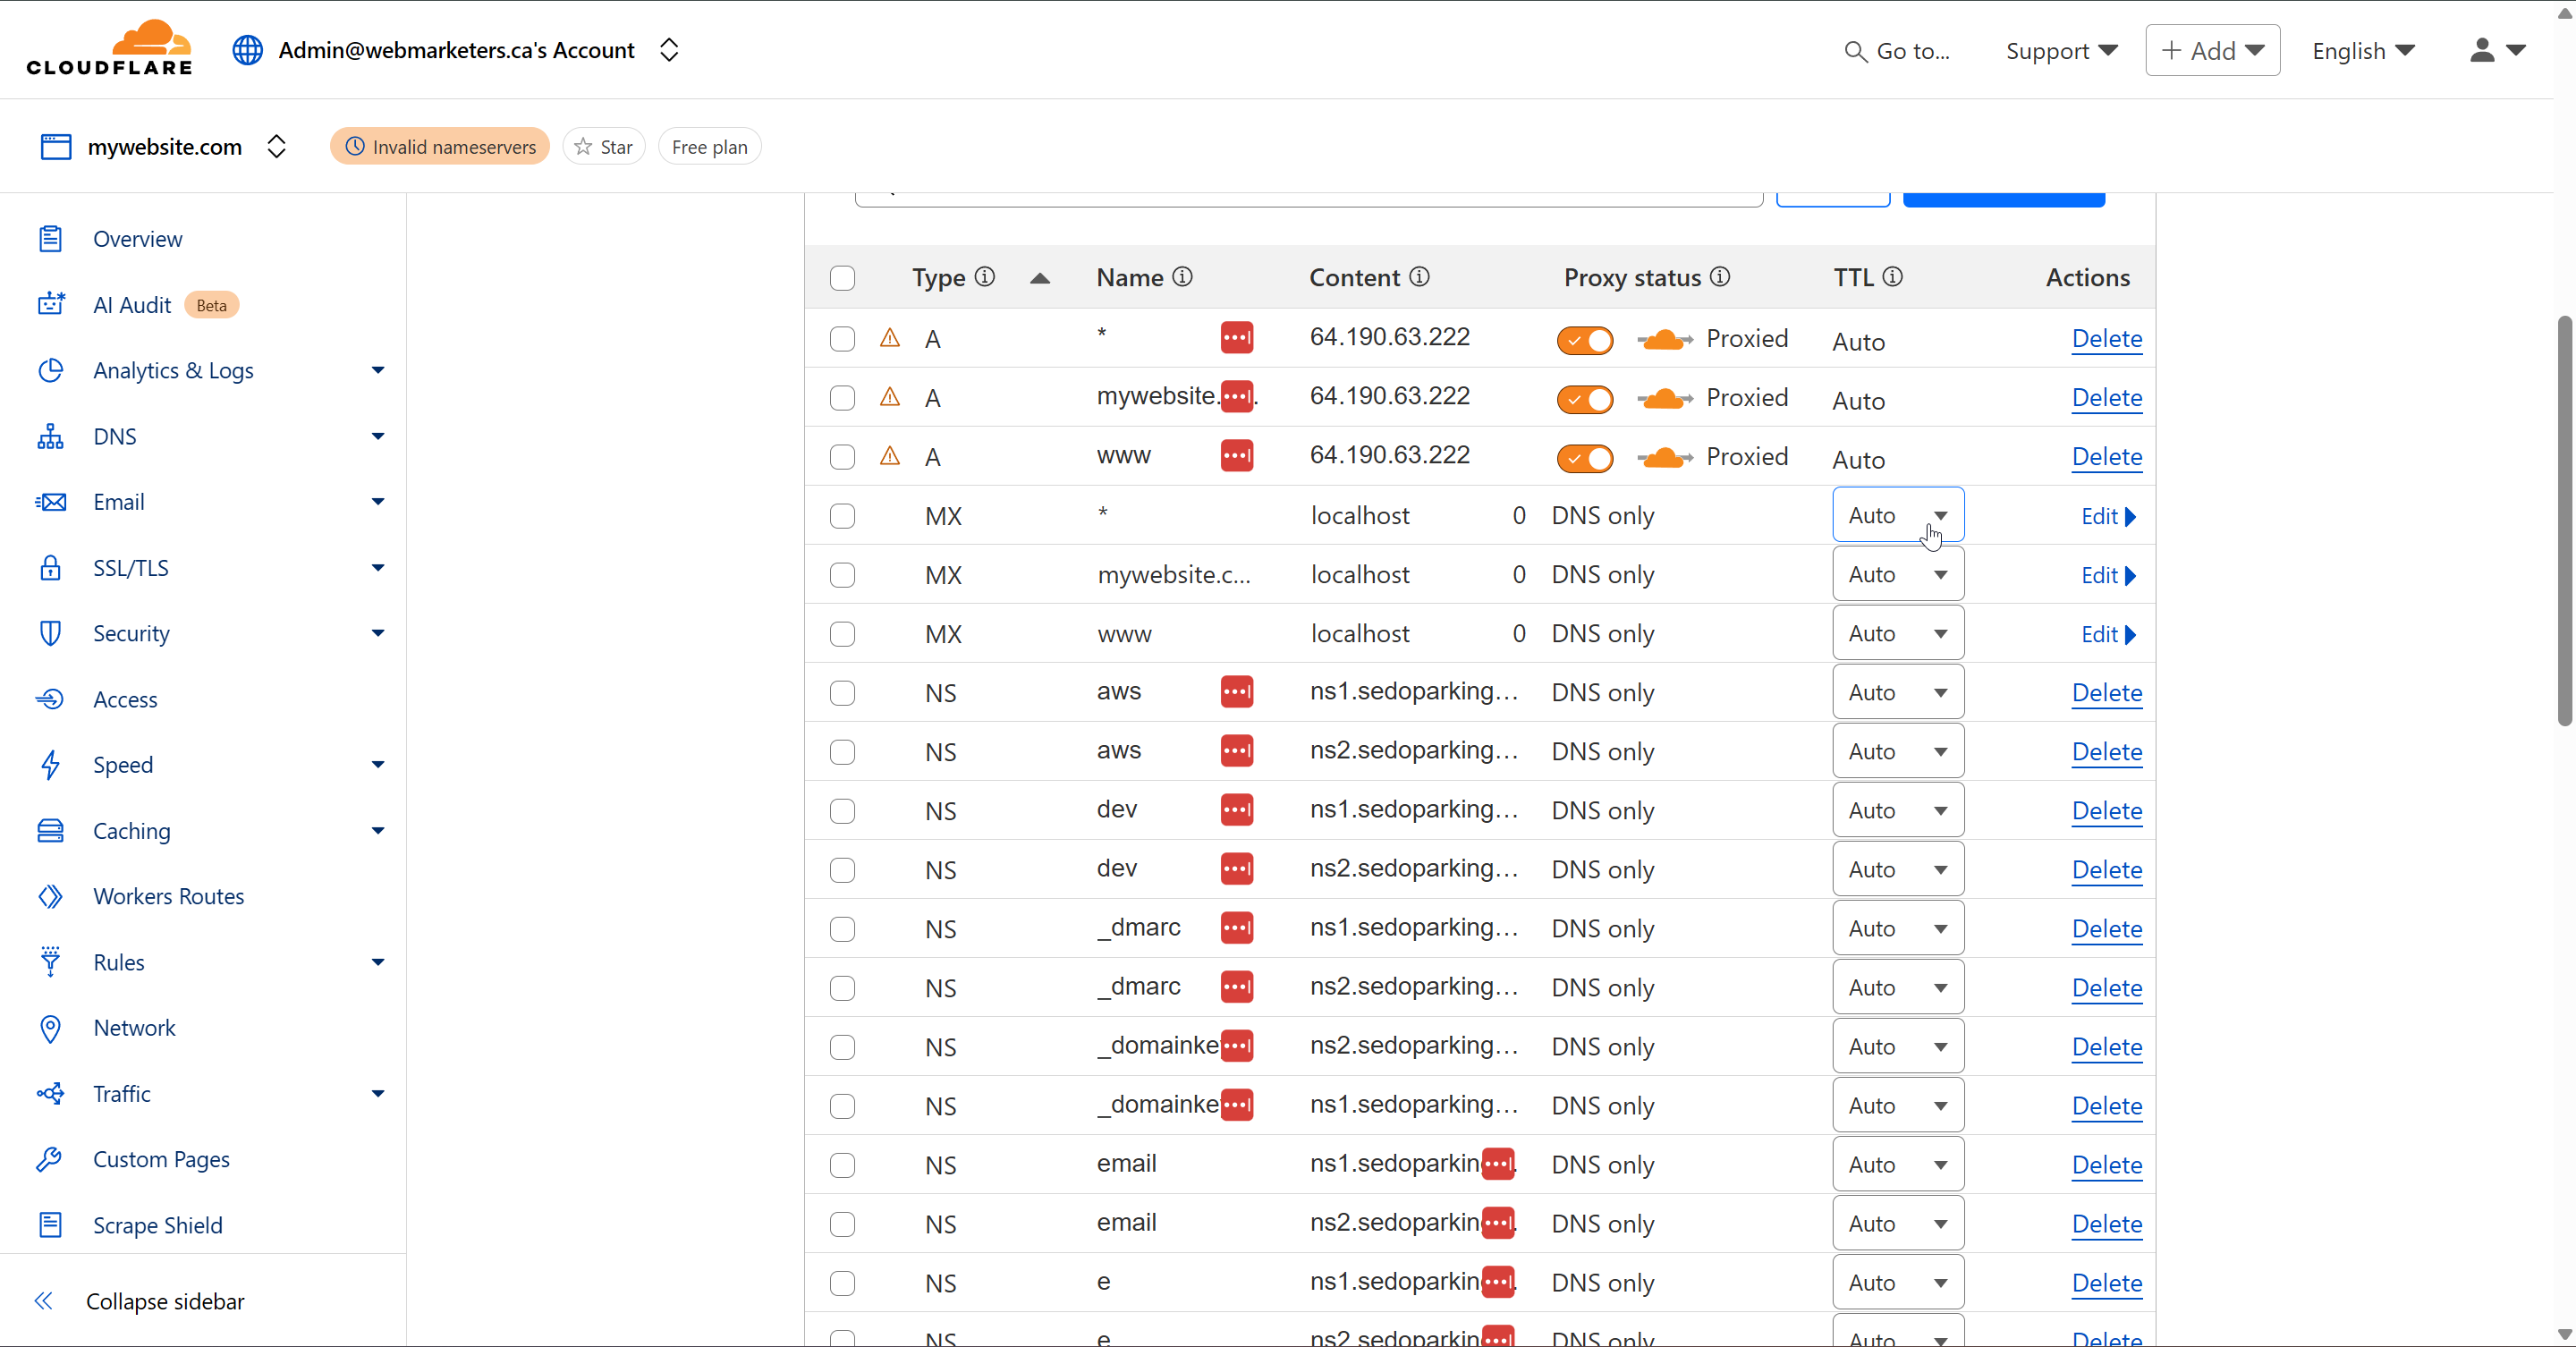
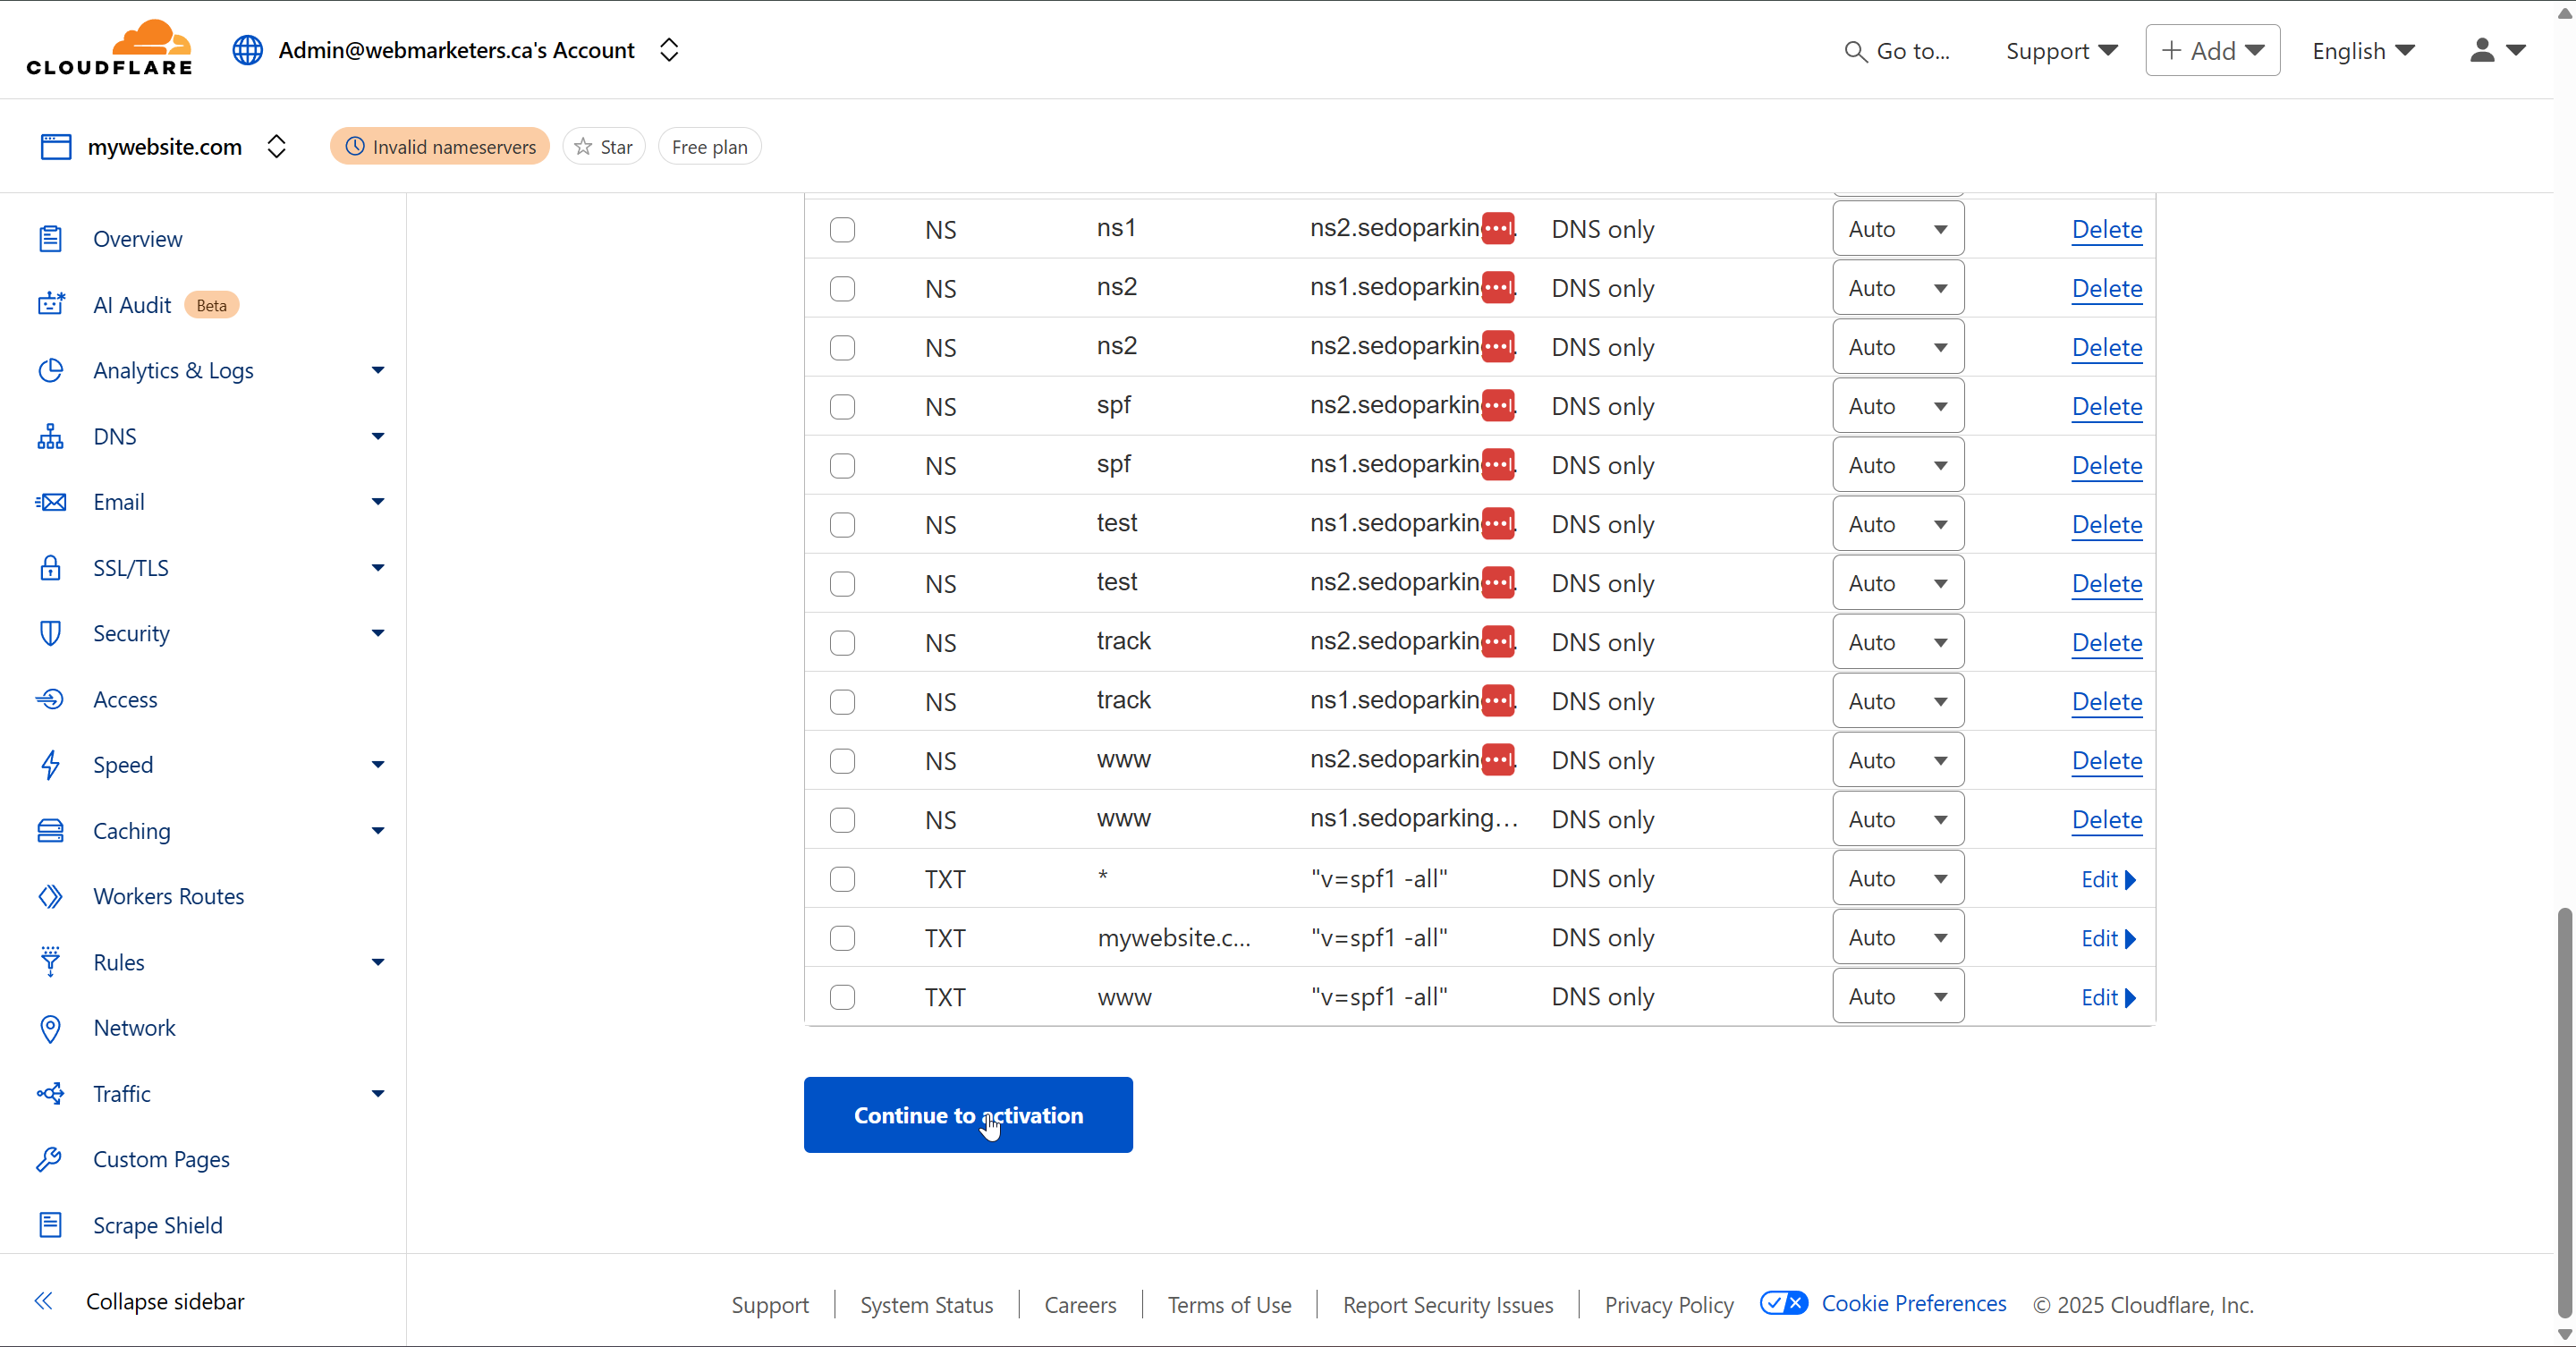
Then, turn off the proxy status for the A Records, and remove all unused NS (Nameserver) Records. These will not be needed with the switch to Cloudflare.
Once this is done, click "Continue to activation".
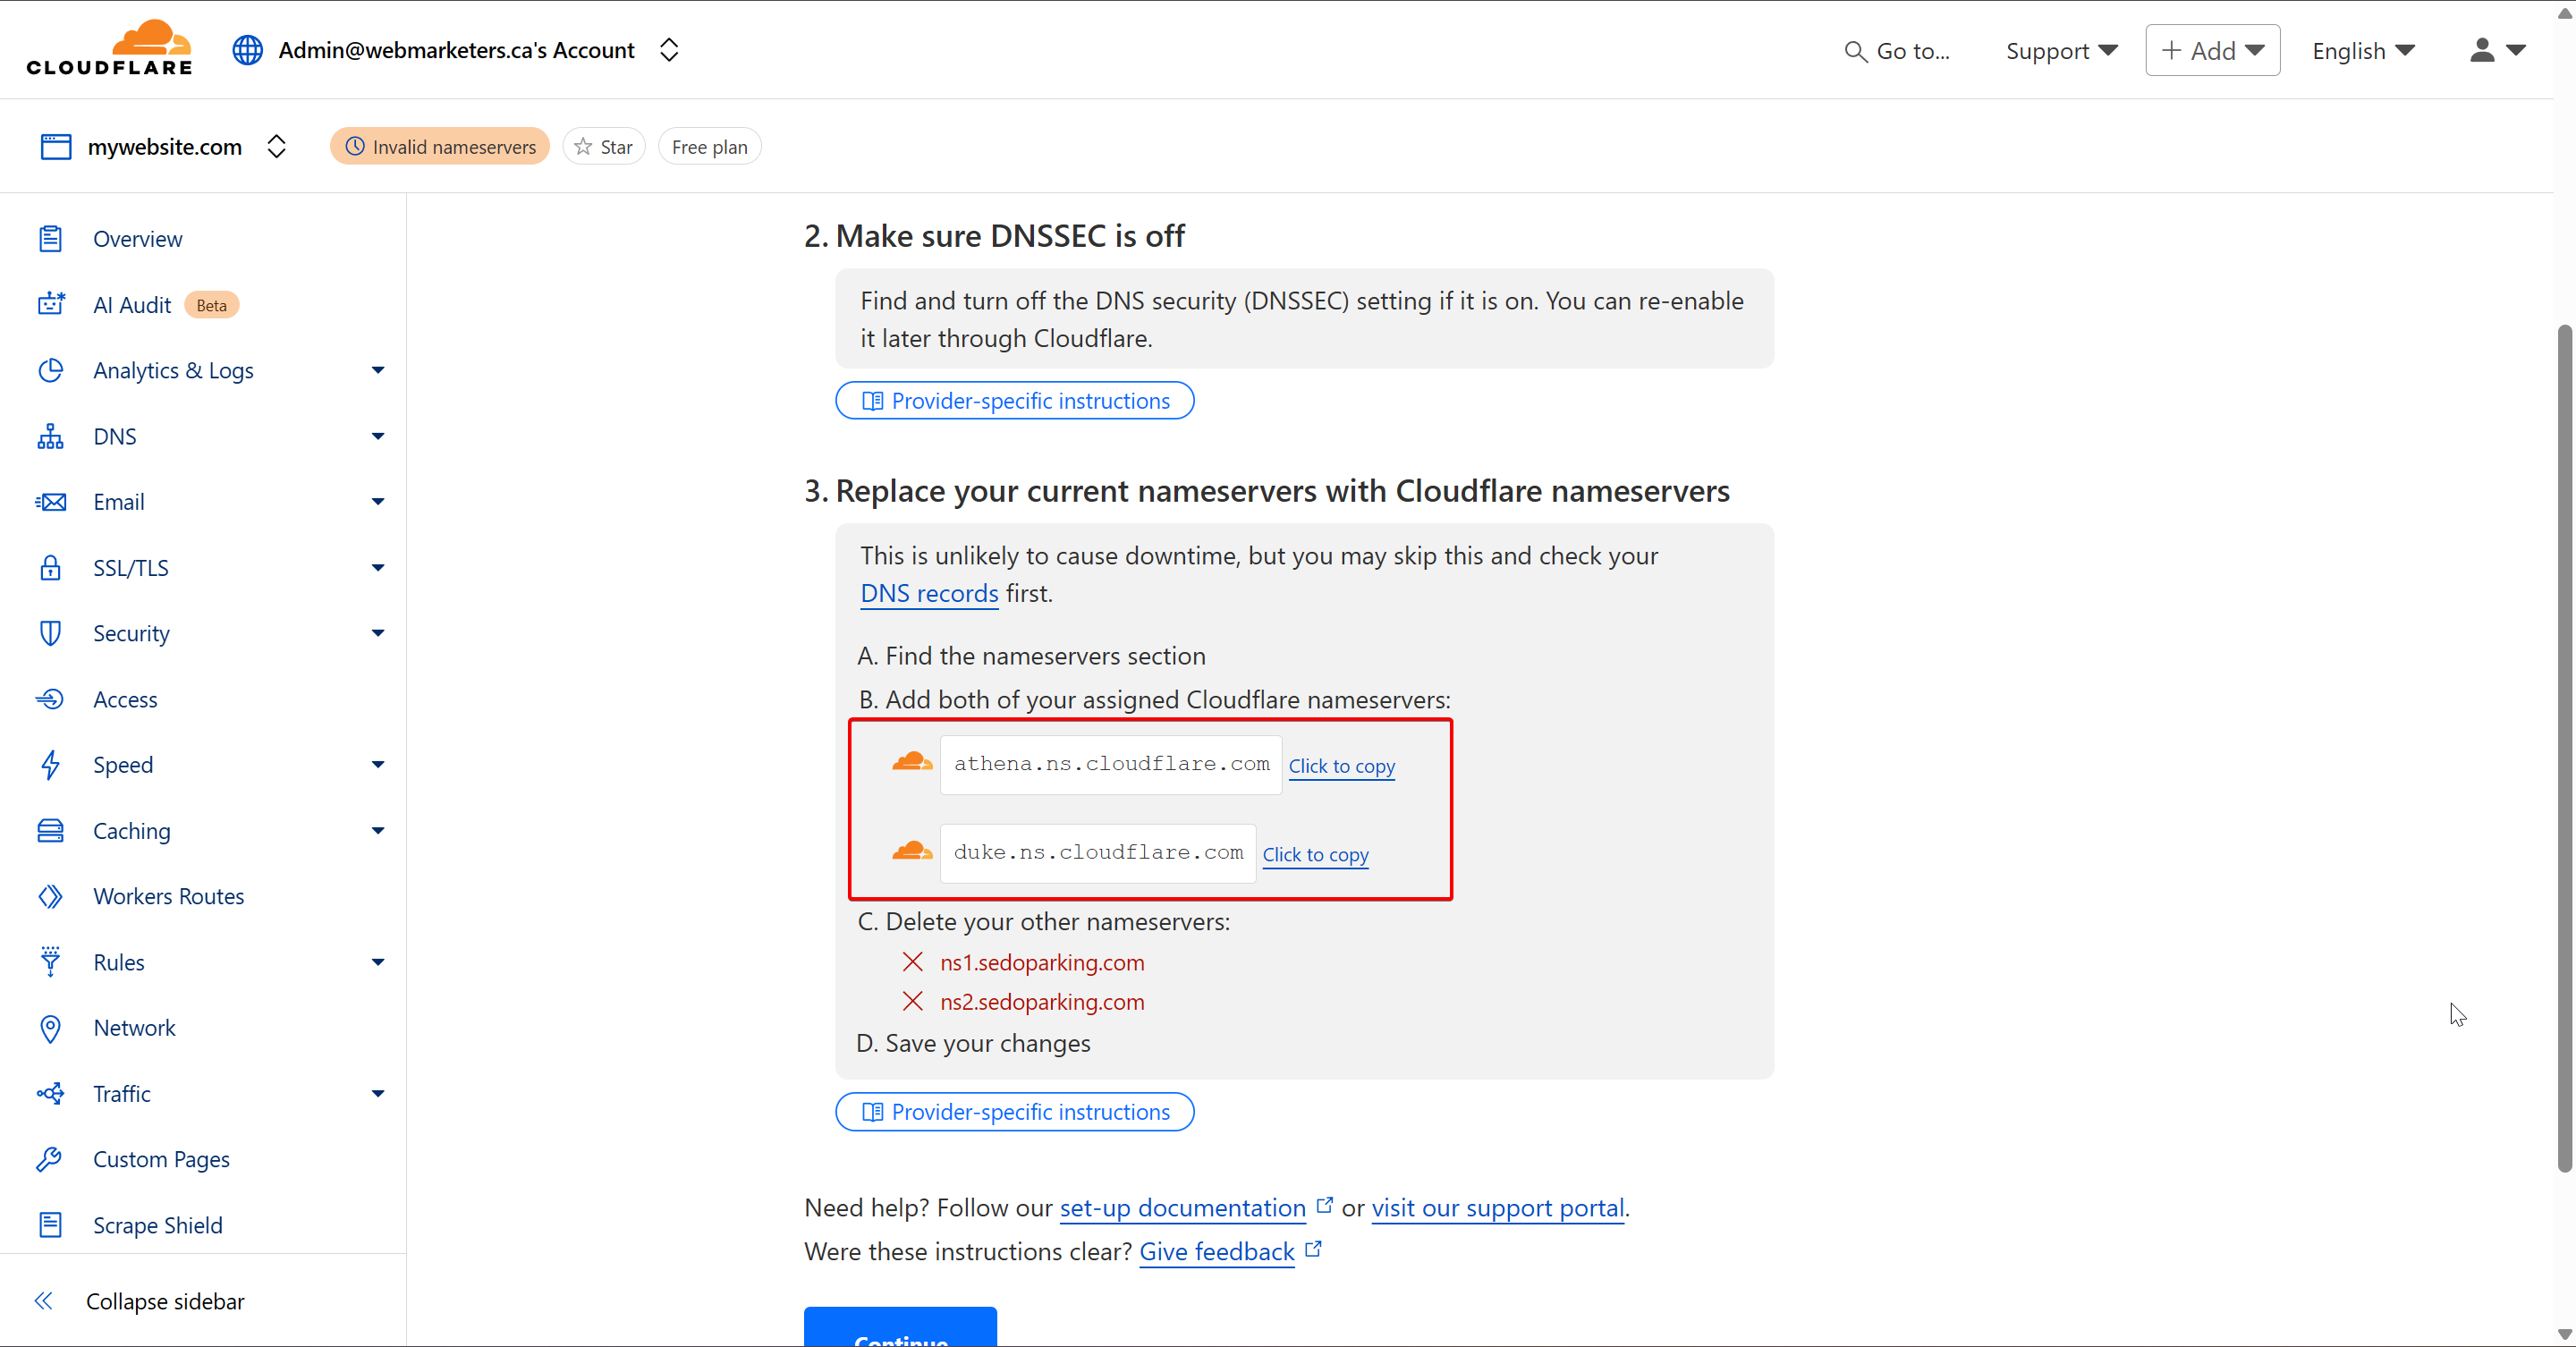
Last but not least, login to the domain's registrar, and replace your domain's nameservers with those provided by Cloudflare. Usually, we will have athena & duke.
Once you make the switch in the registrar, click "Continue". Cloudflare will then verify the nameservers have changed, and the DNS Zone in Cloudflare will now be in use.