Installing and Configuring WPML
Installing WPML on a WordPress website is a pretty quick process. But from an outside perspective, it can seem a bit confusing due to WPML's unlimited configurations. This guide is a quick step by step installation process to help you get started in no time.
| Requirements |
| Valid WPML License |
|
Access to WordPress website backend |
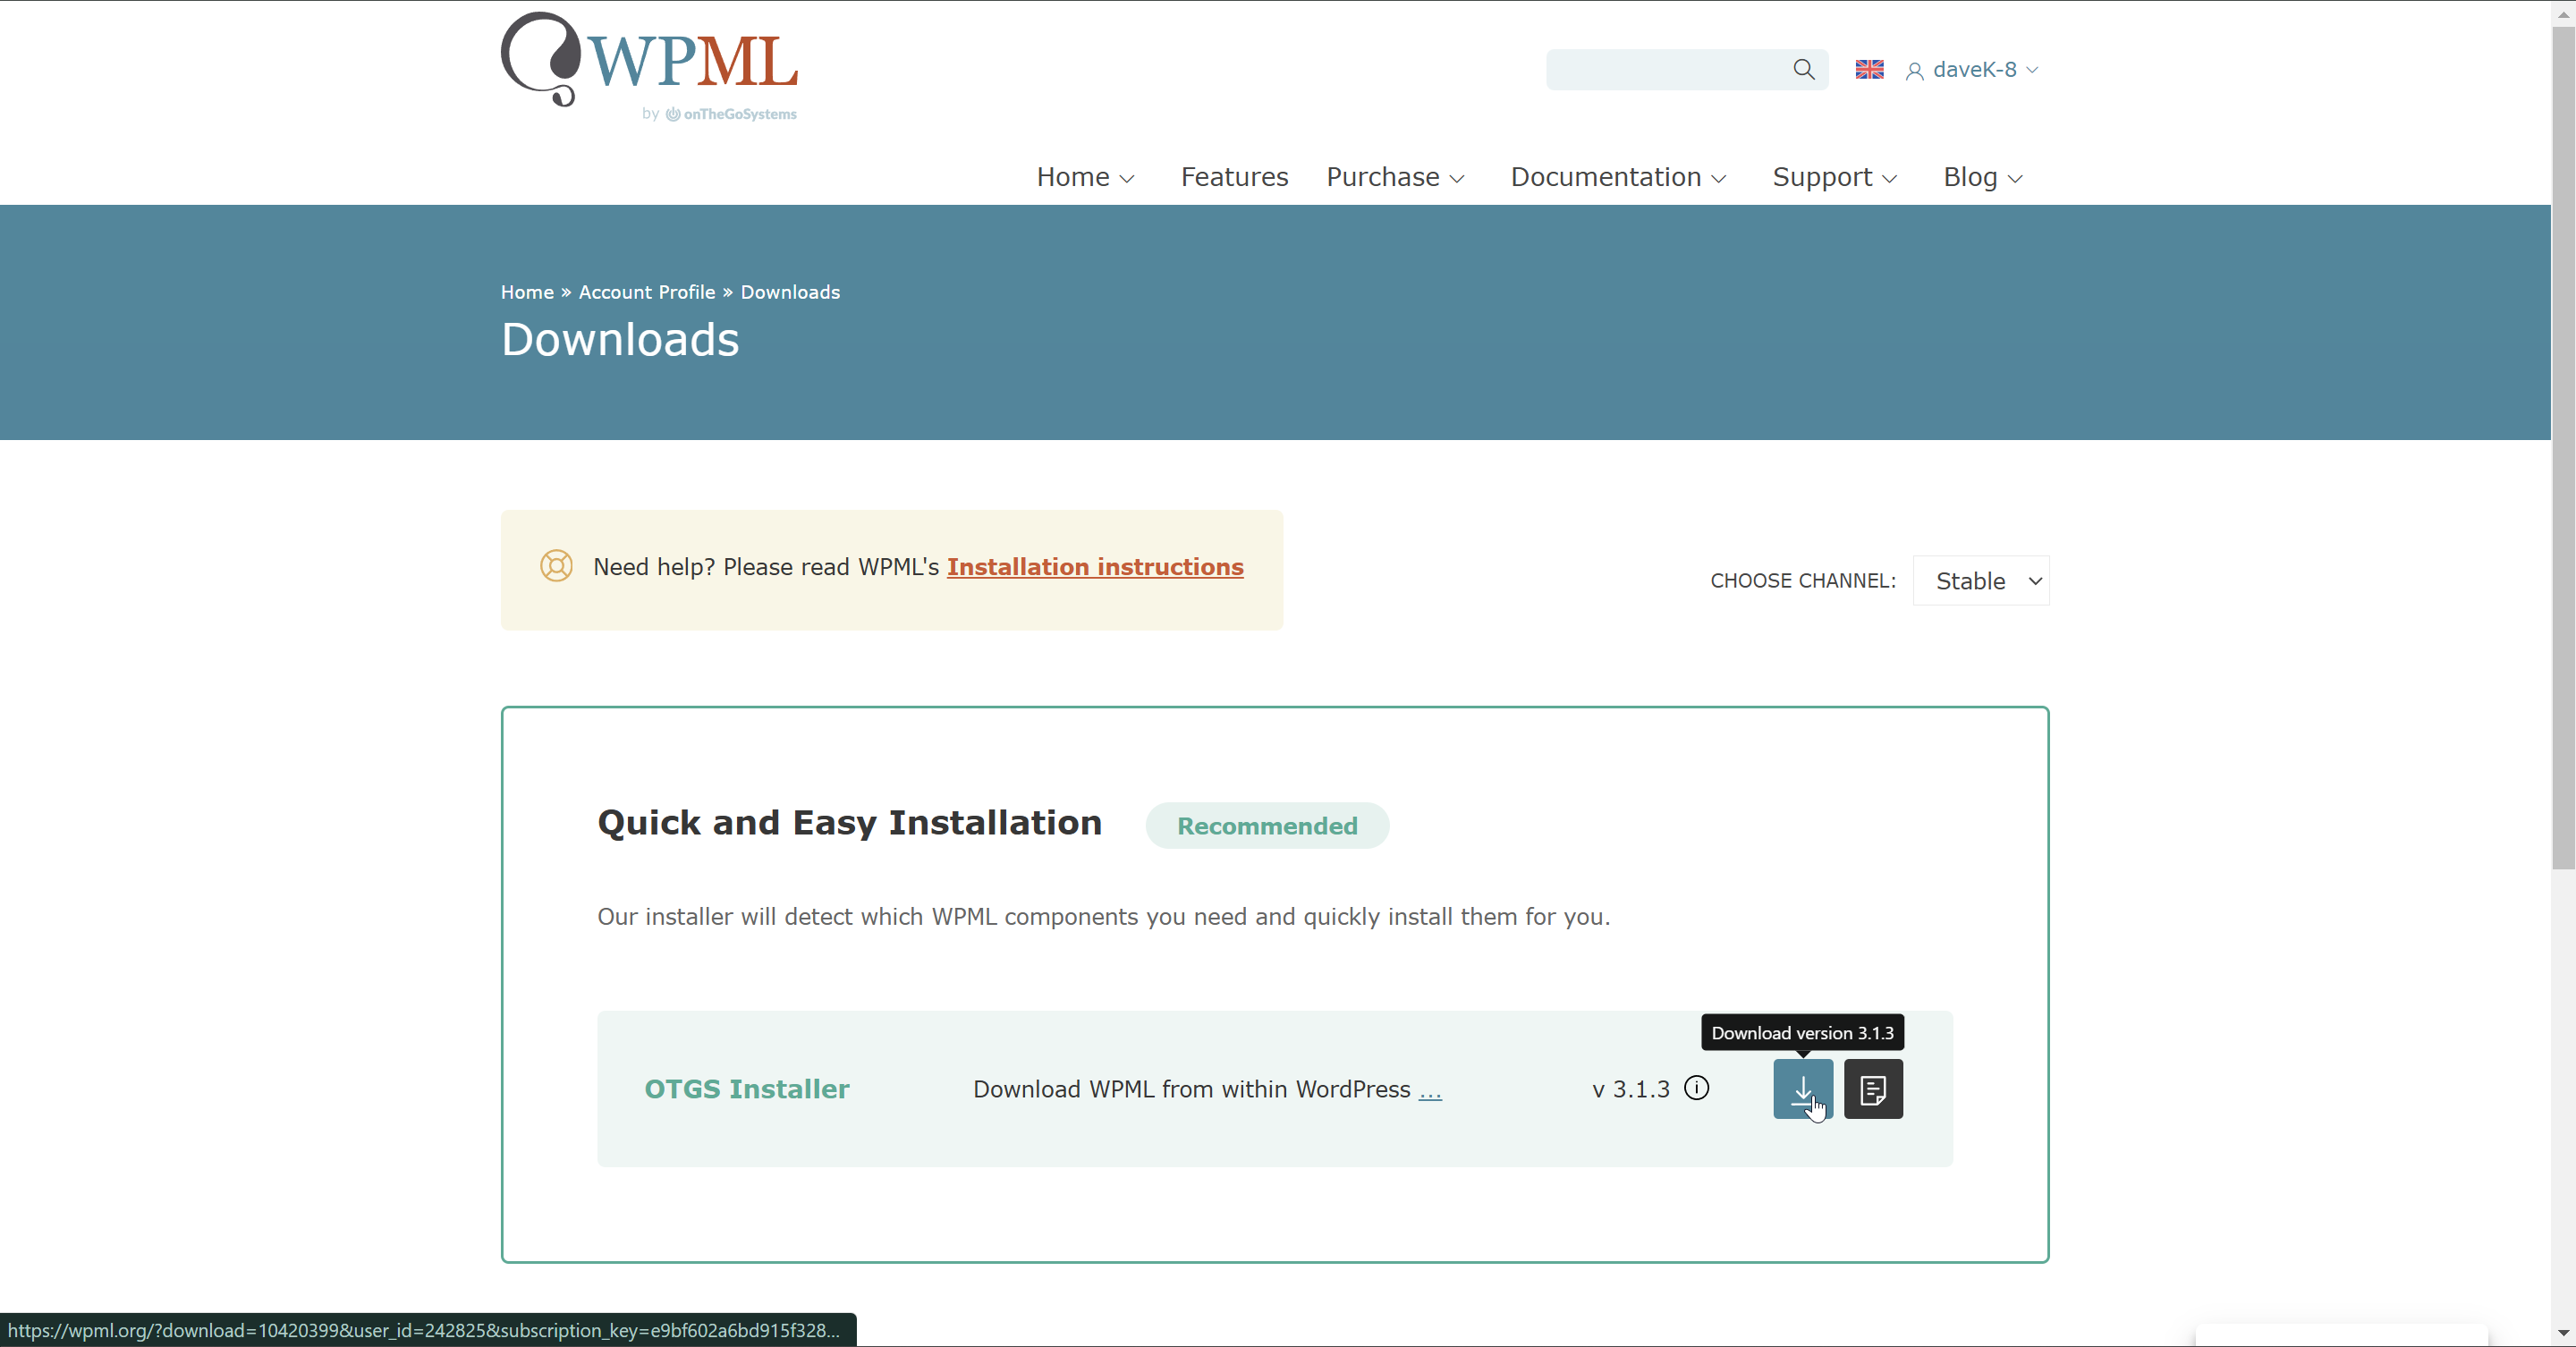
Step 1: Login to WPML and download the OTGS Installer https://wpml.org/account/downloads/
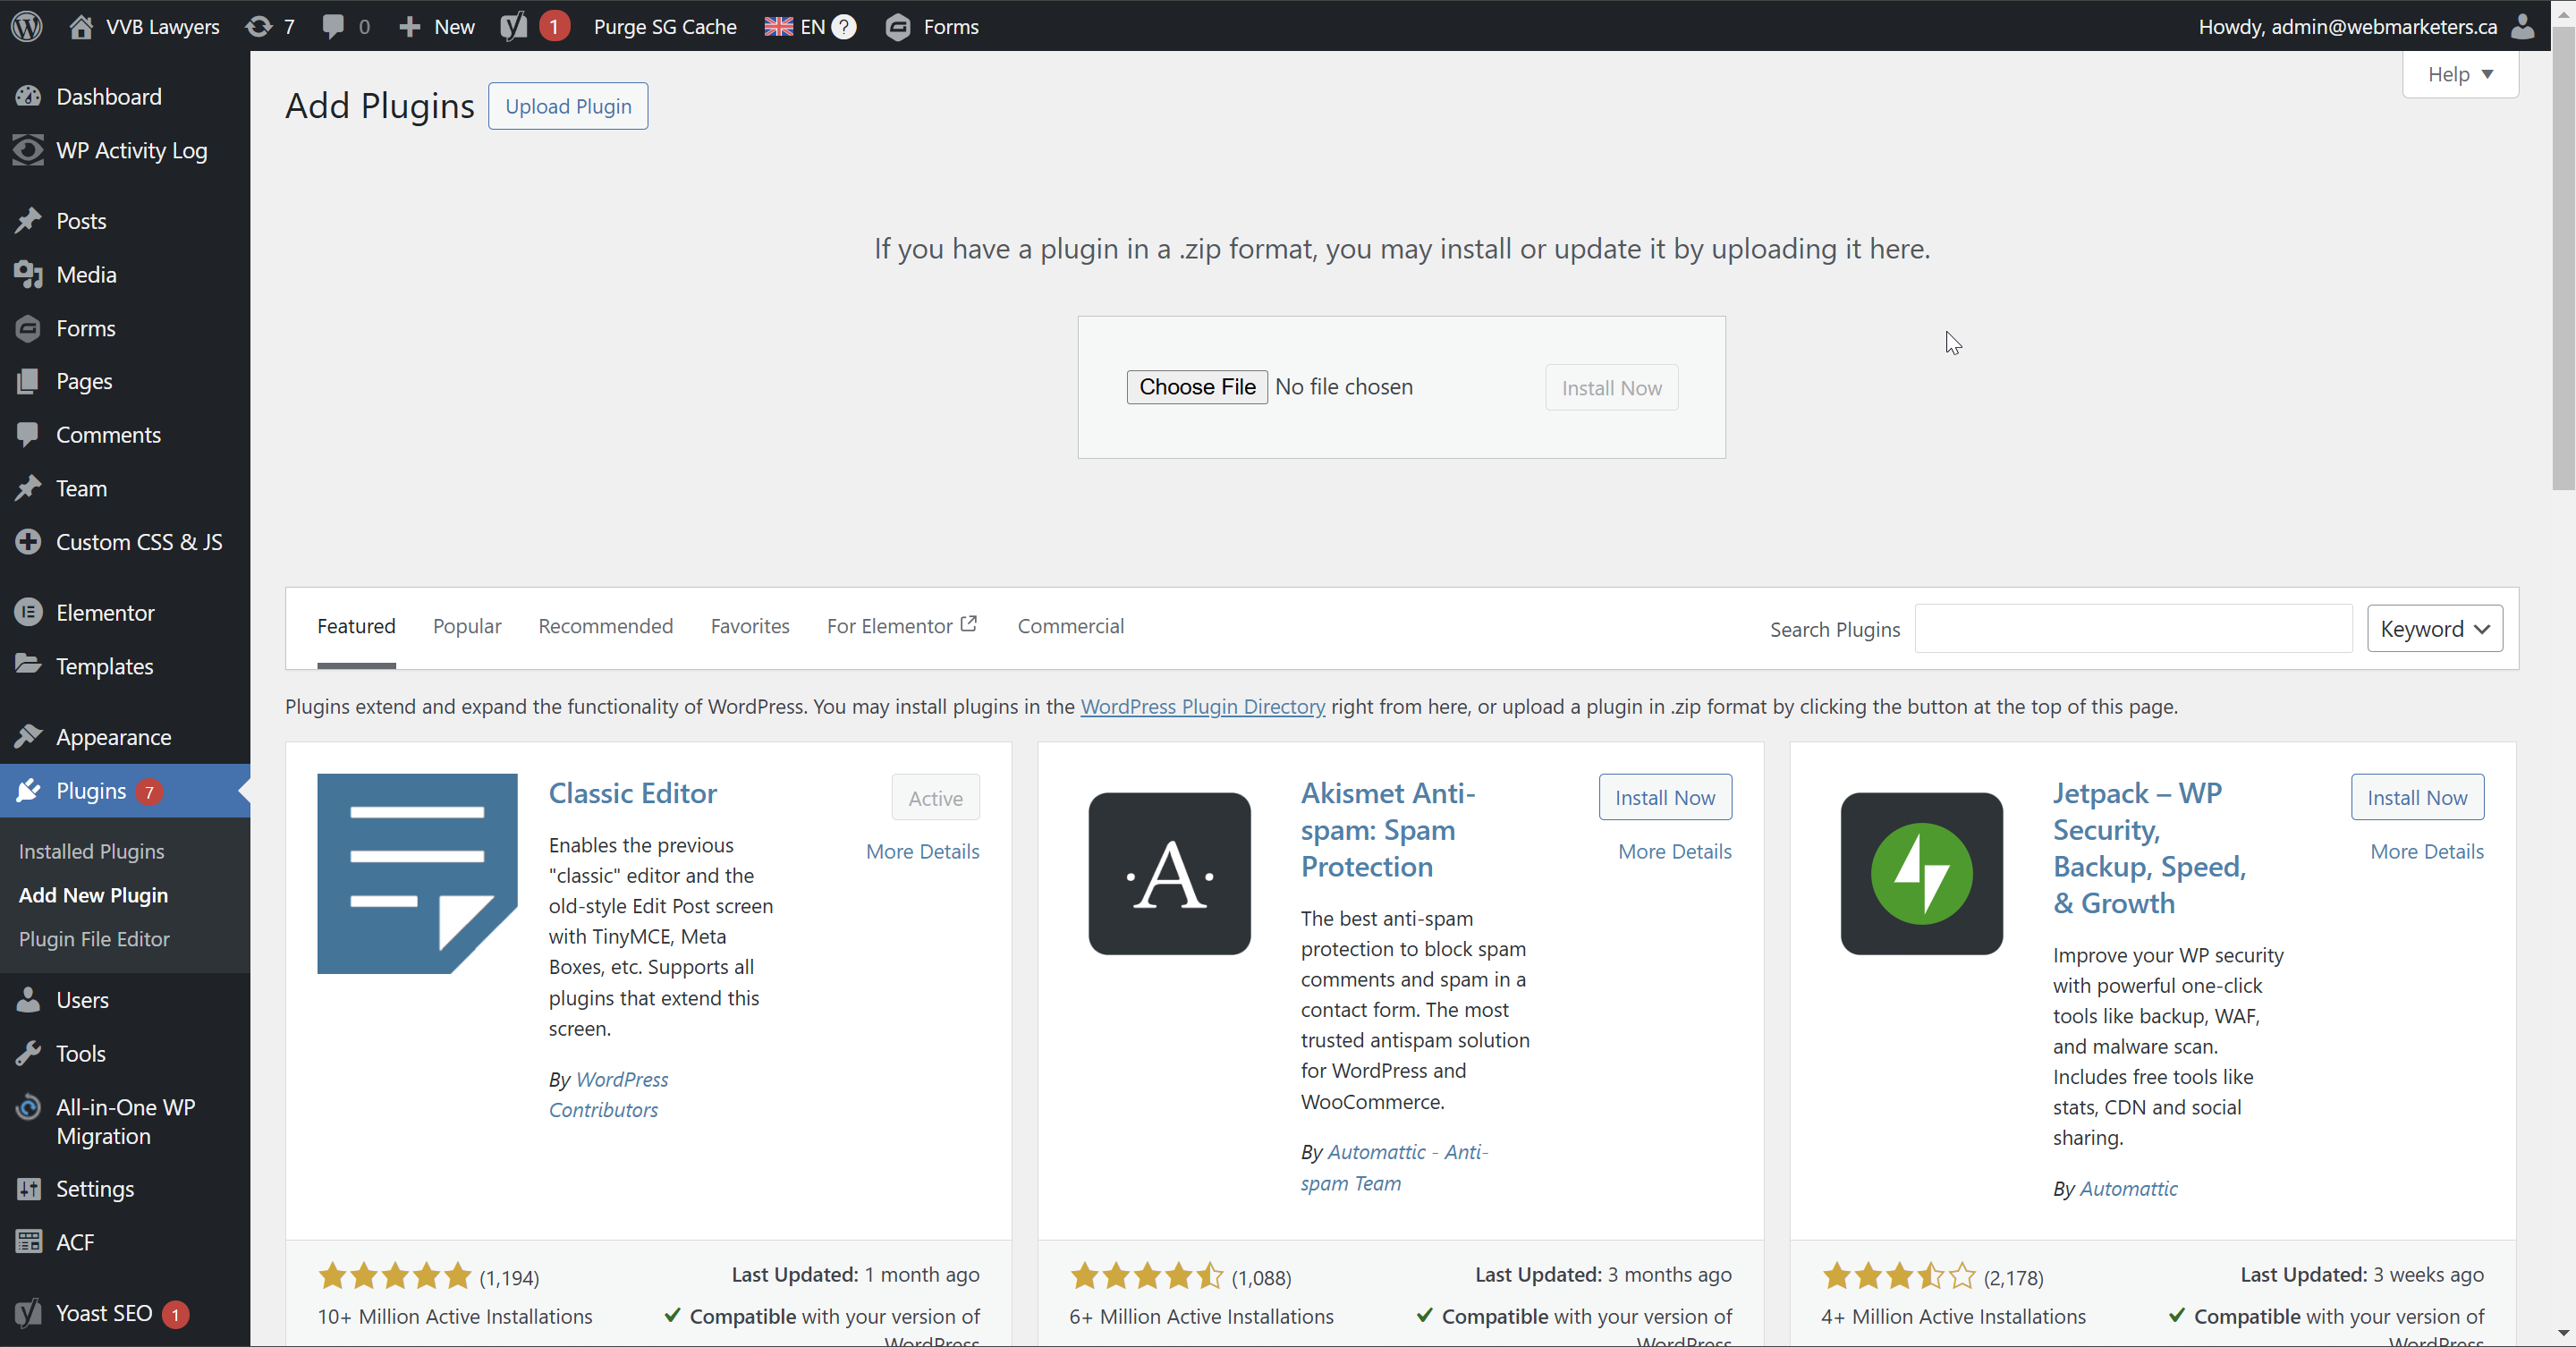
Step 2: Navigate to the plugin installation page, then upload, install & activate the OTGS Installer
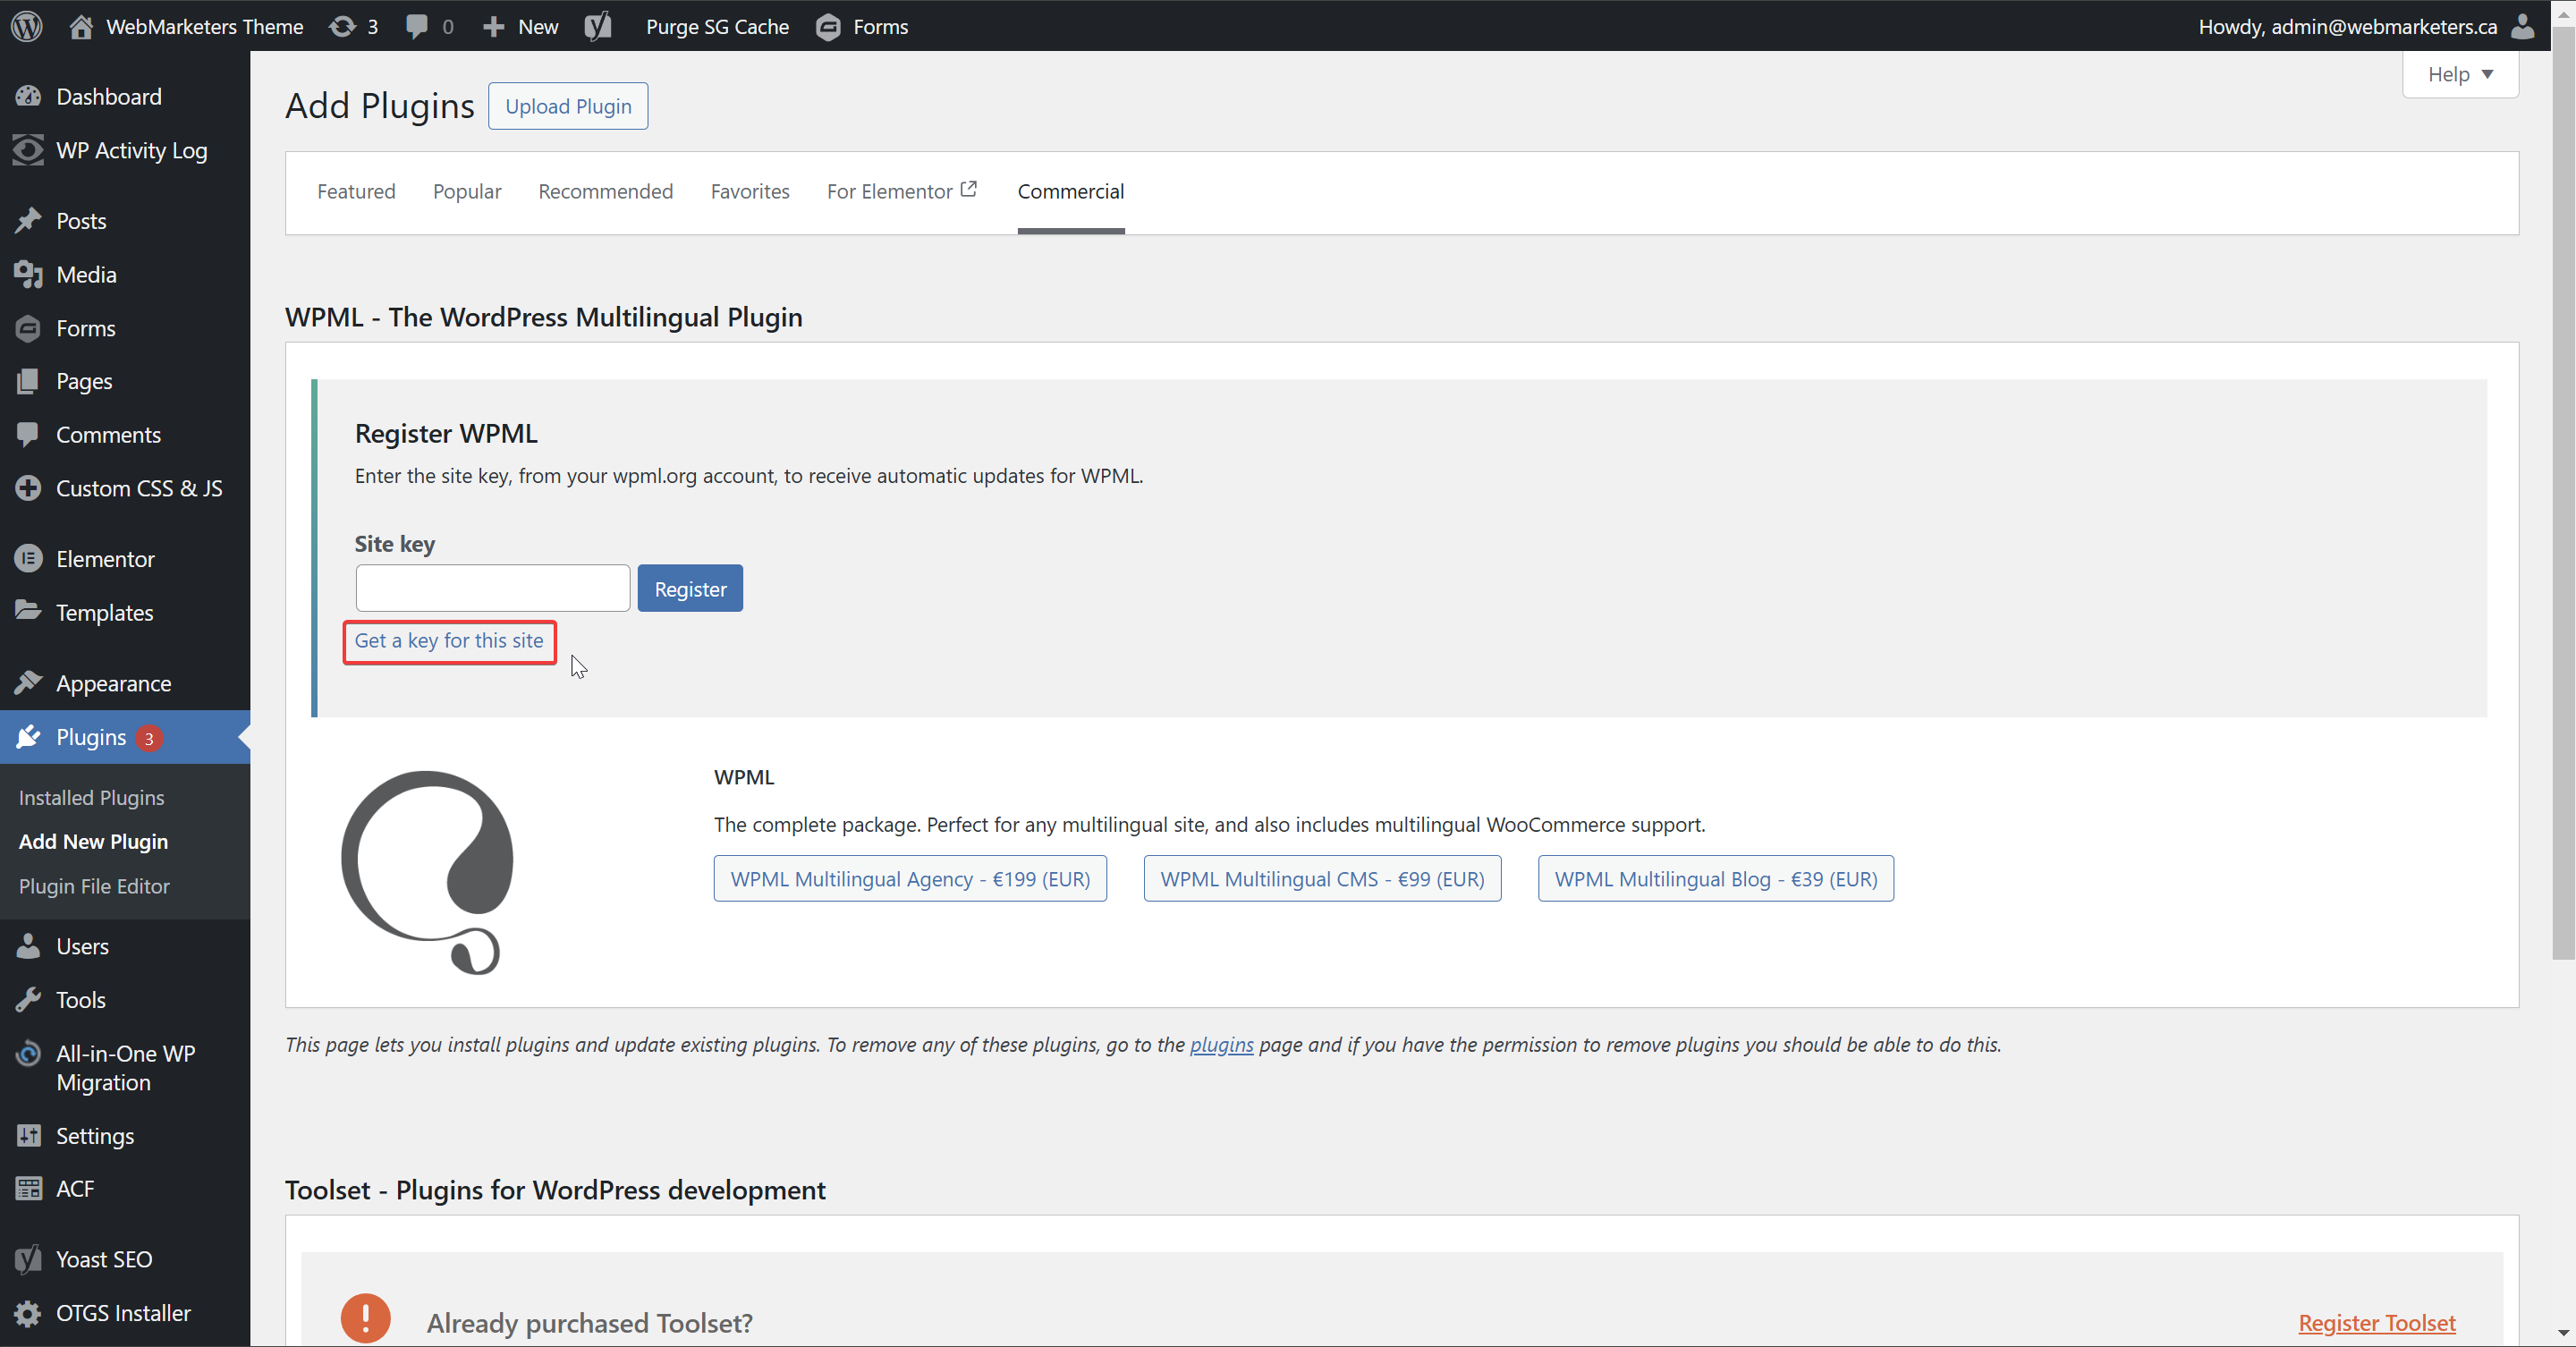
Step 3: Click "Get a key for this site" and register your website as a Development site, then paste the key in and register the site.
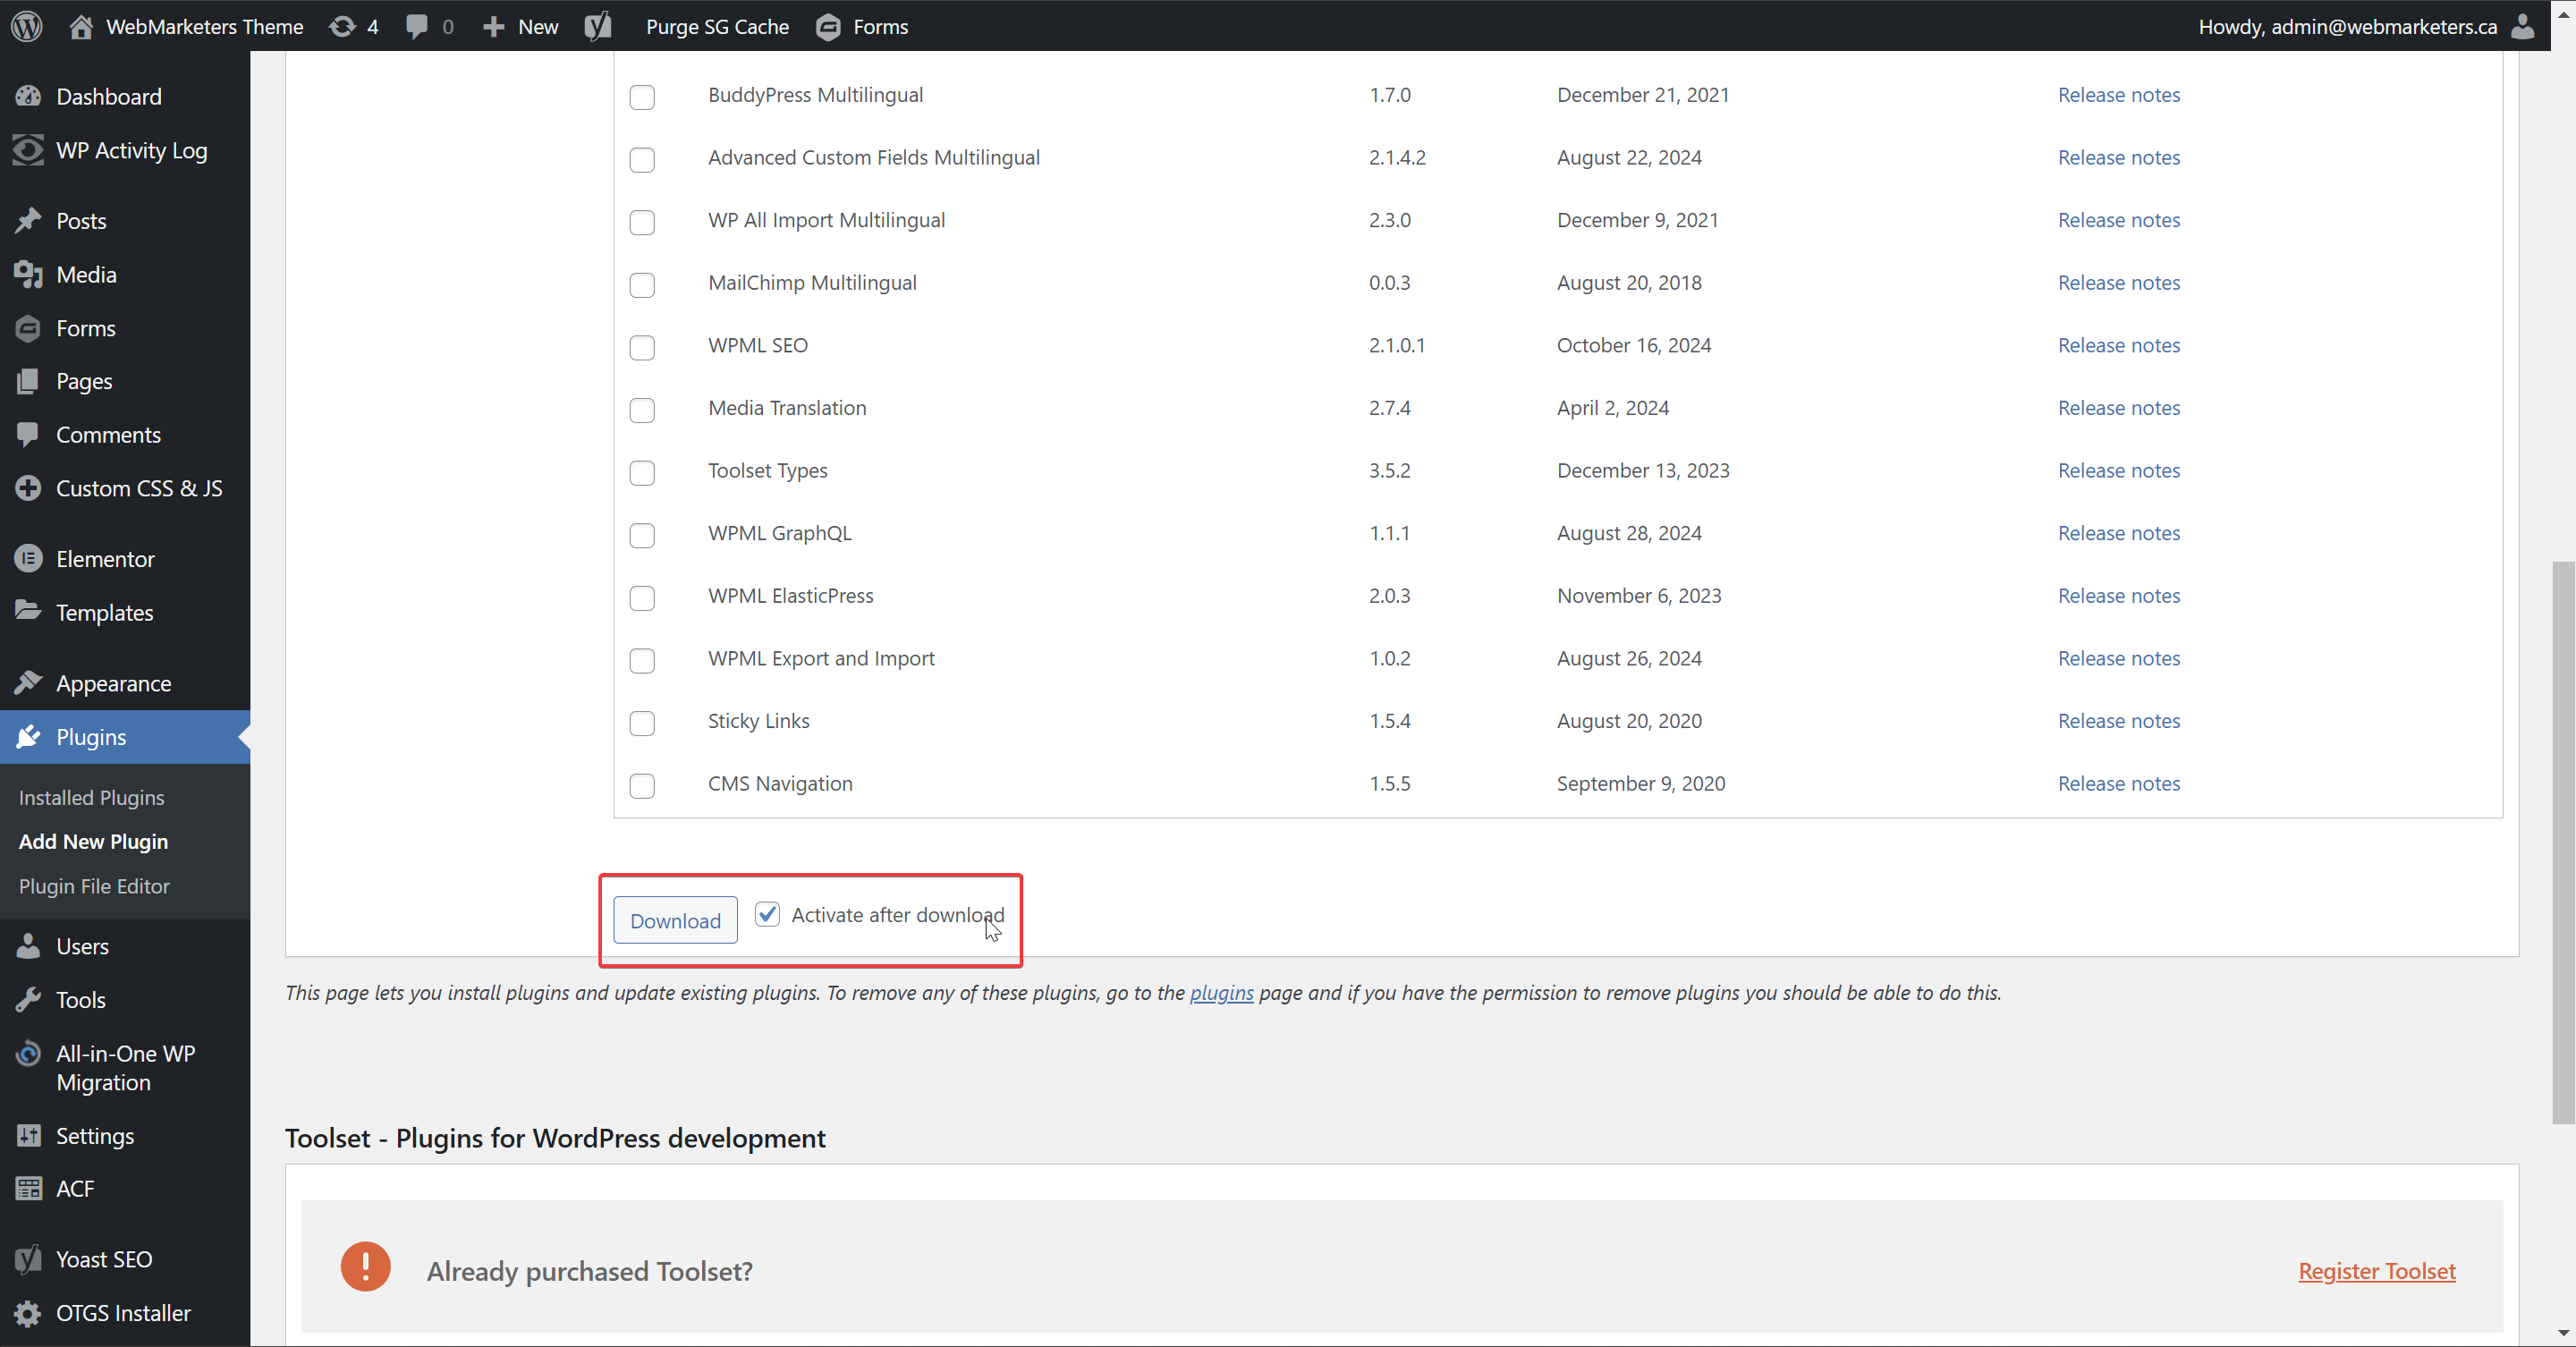
Step 4: Choose the necessary WPML add-ons and click download.
As the leading multi-language plugin, WPML blends well with various plugins, including most form builders, SEO plugins and more. The only absolute requirement here for any project is the WPML Multilingual CMS plugin. Everything else will vary on project requirements and plugin stack.
Other common add-ons used by WebMarketers include:
-String Translation
-WooCommerce Multilingual & Multicurrency
-Gravity Forms Multilingual
-Advanced Custom Fields Multilingual
-WPML SEO
-Media Translation
Once you pick your add-ons, select "Activate after download" and click "Download". If this works correctly, you should see that the "OTGS Installer" plugin will now be deactivated, and the plugins you selected will be active.
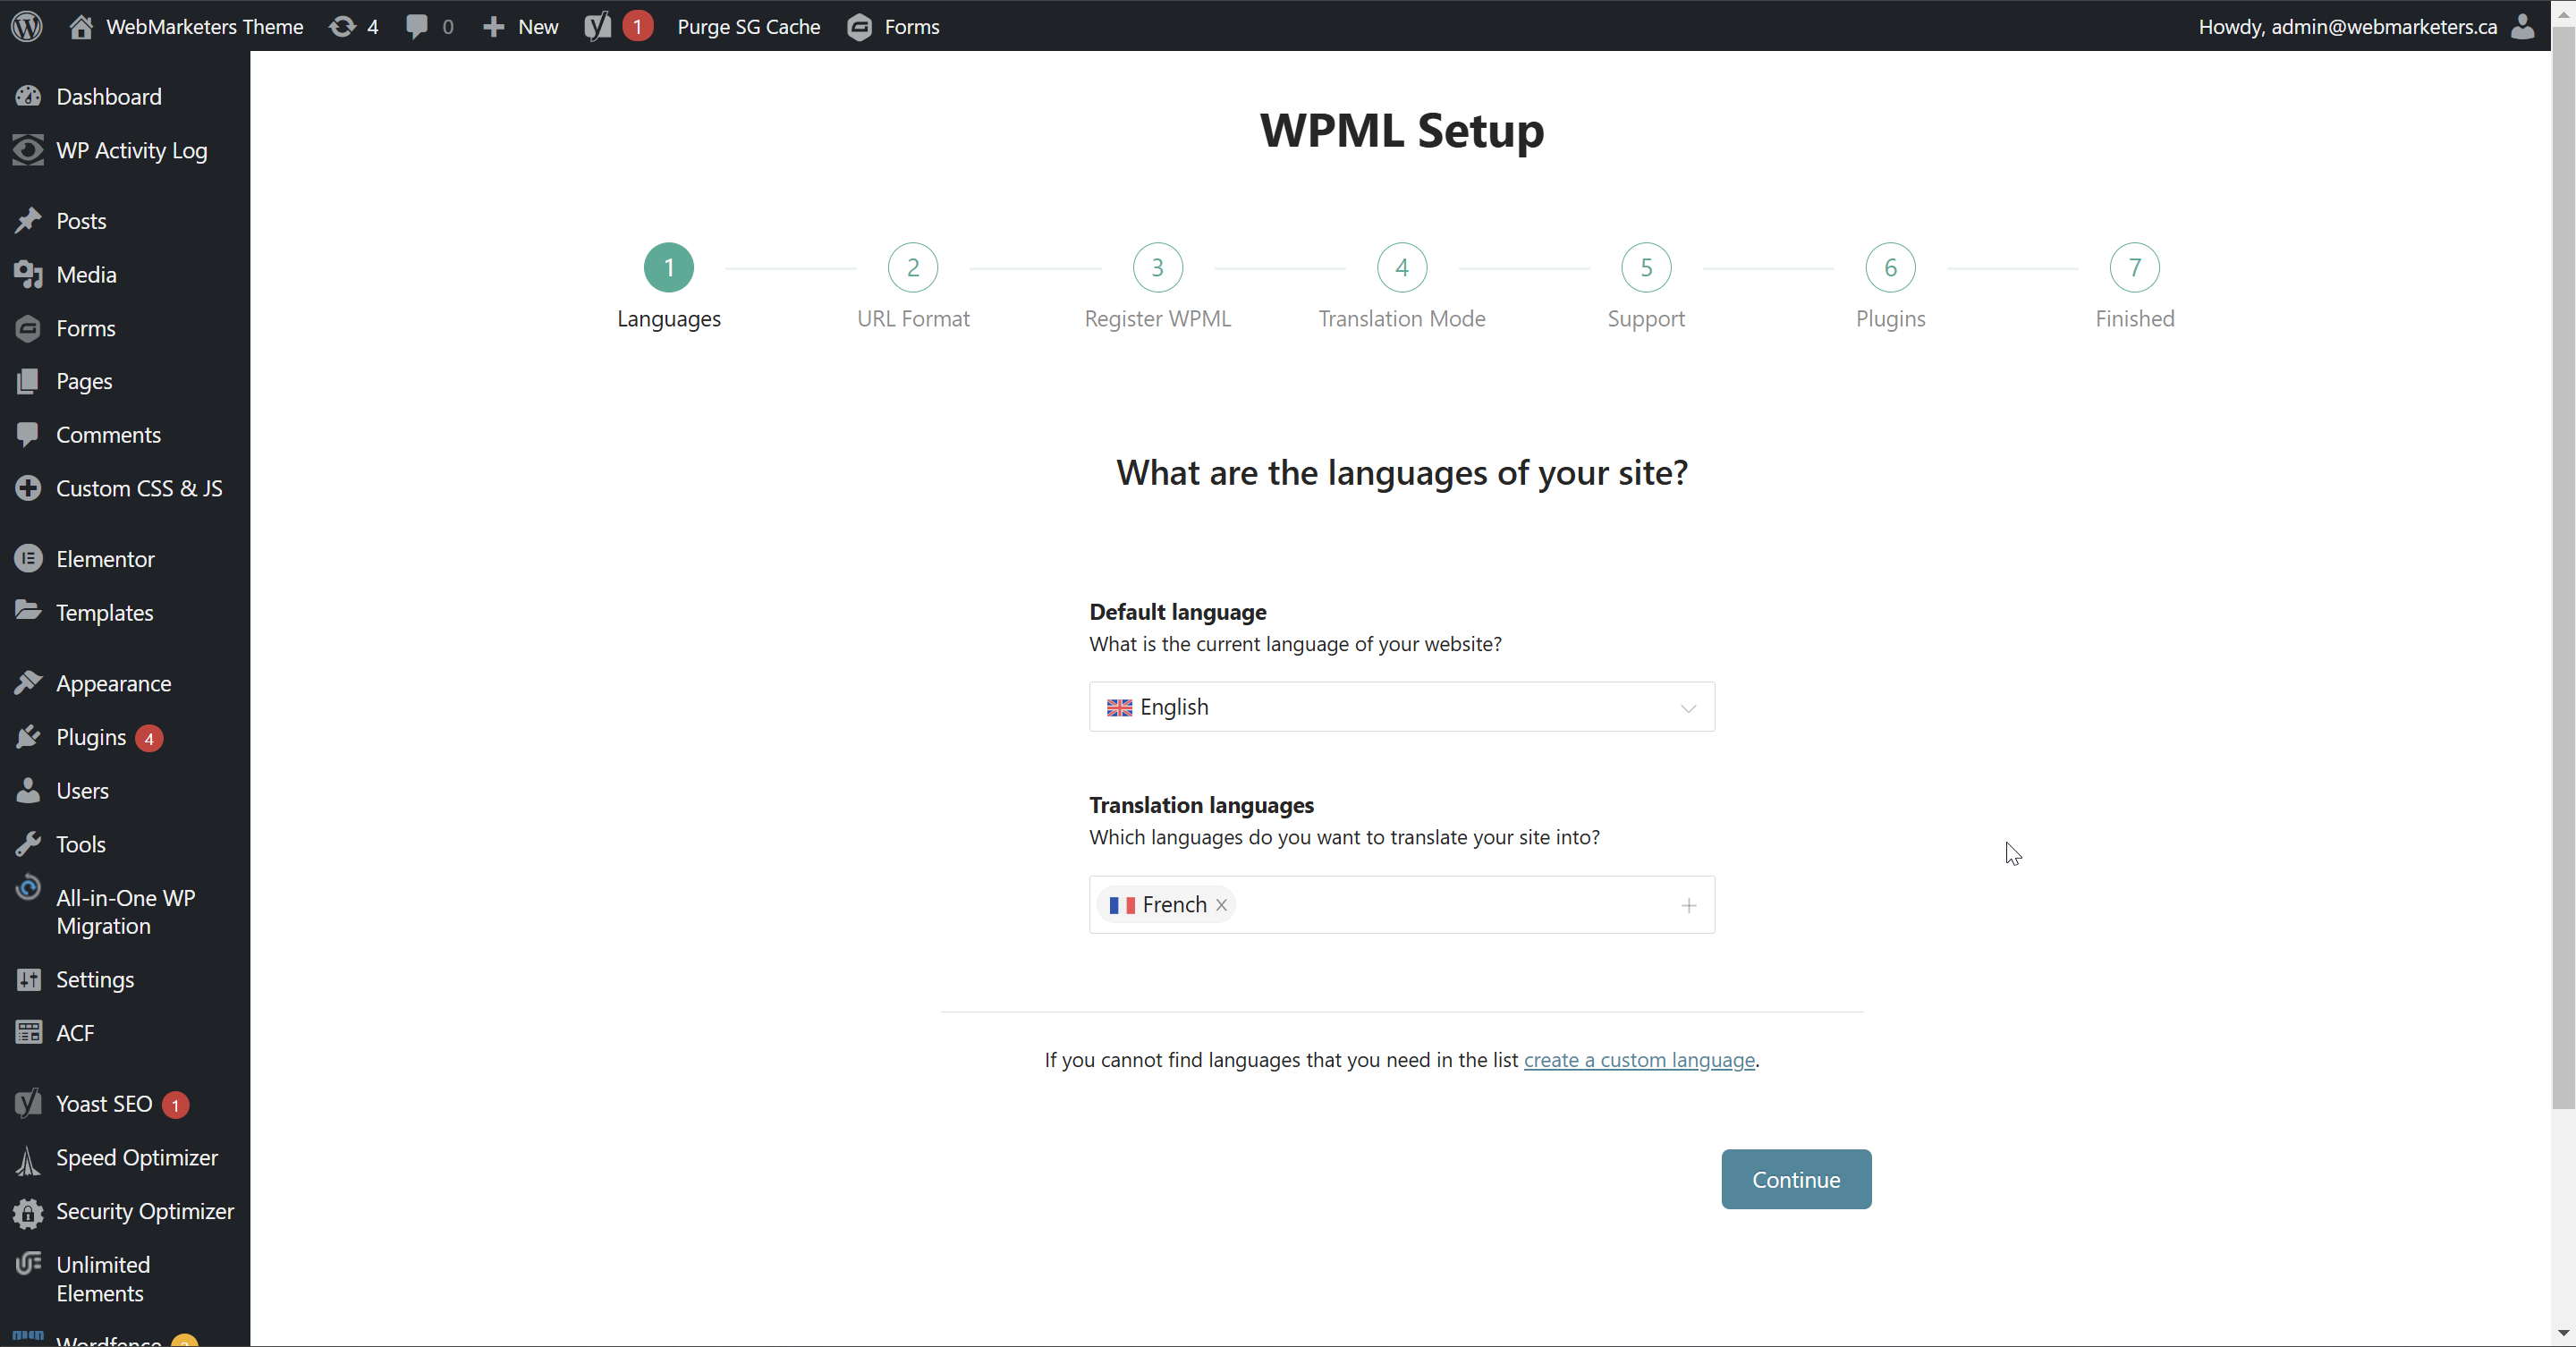
Step 5: Navigate to WPML Setup and choose the default & secondary language
During the installation process, WPML will ask that you provide a default & secondary language. This is necessary for setting up your language switcher functionality and permalink structure.
First, pick your language pair:
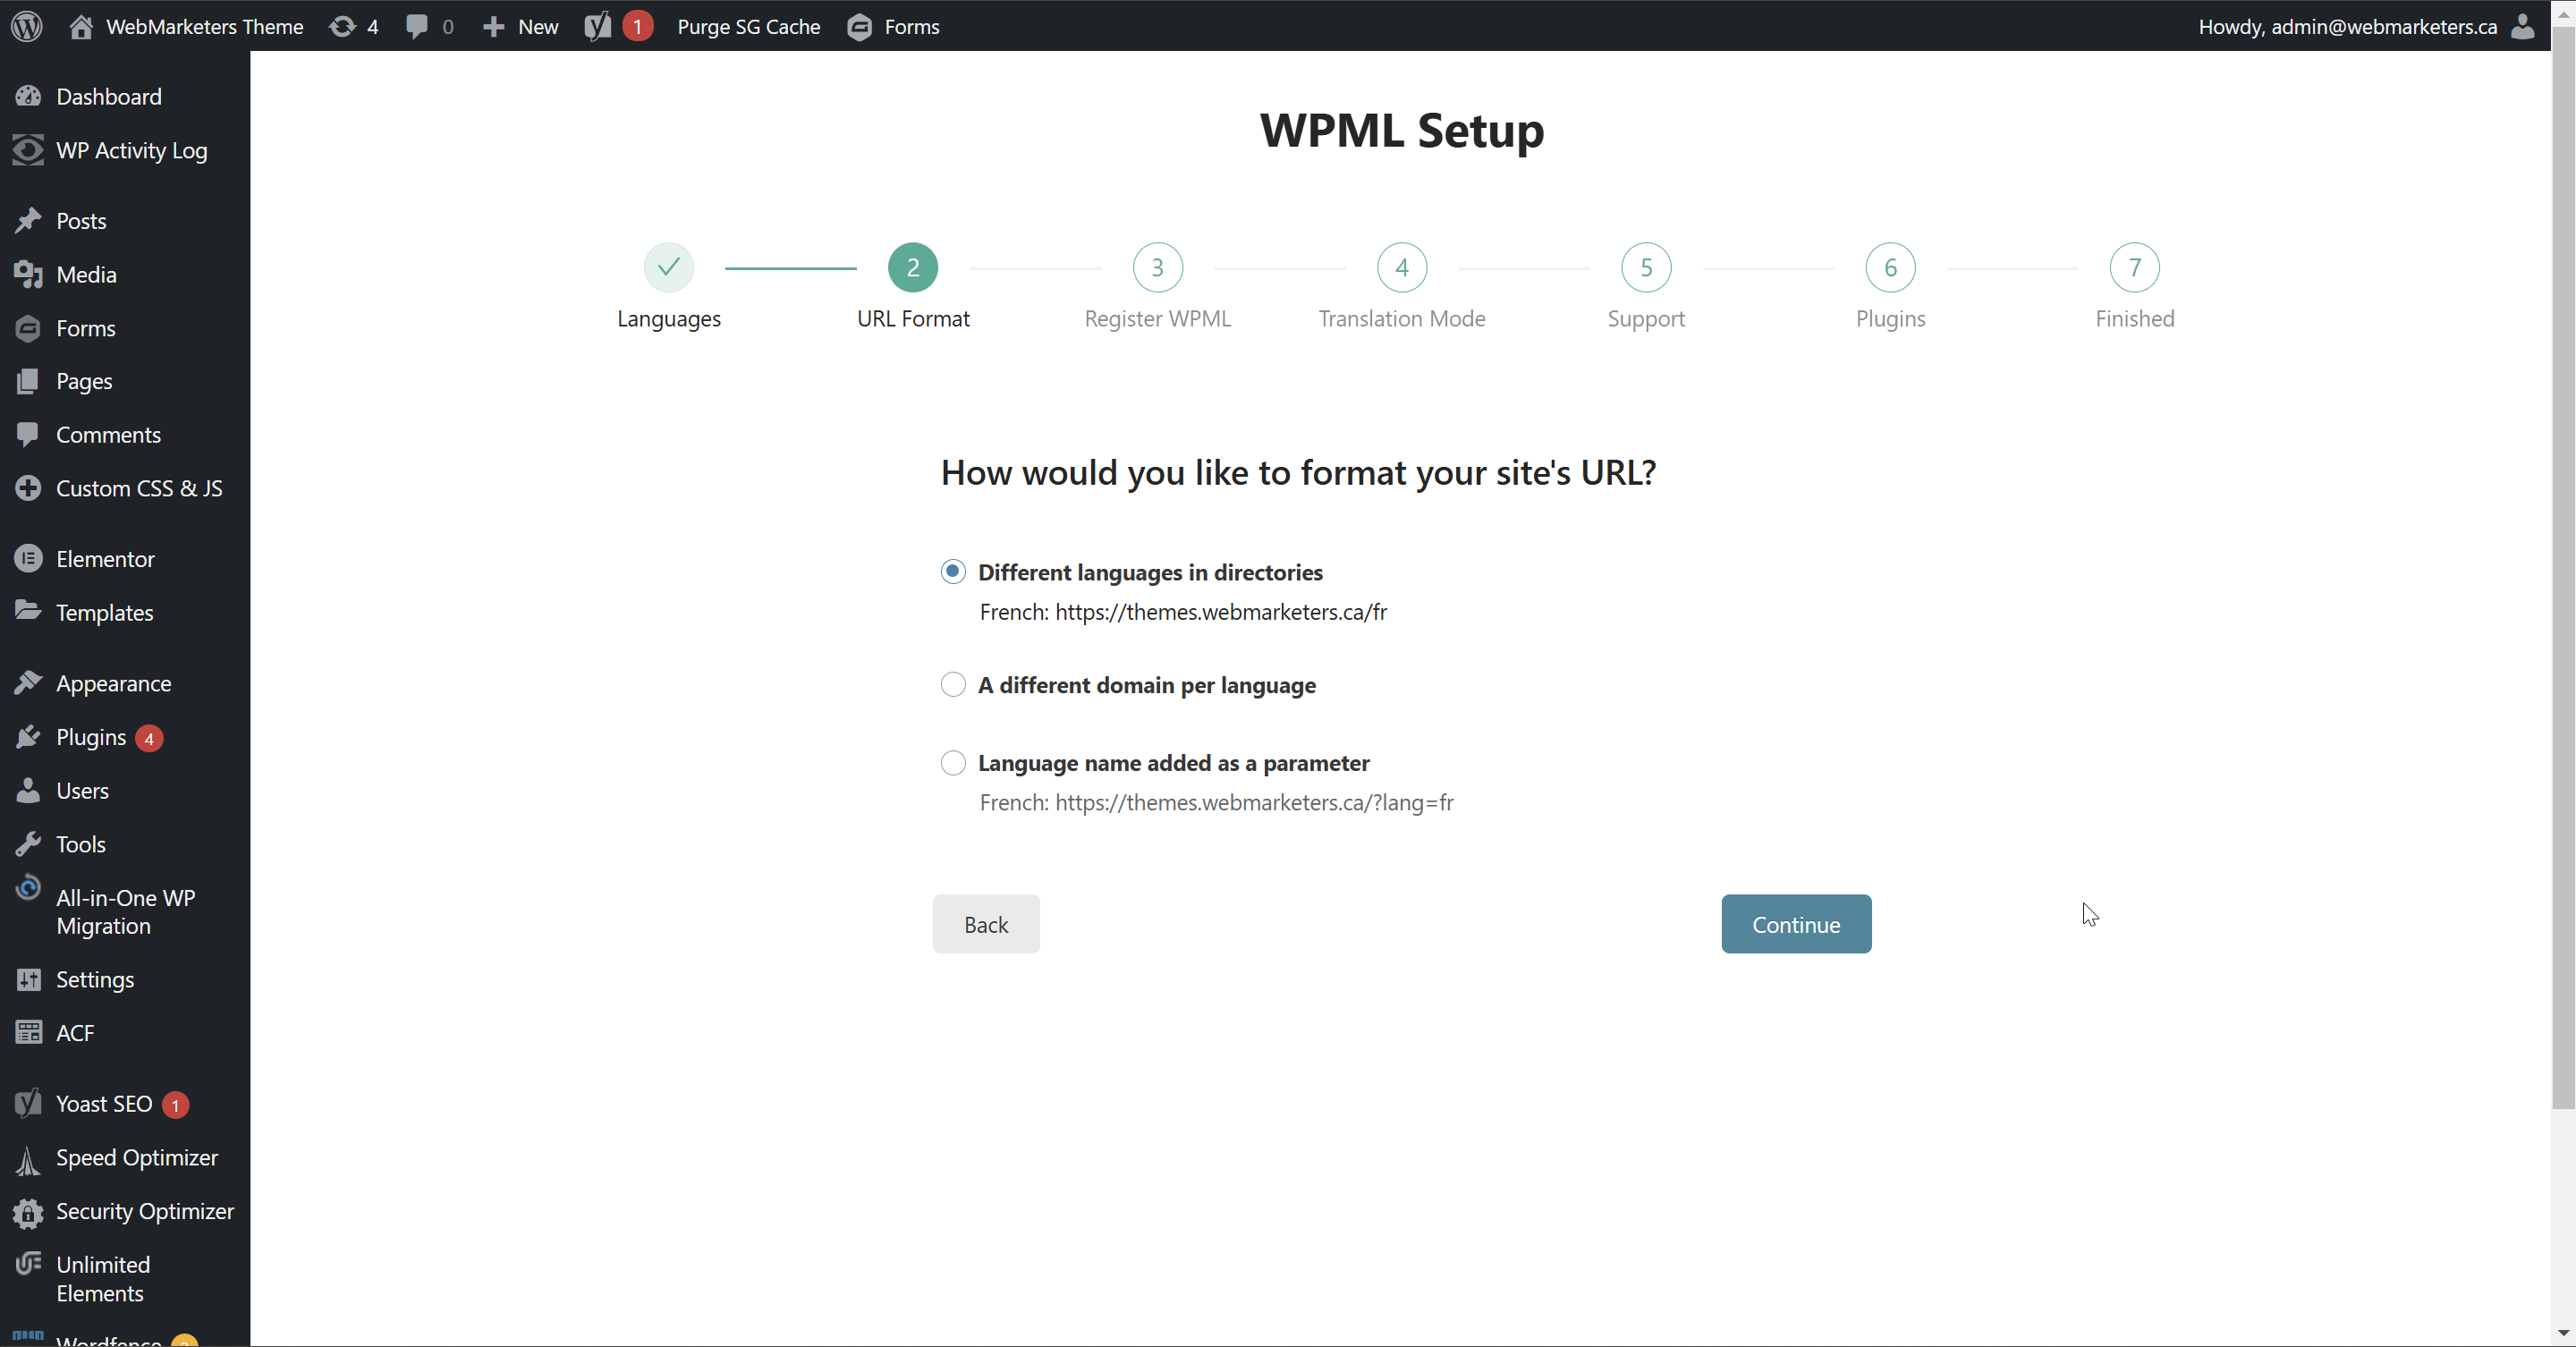
Then, pick your secondary language's URL Format. We use "Different languages in directories".
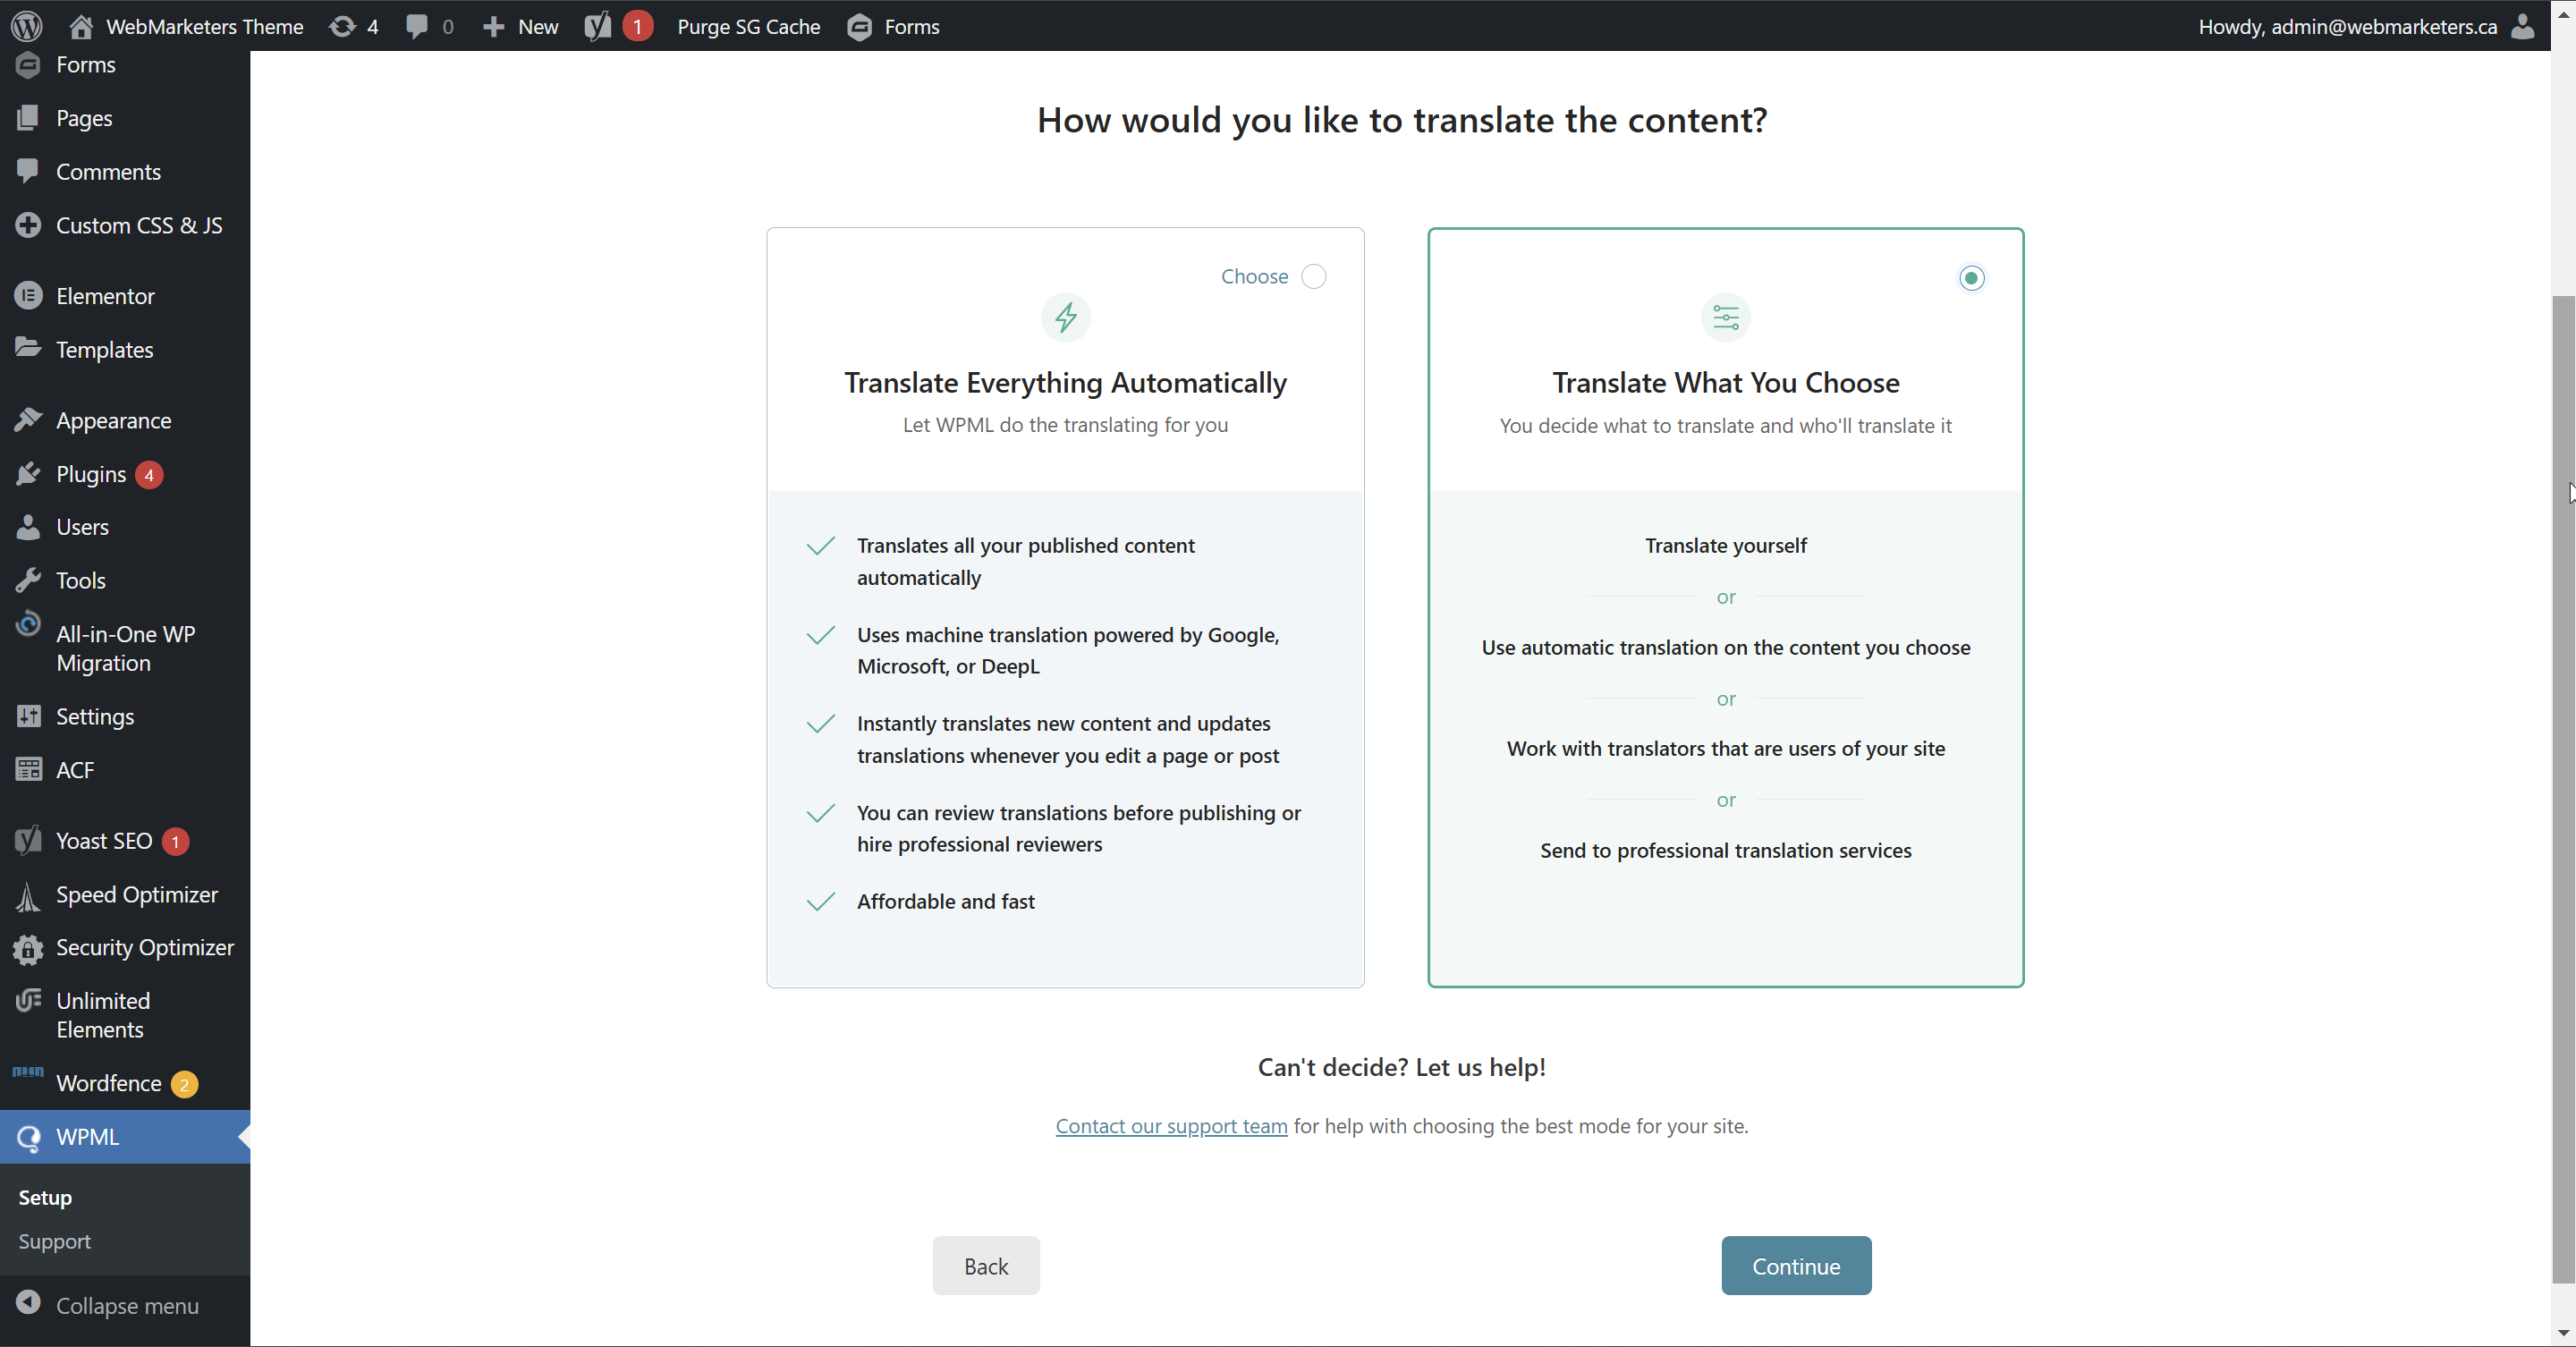
Then, choose your preferred method of translation. You can choose to pay WPML for credits and use the automatic translation feature, or translate everything manually. For most projects, we translate manually for a more accurate translation.
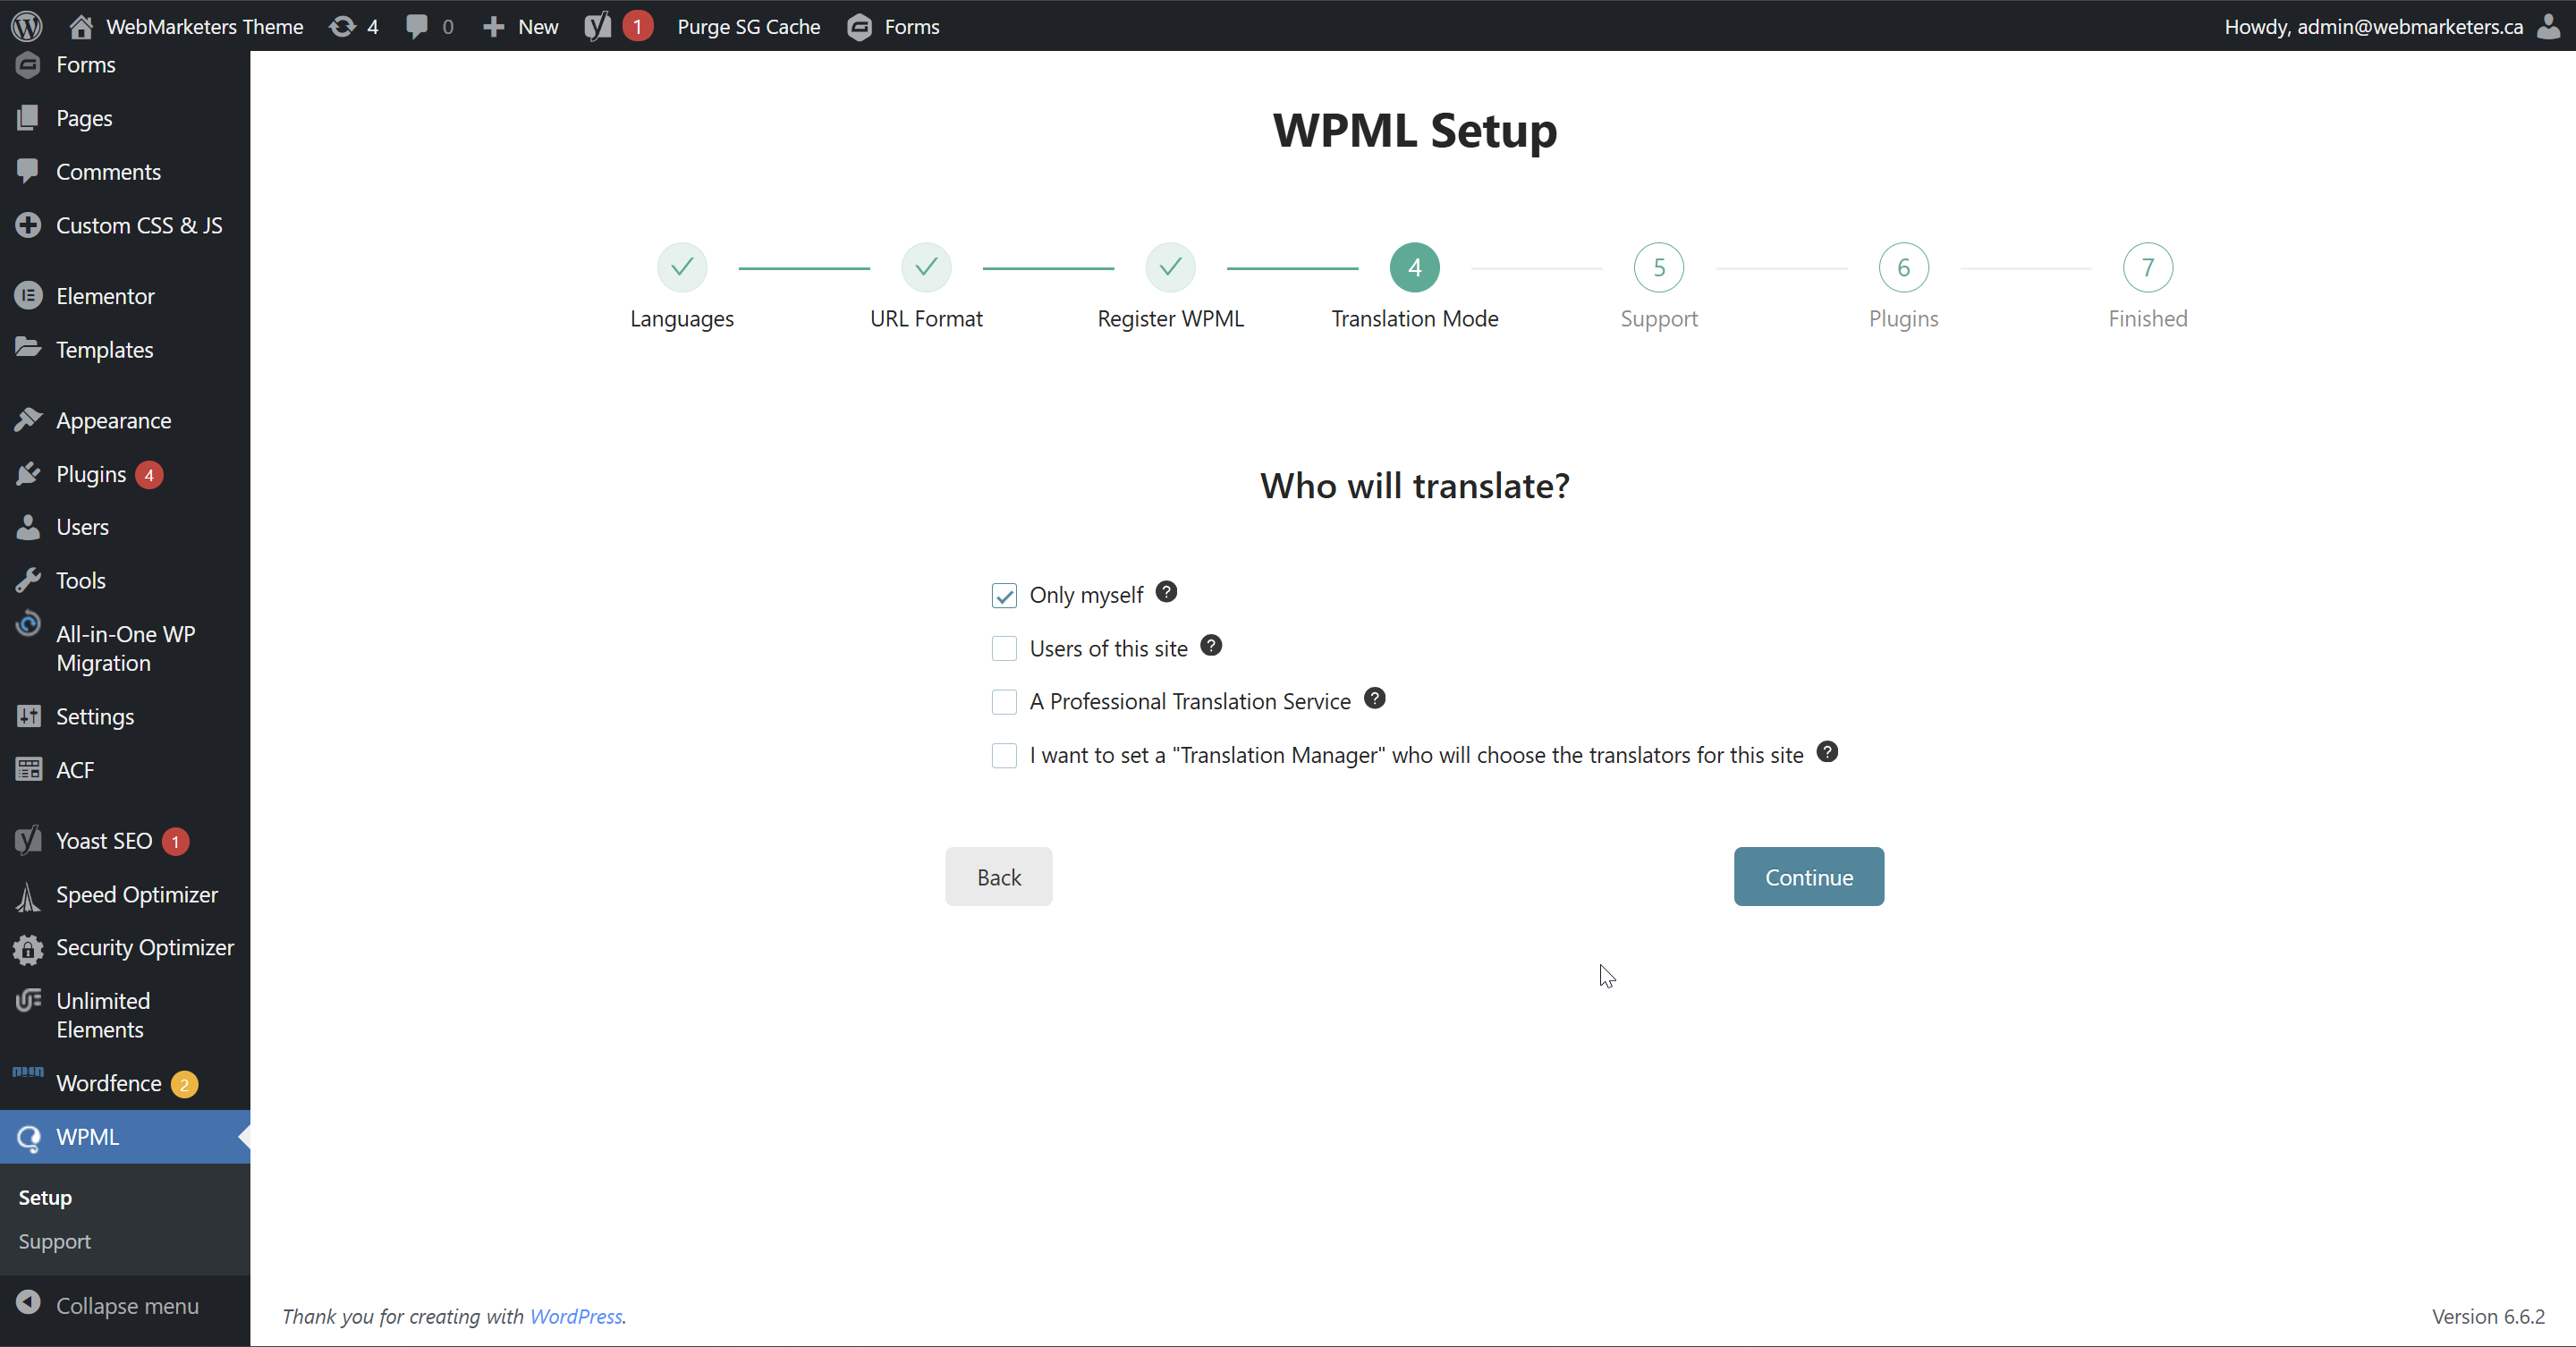
Then, pick your translator(s). This can be changed later, so feel free to just click "Continue".
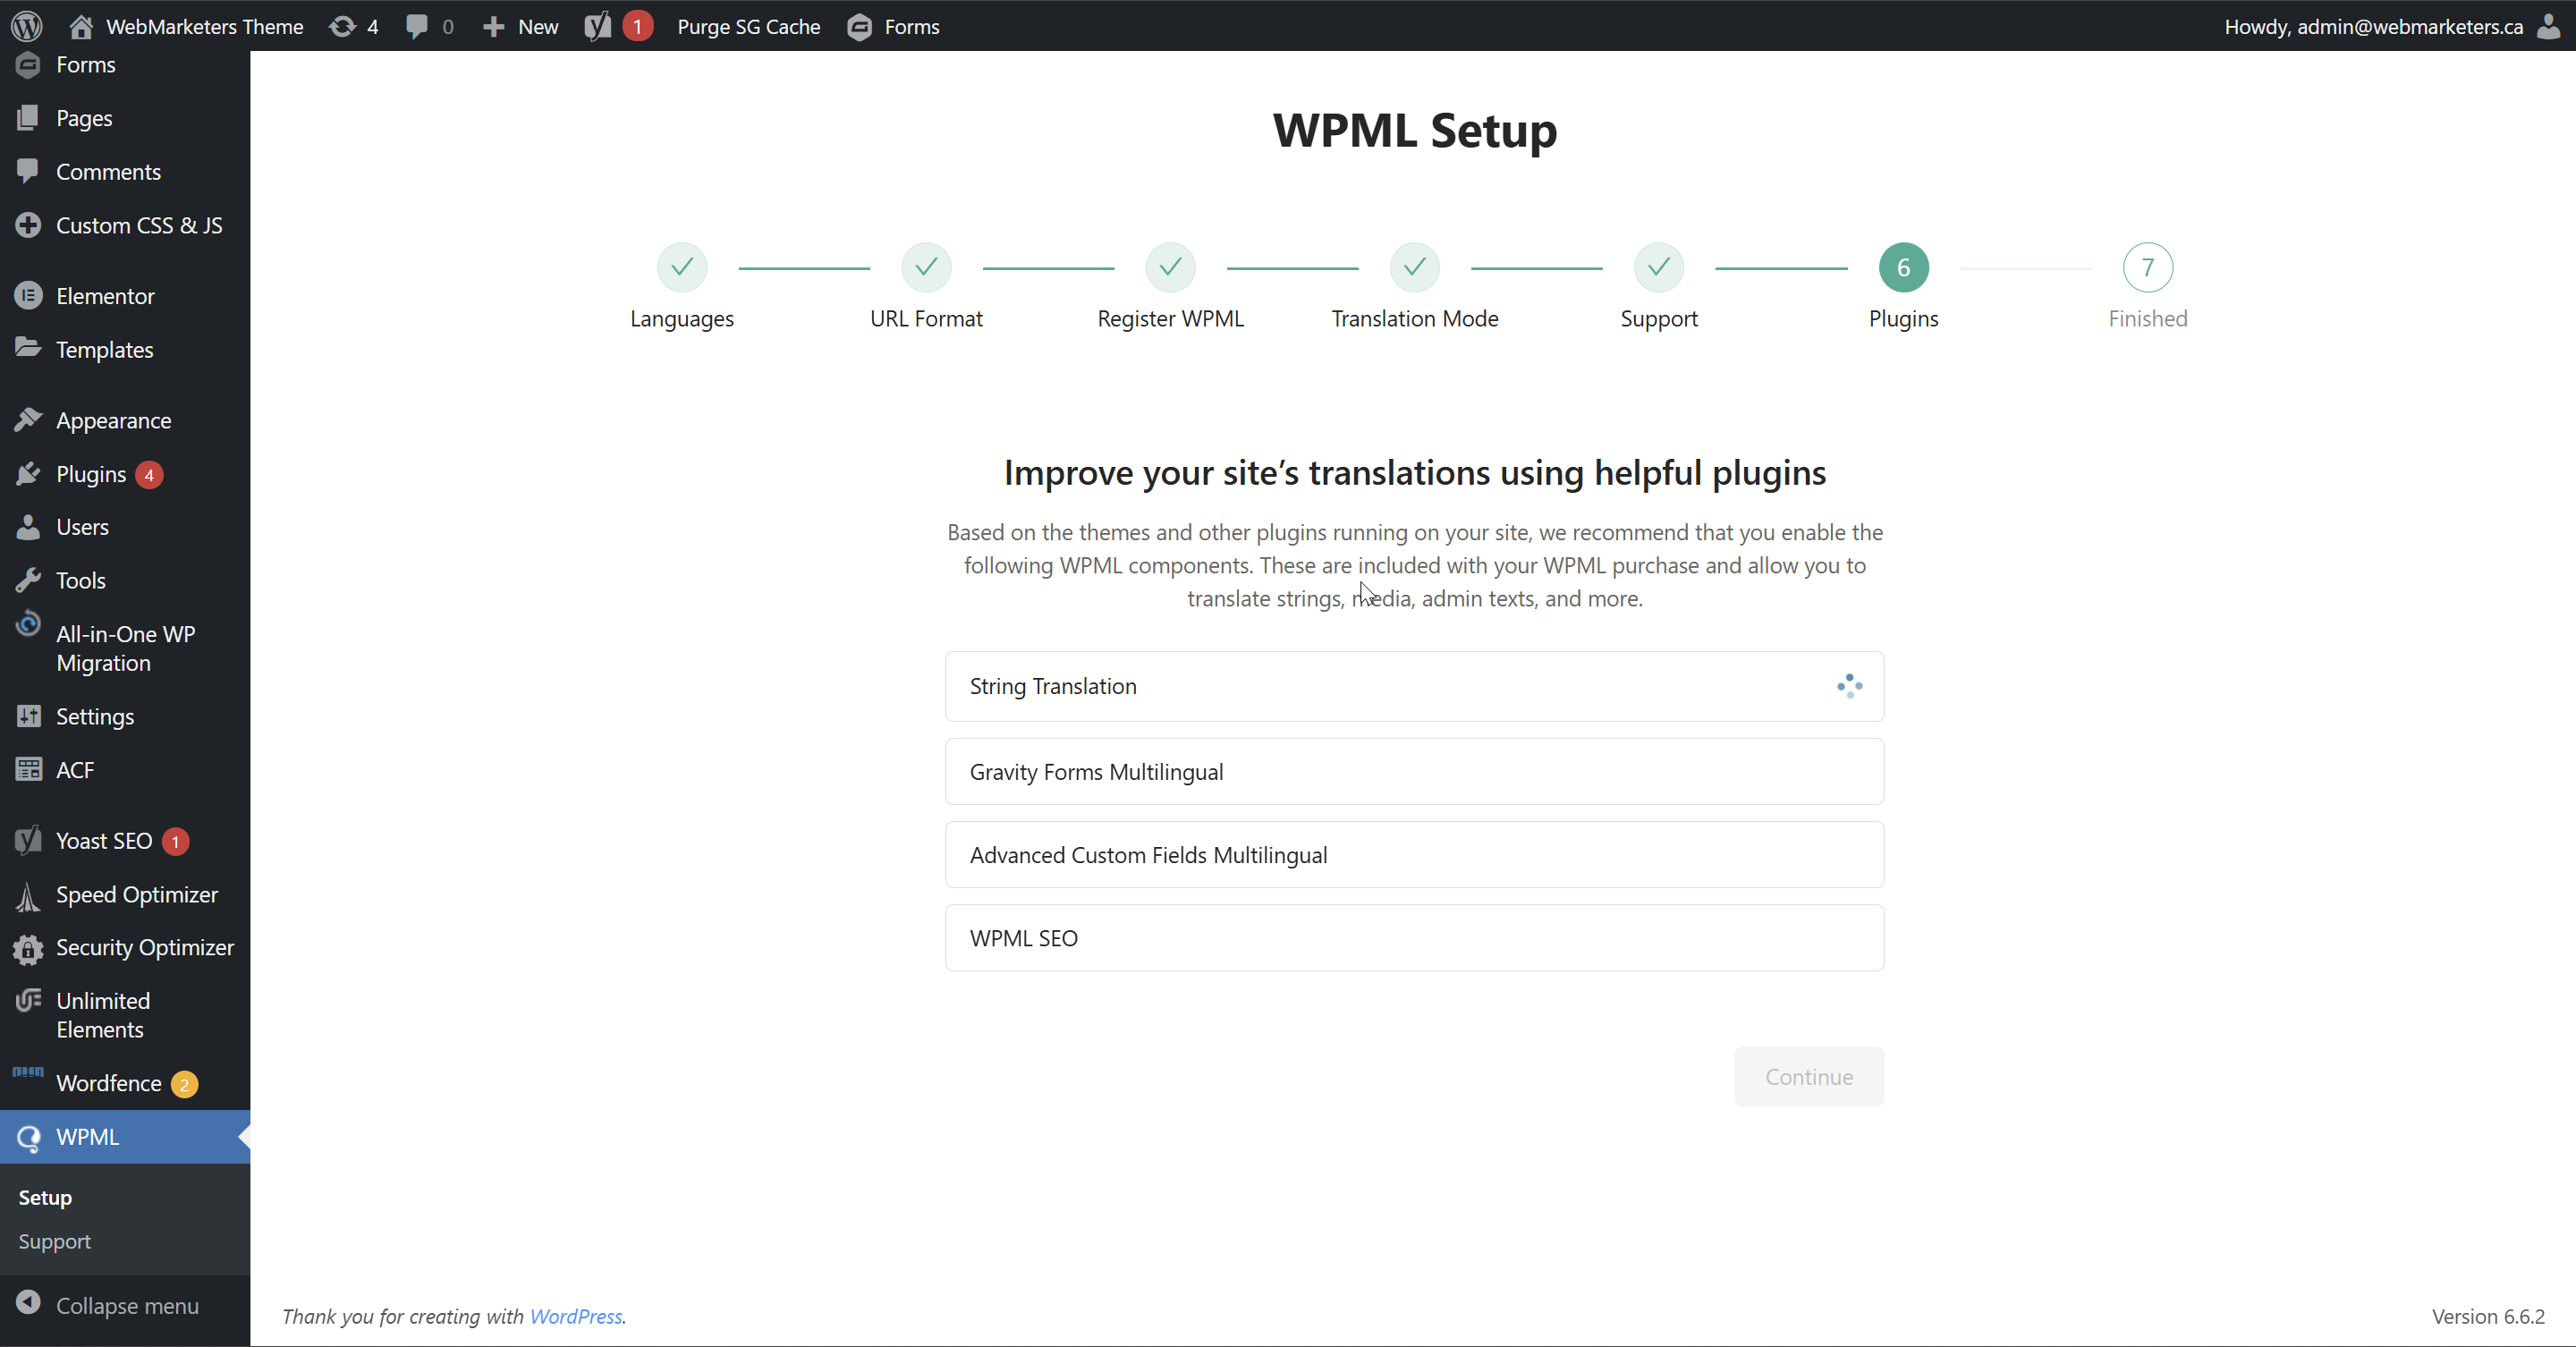
Then, it will ask you to install certain add-ons based on your site's plugins. Install them if necessary.
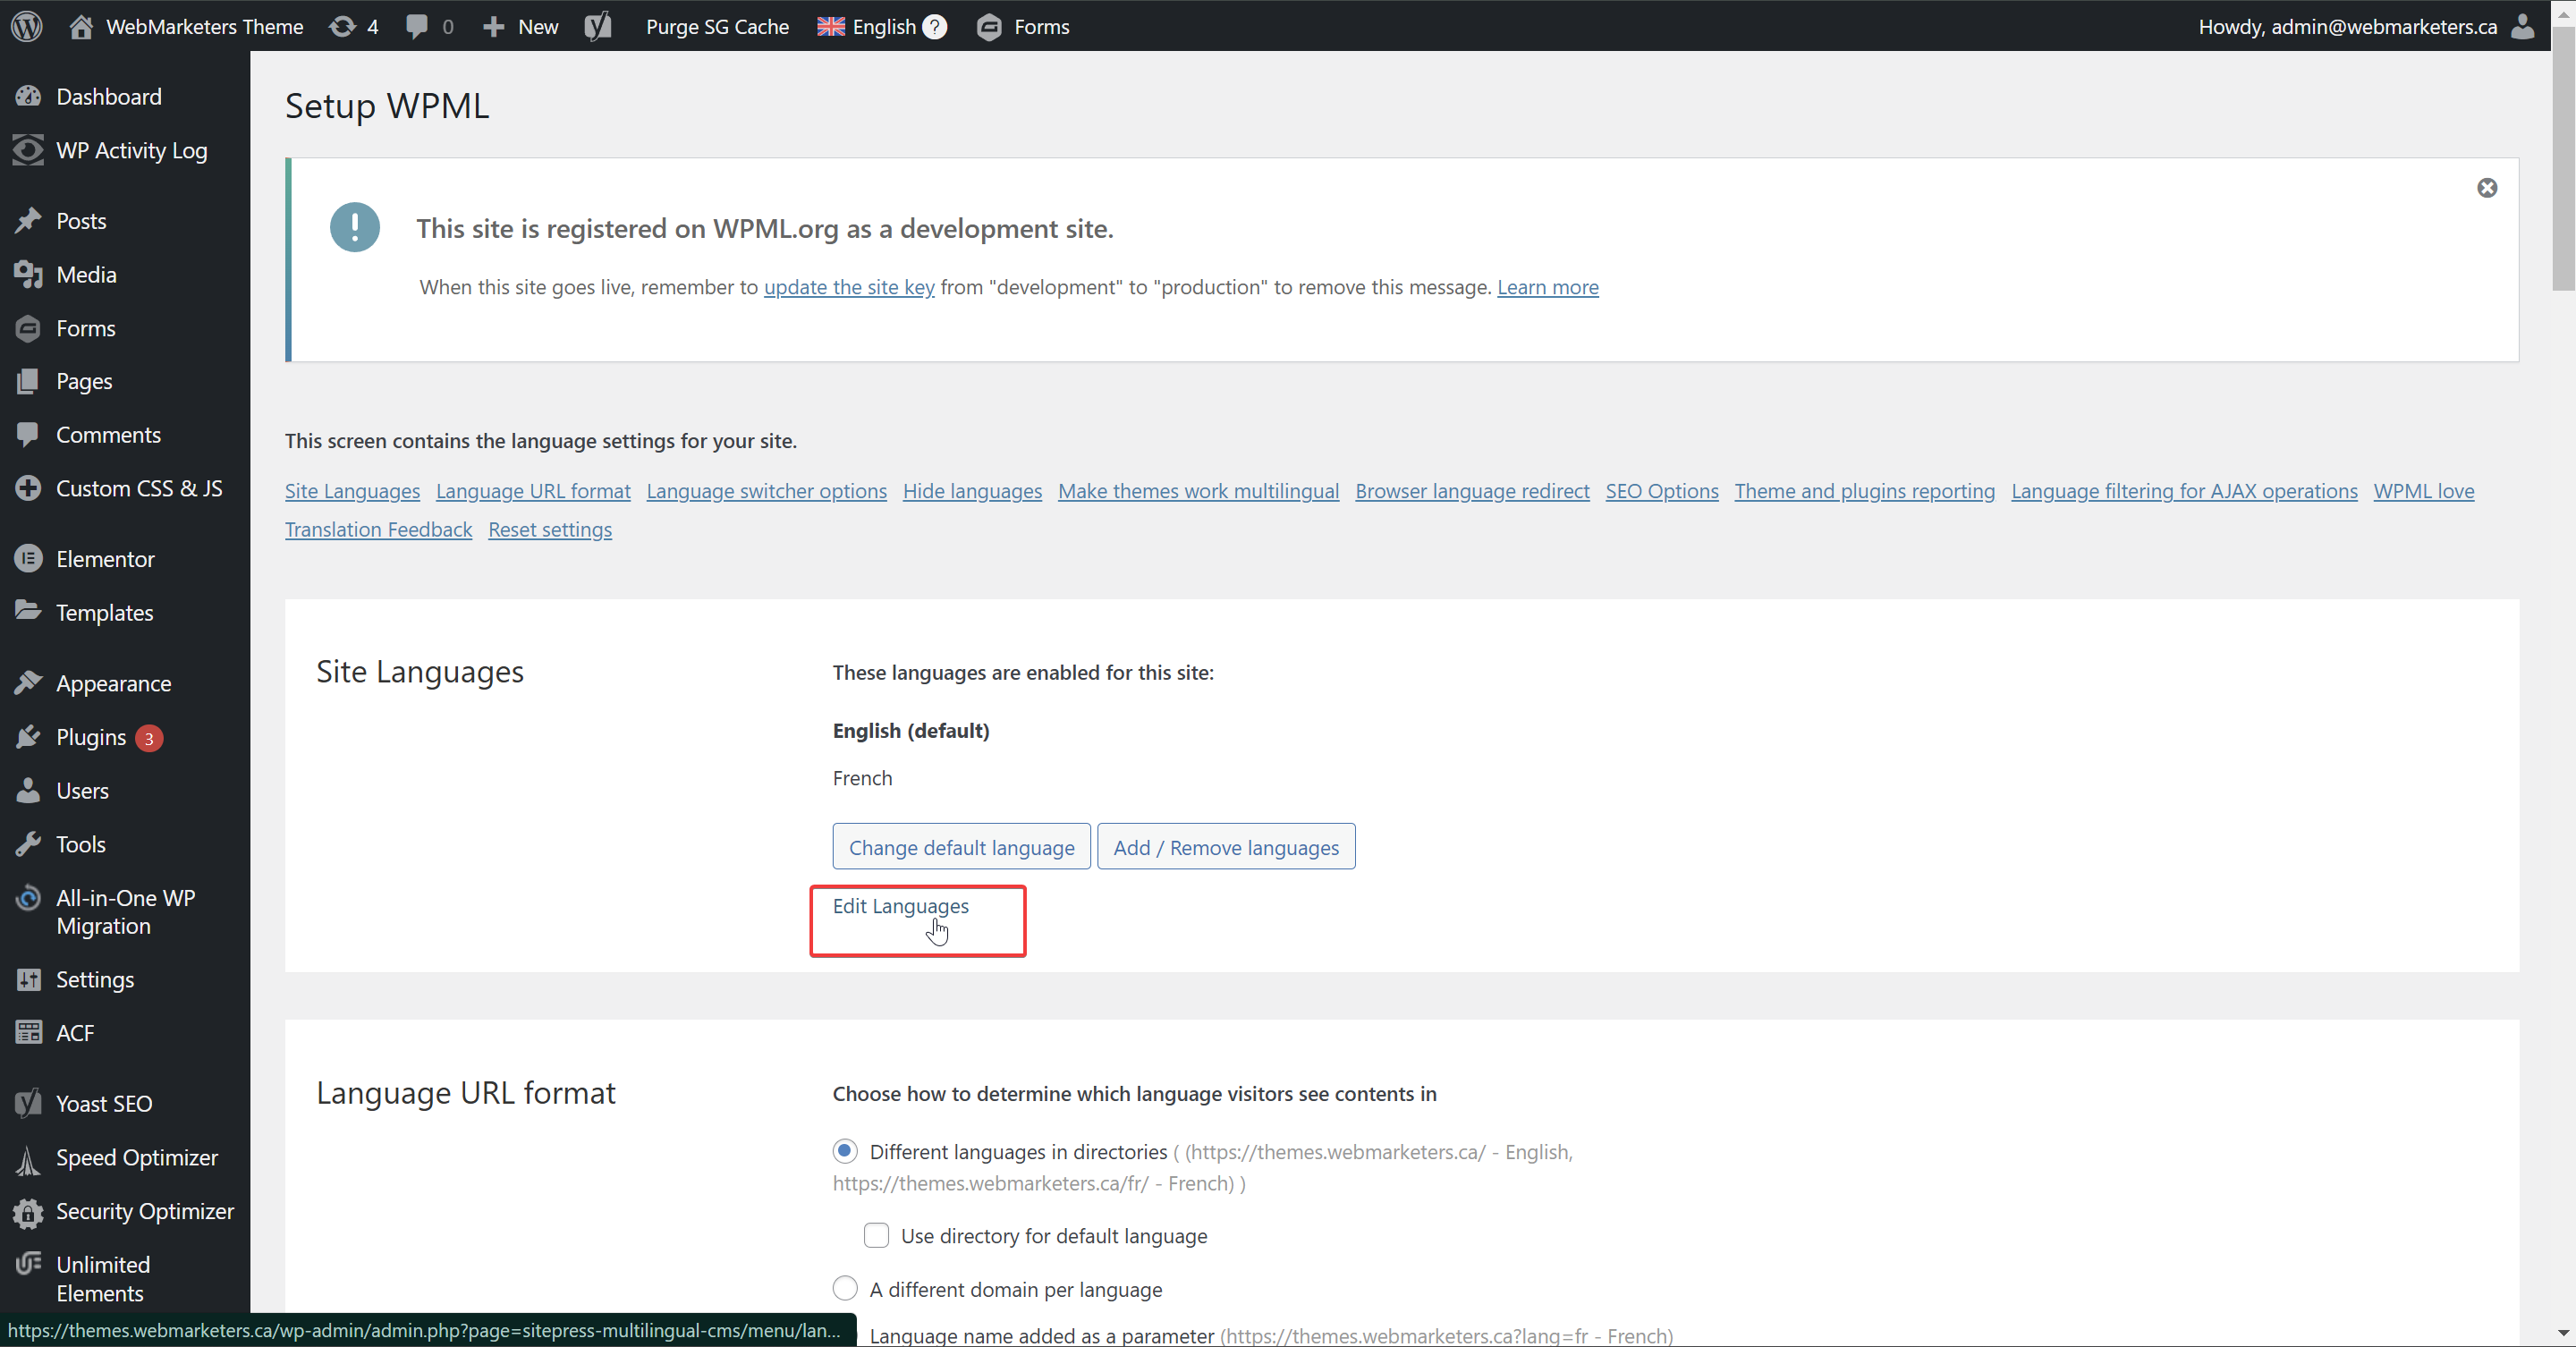
Step 6: In this site's WordPress Dashboard, navigate to WPML -> Languages
Under the "Site Languages" section, click "Edit Languages".
In the "Translation (English)" and "Translation (French)" columns, edit the language name to the language code, example: EN for English, and FR for French.
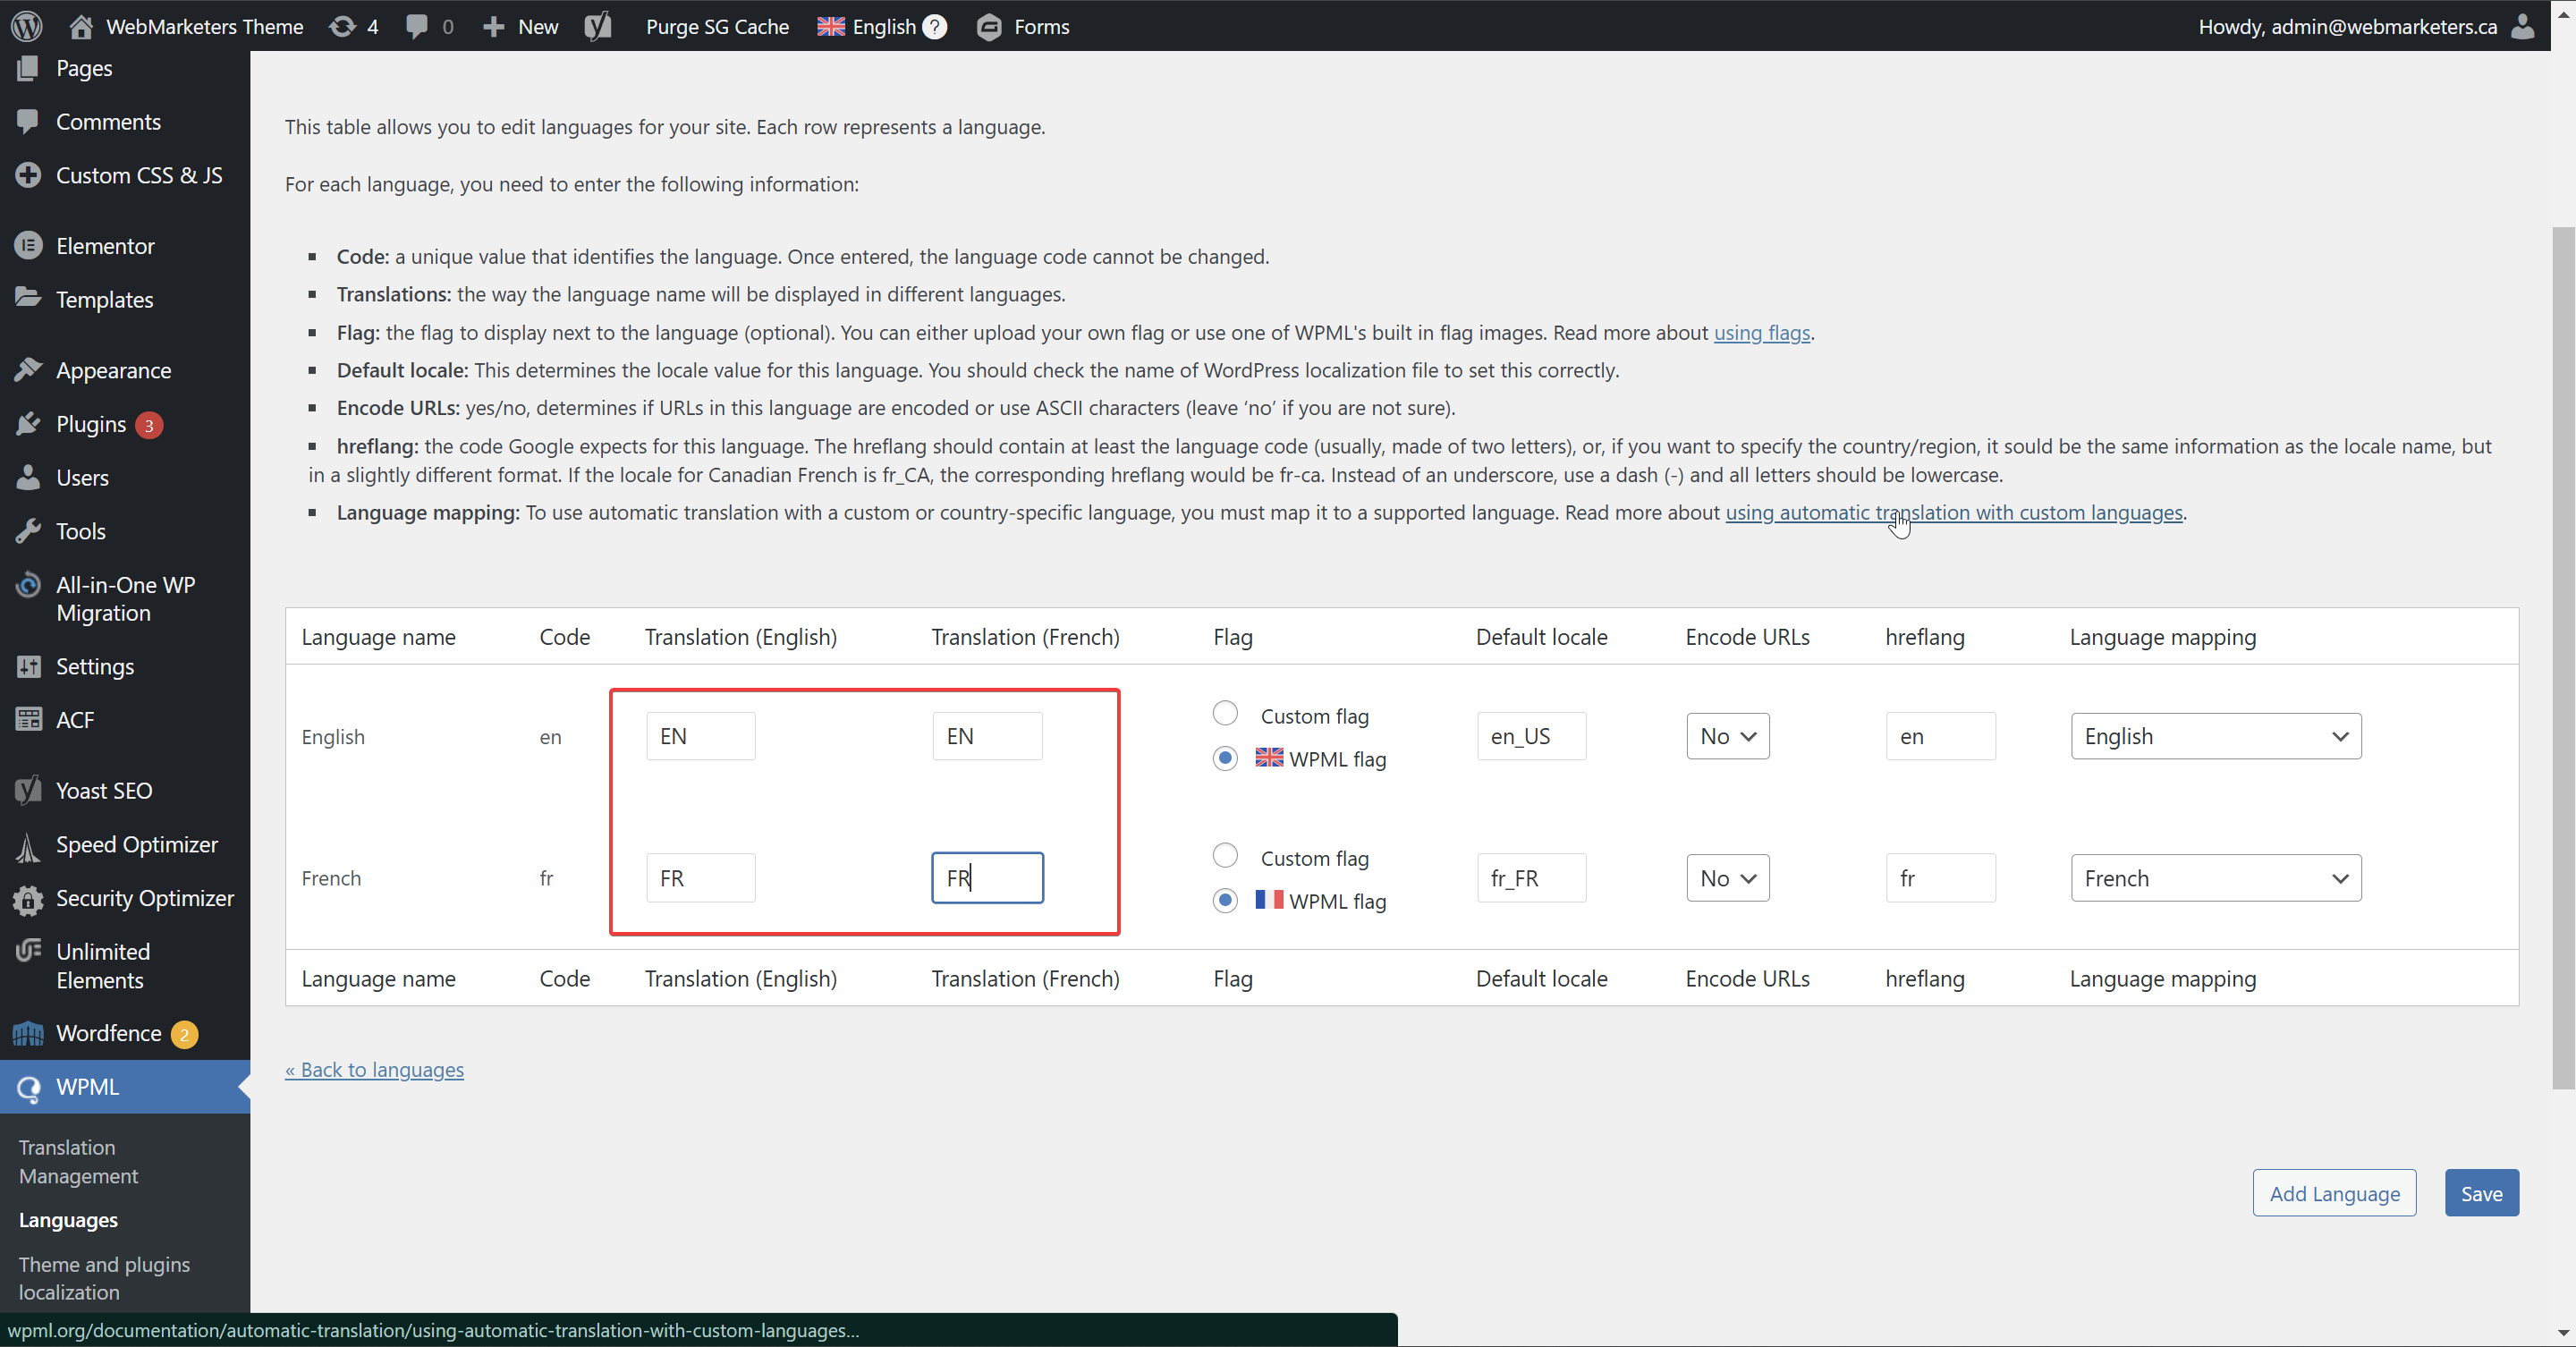
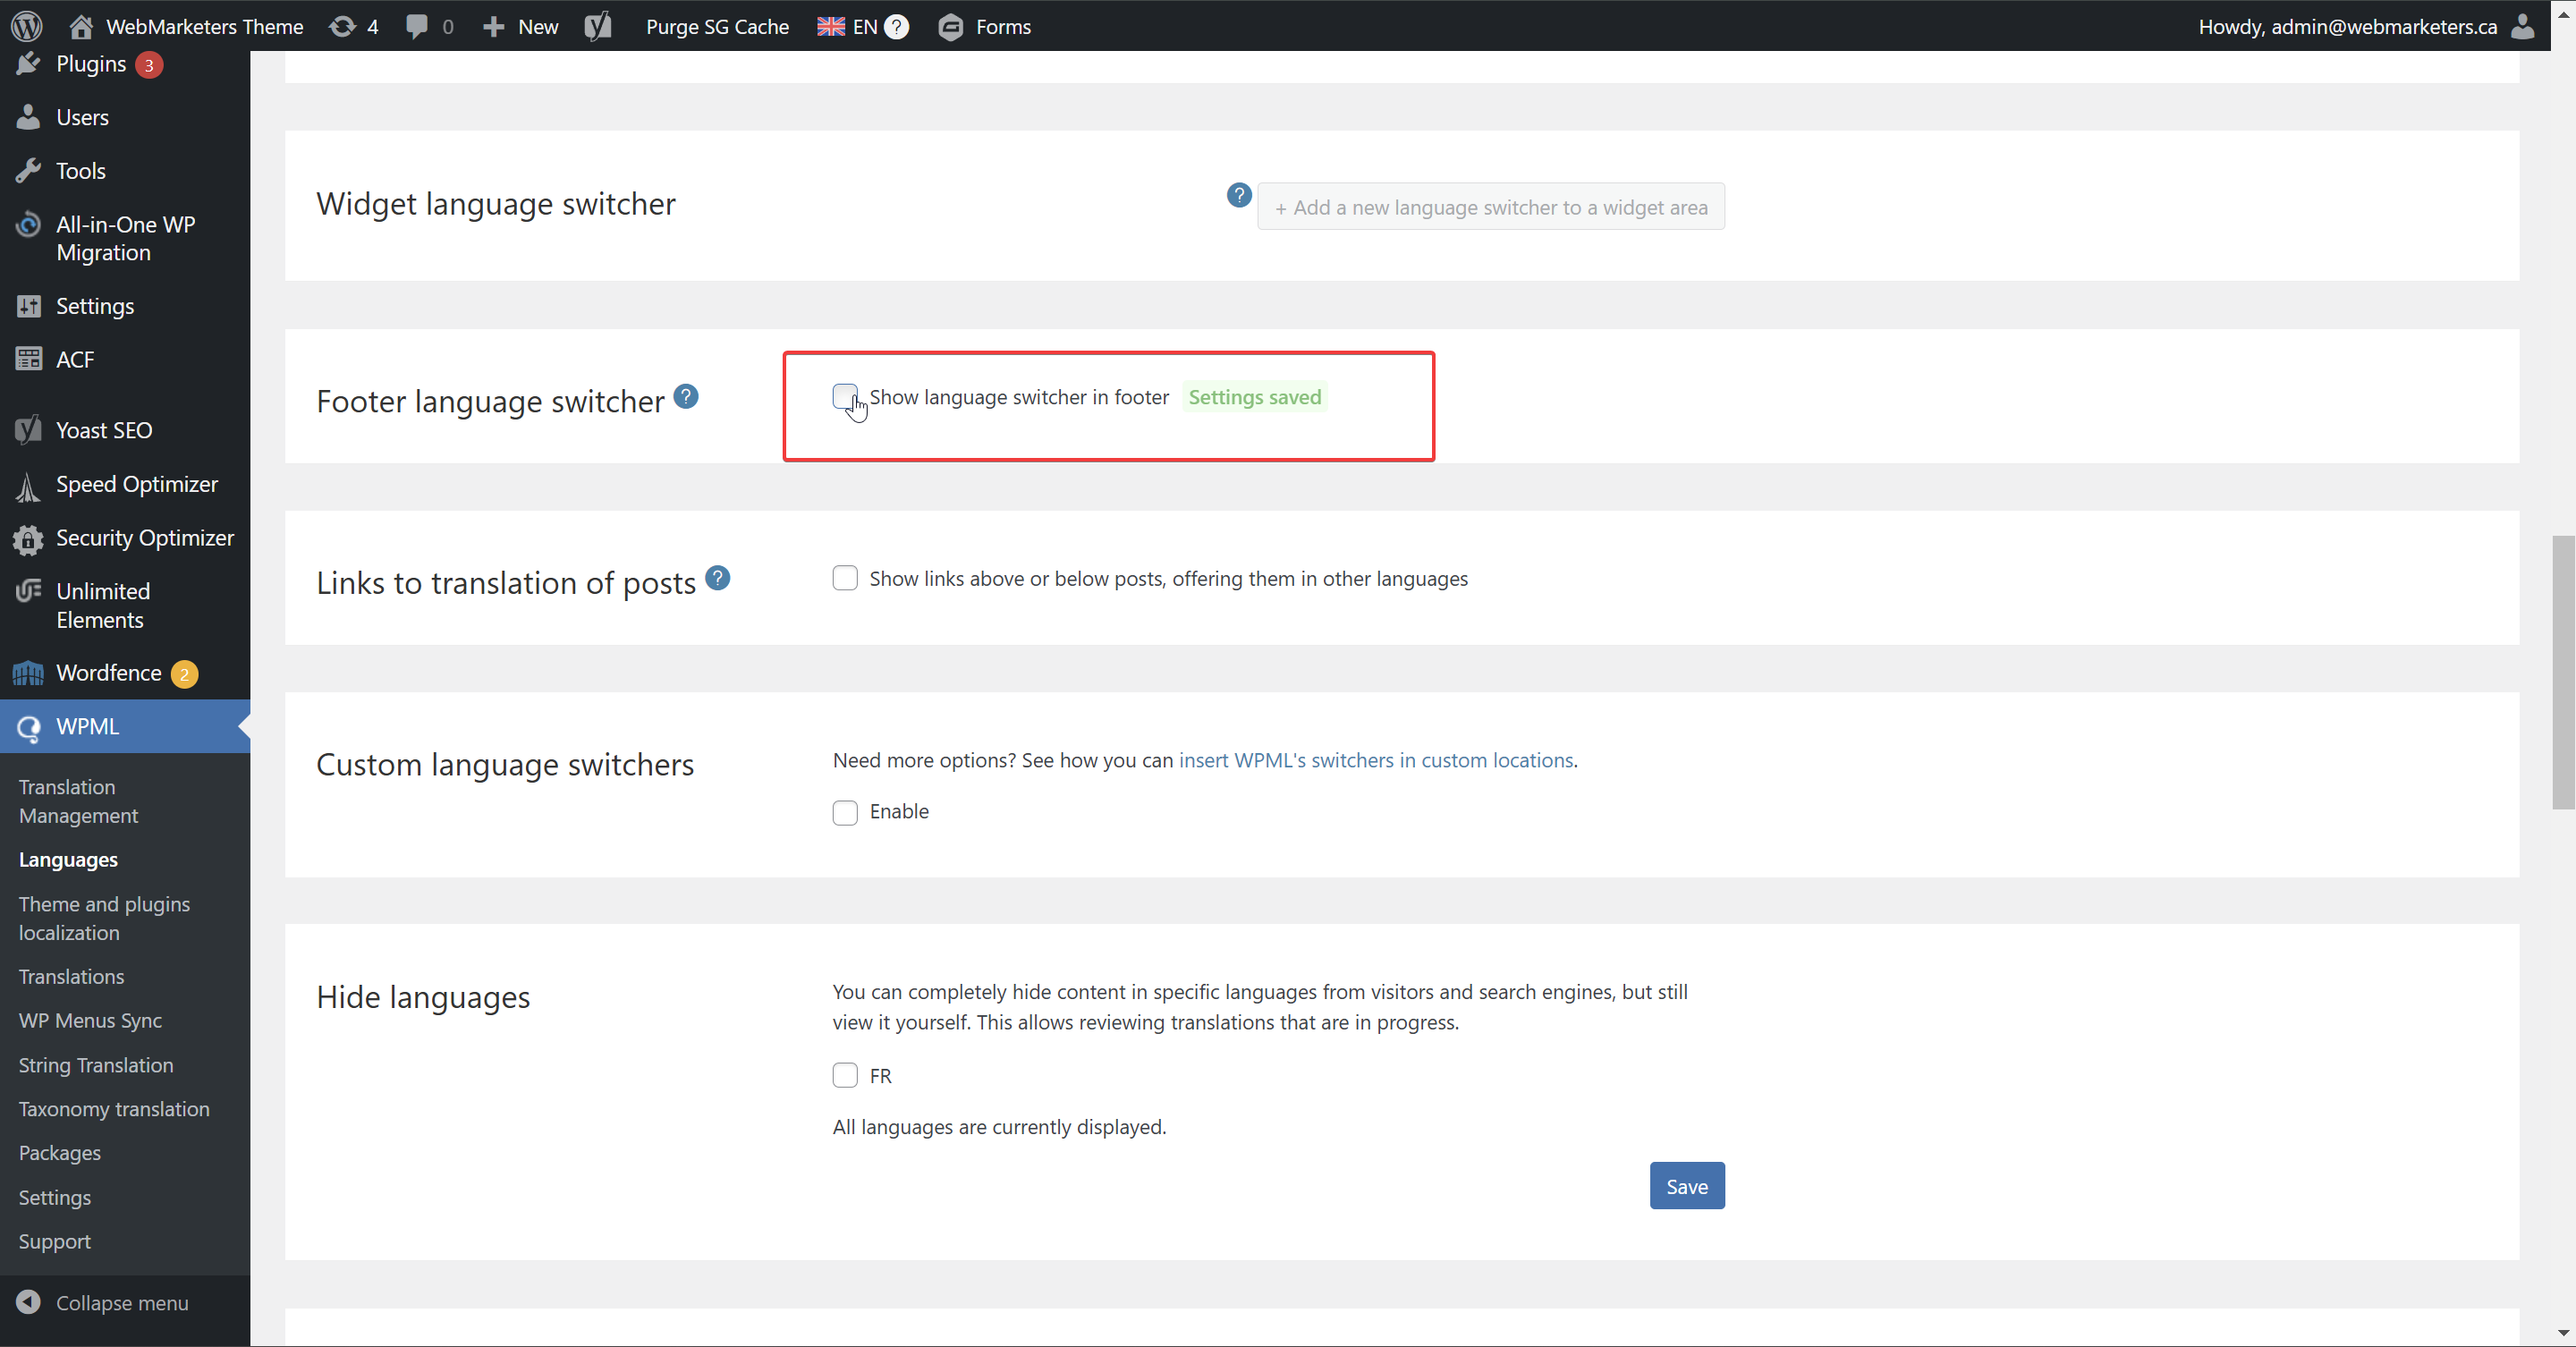
Click "Save", then "Back to Languages" and navigate to the "Footer language switcher" section.
Then, make sure that the "Show language switcher in footer" checkbox is unchecked.
Step 7: Configure the header template & language switcher.
Load up the header template in Elementor editor, and search for the "WPML Language Switcher" widget, then drag and drop in its intended location.
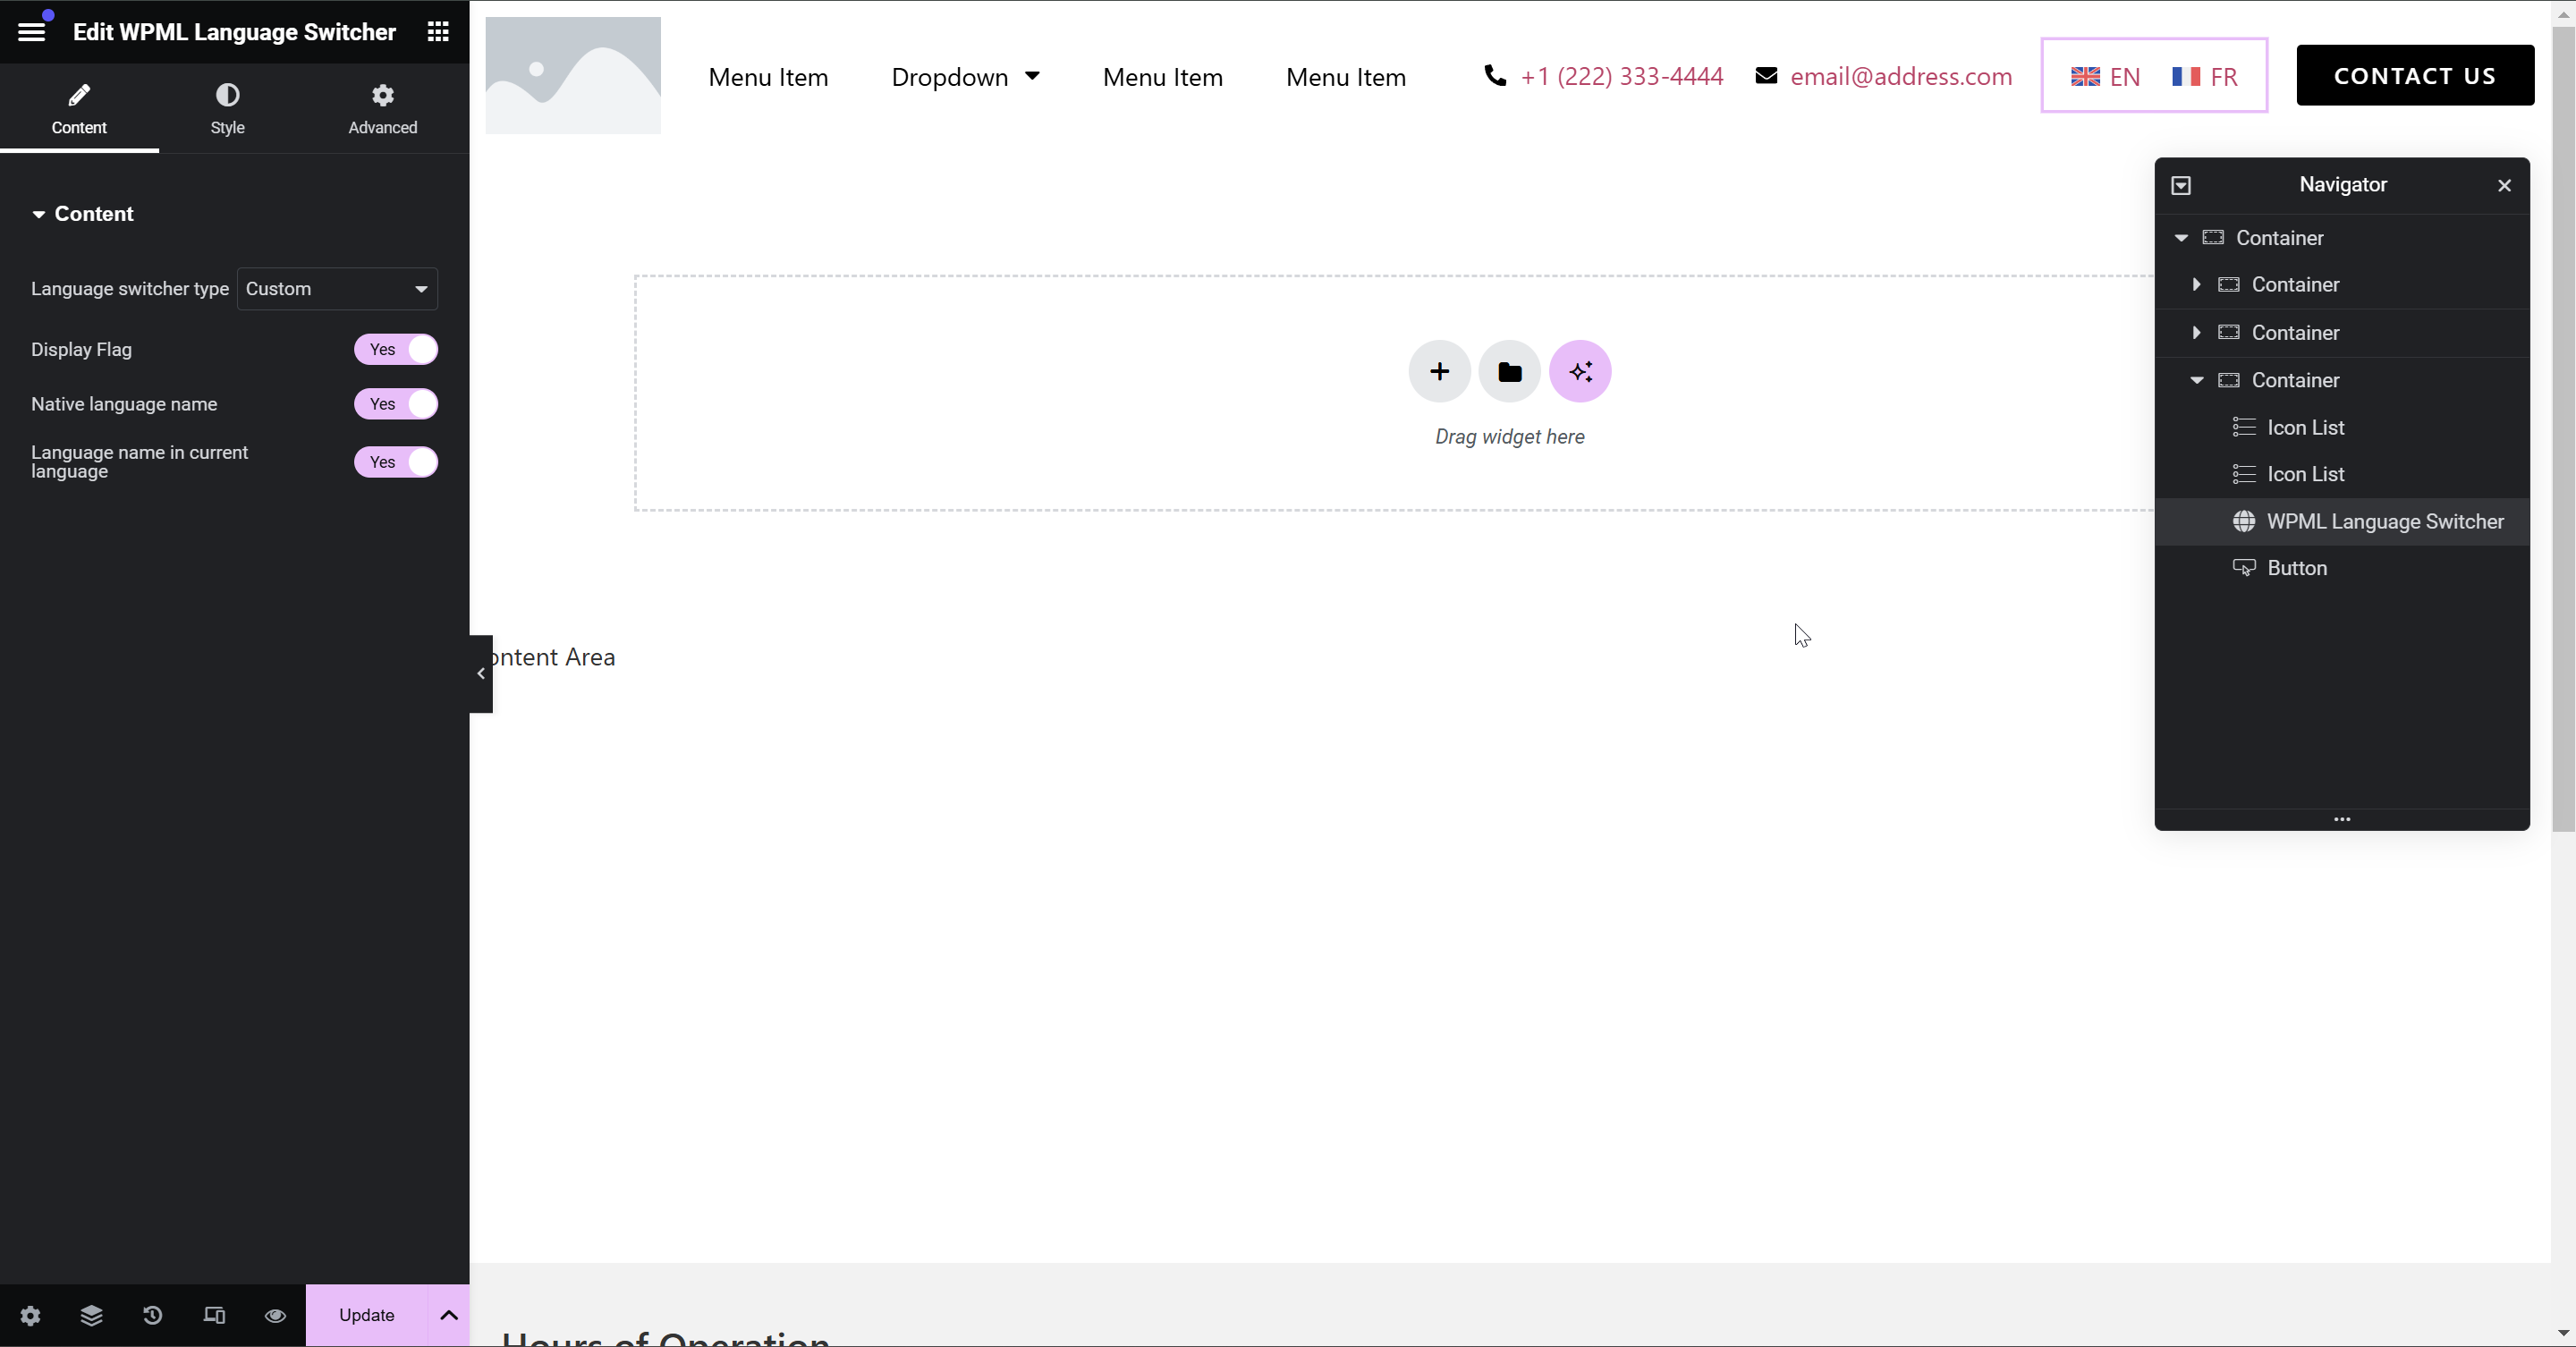
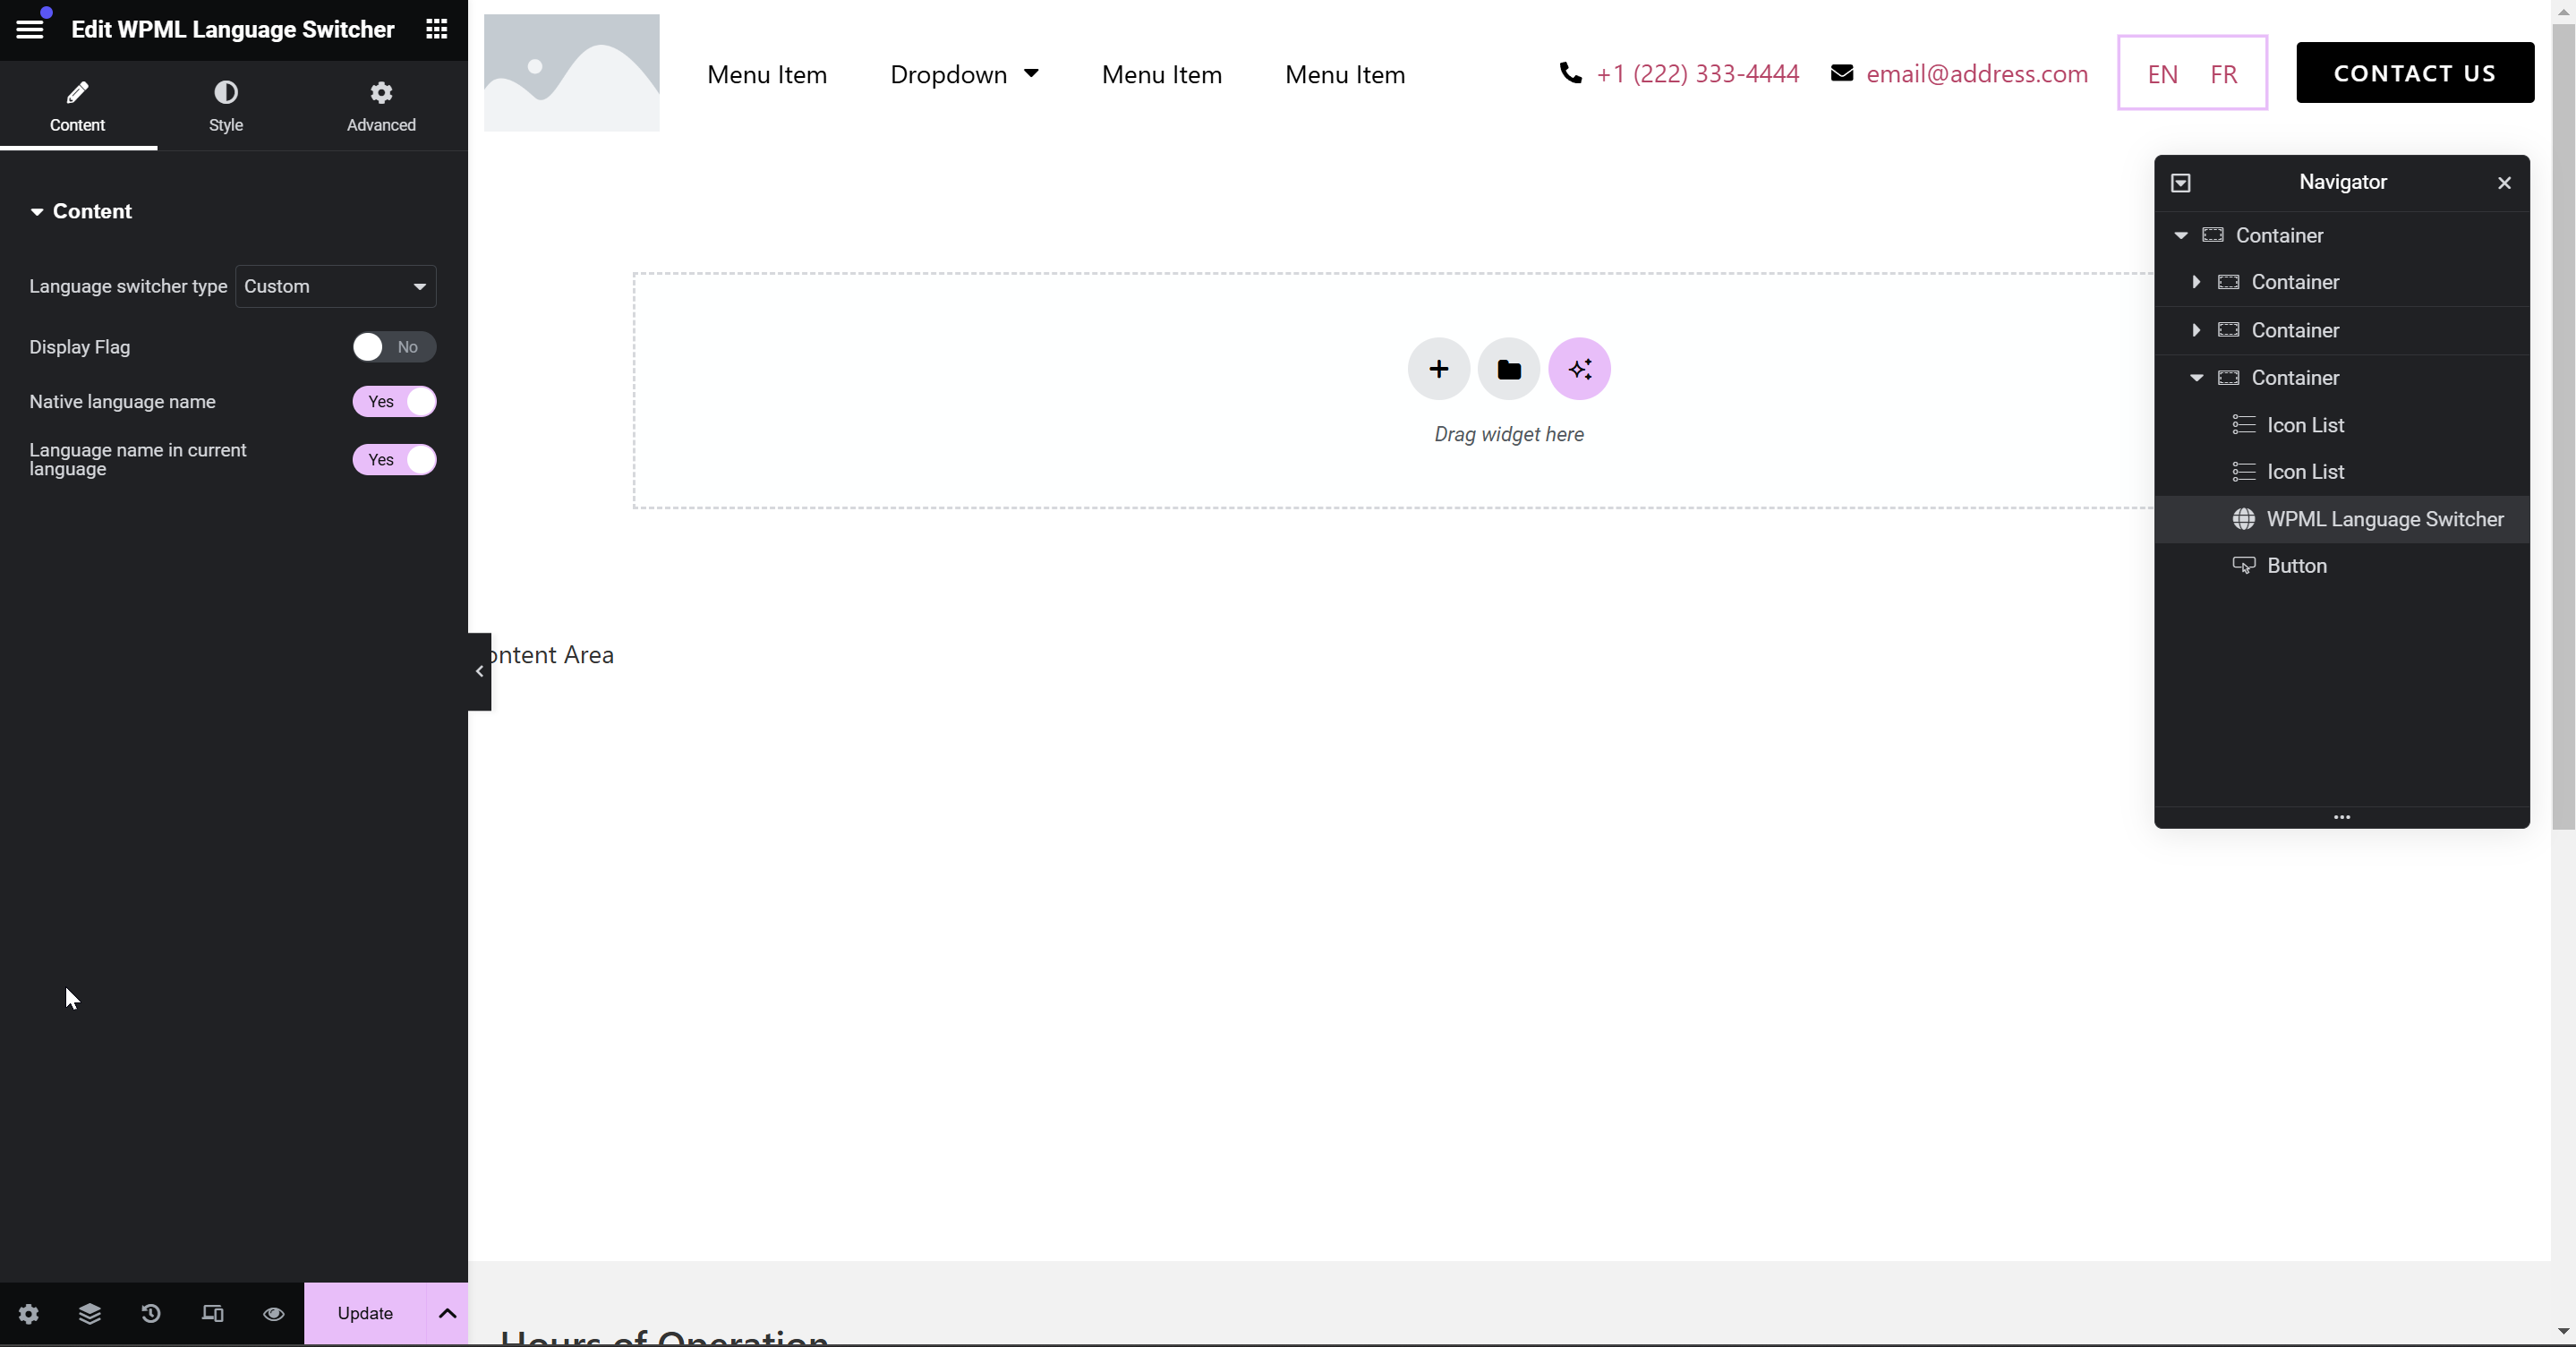
Then, adjust styles as needed. We usually set "Display Flag" to "No".
Step 8: Add & modify language switcher styles
/* Remove default padding on language switcher links */
.wpml-elementor-ls .wpml-ls, .wpml-elementor-ls .wpml-ls a {
    padding: 0px;
}

/* Show border line between items and adjust padding when more than one language is active */
.wpml-elementor-ls .wpml-ls li:nth-child(2) {
    border-left: 1px solid var(--e-global-color-primary);
}
.wpml-elementor-ls .wpml-ls ul li:not(:only-child) {
    padding: 0px 15px;
}

/* Styling of individual language names or codes */
.wpml-elementor-ls .wpml-ls ul, .wpml-elementor-ls .wpml-ls ul span {
    line-height: 0px;
}
.wpml-elementor-ls .wpml-ls ul li a span {
    font-size: 13px;
    font-weight: 700;
}
.wpml-elementor-ls .wpml-ls ul li a, .wpml-elementor-ls .wpml-ls ul li a span {
	line-height: 13px;
}

/* Change the language color for the active language, using Elementor's Global Primary Color */
.wpml-elementor-ls .wpml-ls .wpml-ls-item.wpml-ls-current-language a span {
    color: var(--e-global-color-primary);
}
/* Change the language color for the other language, using Elementor's Global Accent Color */
.wpml-elementor-ls .wpml-ls .wpml-ls-item:not(.wpml-ls-current-language) a span {
    color: var(--e-global-color-accent);
}